Cali
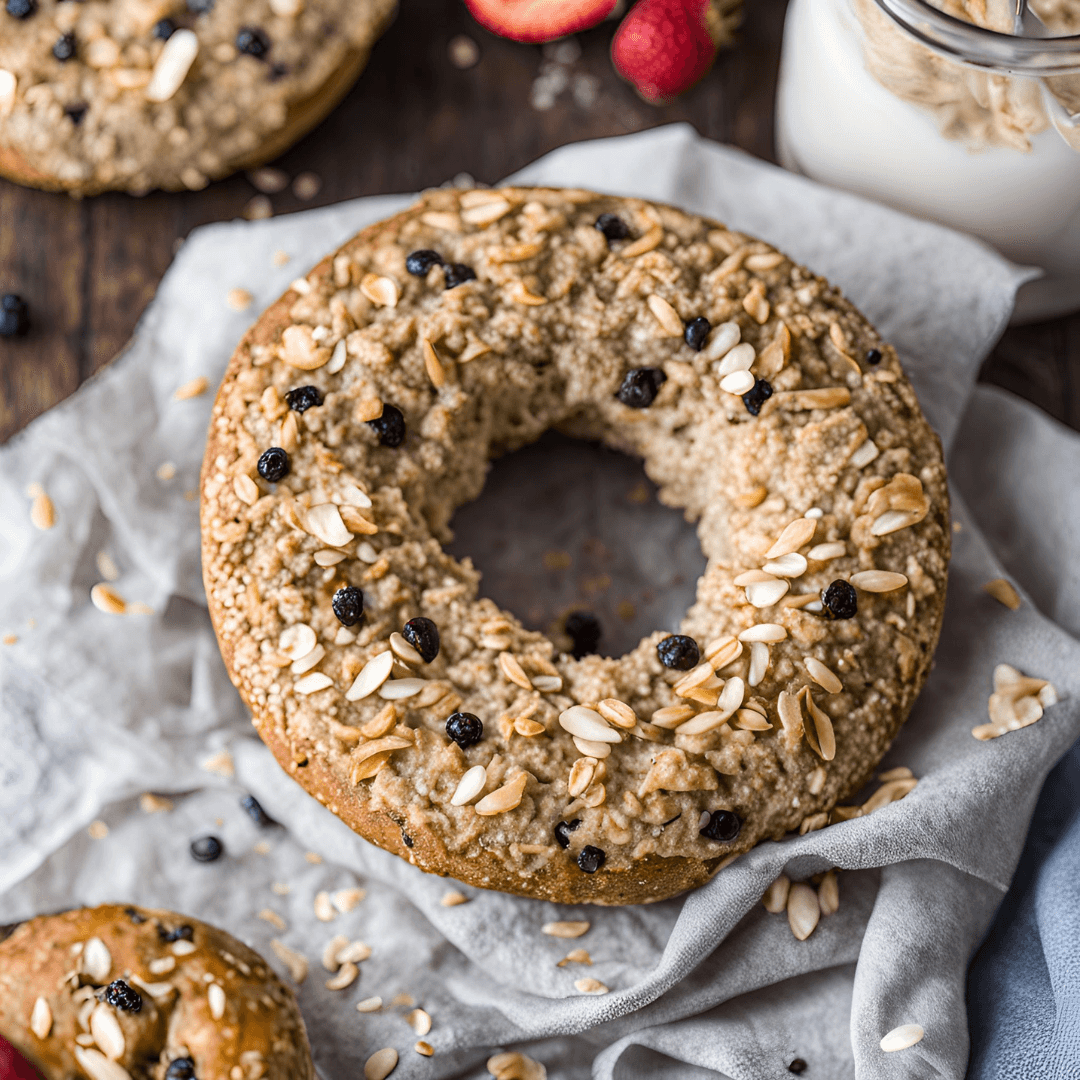
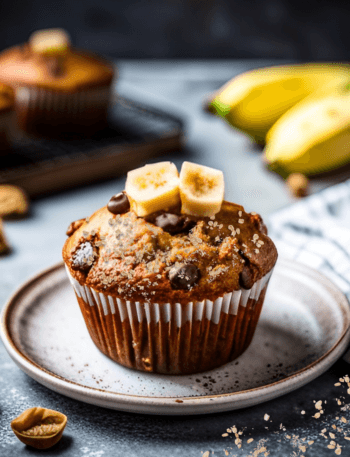
CaliThe Best Ever Gluten-Free Blueberry Muffins
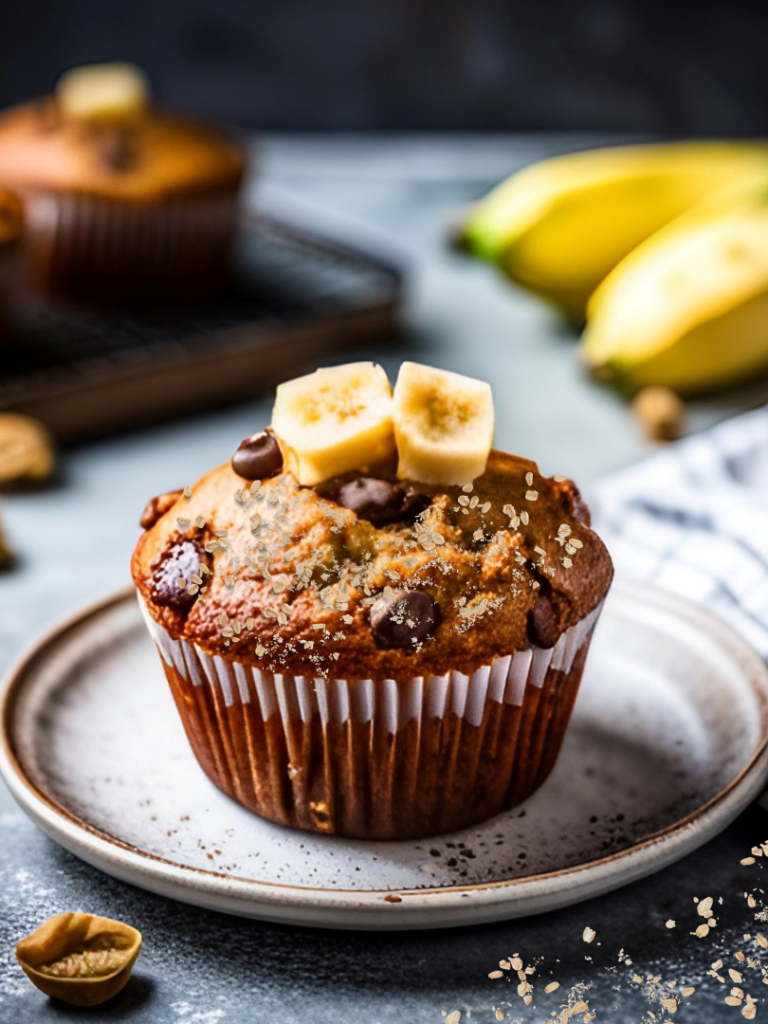
“Indulge in the best gluten-free blueberry muffins, bursting with juicy blueberries and a perfect soft texture. Ideal for breakfast or snacks, these healthy treats are a delight for anyone seeking a guilt-free indulgence. Discover the joy of gluten-free baking today!”

Why bother with a trip to the bakery when you can whip up mouthwatering homemade Blueberry Muffins right in your own kitchen? With a delicate, sweet crumb and bursts of juicy berries, these muffins are an utterly irresistible indulgence!
Indulging in the divine essence of a classic blueberry muffin, generously speckled with luscious berries, and paired with a cozy cup of morning coffee is an unparalleled delight for our taste buds. Whether it’s the dawn of a new day or a tranquil afternoon, the allure of a freshly baked muffin satiates a craving unlike anything else. These blueberry muffins, brimming with plump, succulent berries, effortlessly come together in mere minutes, ensuring that the comfort of homemade goodness is always within arm’s reach.
Moreover, crafted with simple ingredients and straightforward steps, these muffins extend a warm invitation even to the most inexperienced baker. Whether seeking solace in the therapeutic rhythm of afternoon baking or yearning to surprise loved ones on a leisurely Saturday morning, these easy blueberry muffins offer a delectable solution! Dive deeper into the world of blueberry delights and discover more tantalizing recipes on my blog, Gluten-Free Raspberry Muffins, Gluten Free Pumpkin Muffin.
This beautiful recipe for Gluten-Free Blueberry Muffins has all the comforting flavors and aromas of your favorite morning treat, with none of the gluten! Discover how easy gluten-free baking can be with this stress-free recipe!
What you will need to make this Recipe

Gluten-Free Flour – it makes the base of your dry ingredients. There are many options available, and you can use your favorite; however, if you’re unsure what type of gluten-free flour is best, try baking with rice flour or a gluten-free all-purpose flour blend. Both choices are available in the baking aisle, and both produce great textured muffins. Bob Red’s Mill 1-1 Cup Gluten Free Flour.
Whole Milk – In this muffin recipe, milk helps thin out the batter and adds creamy, richness to the final flavor. Whole milk is a great choice, with or without lactose.
Greek Yogurt – A little tangy yogurt brings some much-needed acid to these irresistible muffins. Use plain yogurt, not flavored. Greek Yogurt
Unsalted Butter – butter adds the rich and creamy fat needy to bring this recipe together. For lighter and fluffier muffins melt the butter before starting this recipe. If desired, you can swap half of the butter for vegetable oil.
Lemon Zest – the zest of the lemon has a bold citrus flavor that makes this recipe sing!
Lemon Juice – this bright citrus balances the dark blueberry flavor perfectly. Use freshly squeezed or bottled for this recipe, but it is best to use fresh it’s like a perfect marriage with Blueberries.
Vanilla Extract – a touch of vanilla flavor makes these berry-filled muffins pop! Use a pure vanilla extract if possible. Vanilla Bean Paste.
How to make Gluten Free Blueberry Muffins

- First, pre-heat oven to 375°F and line up muffin tin with paper liners. In a medium bowl, whisk together the gluten free flour, baking powder, baking soda and salt.In a small bowl, toss the blueberries with a tablespoon of the dry mixture to combine. Doing this will prevent the berries from sinking to the bottom of the batter.

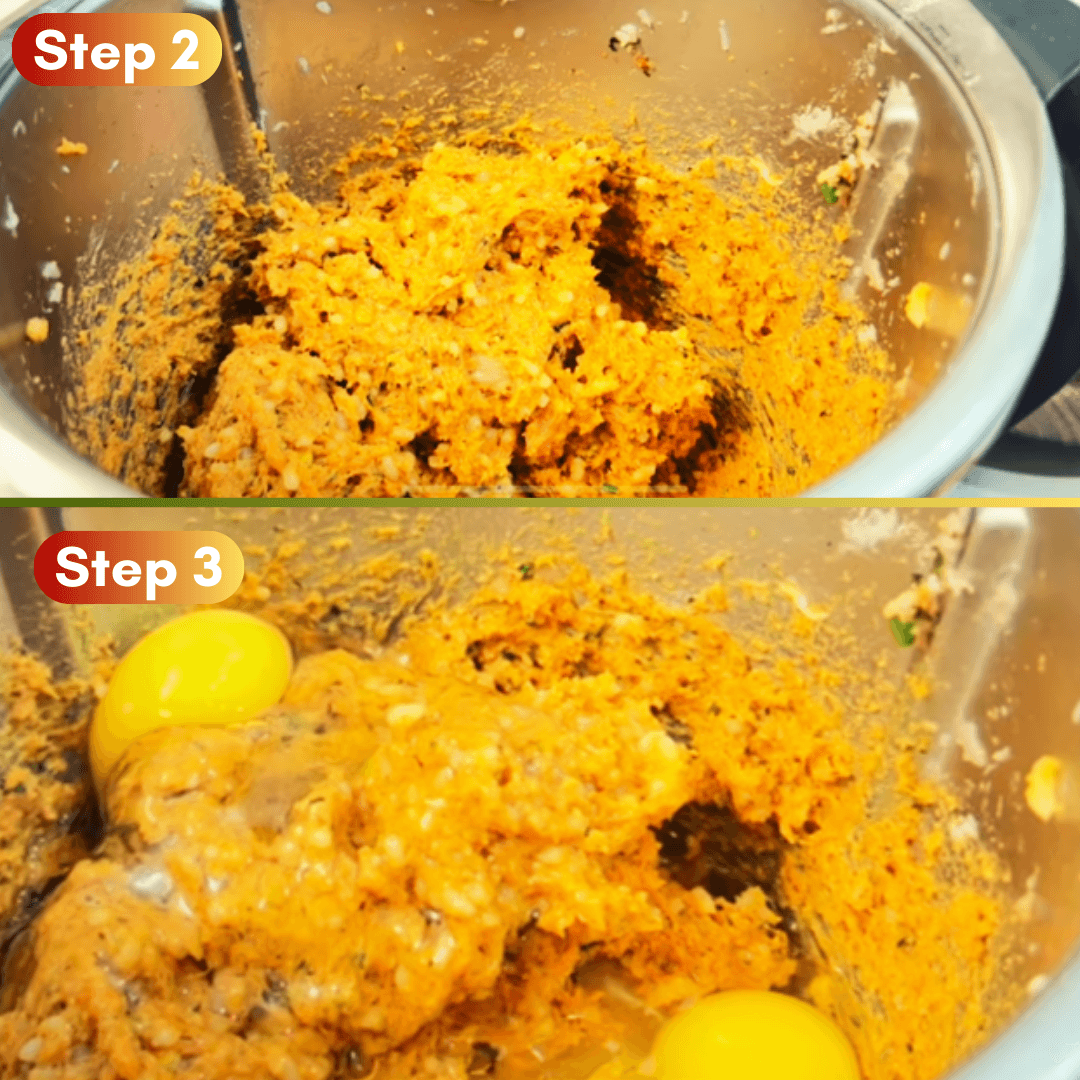
3. In a large bowl, beat the eggs, butter, vanilla extract and sugar together on a medium speed about 3 minutes until fluffy.
4. Pour 1/3 of the dry ingredients into the wet ingredients and whisk together.

5. Pour and mix half of the milk into the batter, then alternate mixing in 1/3 of the flour mixture followed by the rest of the milk, yogurt and remaining flour until combined.
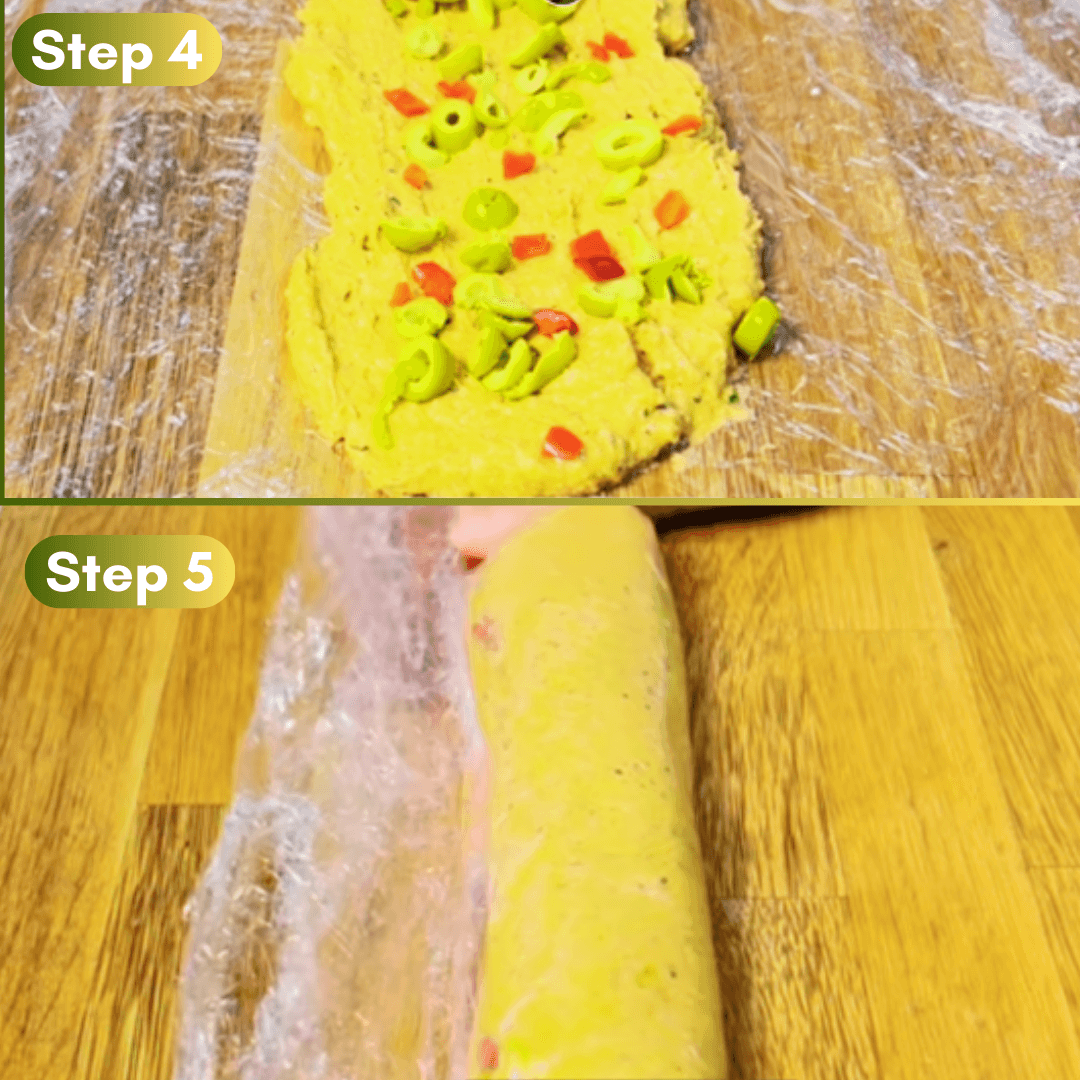
6. Gently fold in the floured blueberries.

7. Divide the batter equally among the muffin pan liners.
8. Sprinkle the streusel on top of each muffin and if desired, scatter more blueberries on top. Bake for 20 minutes or until the toothpick inserted into the center comes out dry with moist crumbs. Let the muffins cool in the tin for 5 minutes before removing them and placing them on a wire rack to cool for 15 to 20 minutes.
Tips and Tricks for making this Recipe
- Don’t skip tossing the berries in the flour mixture, this prevents them from sinking in the bottom of the muffins.
- Use an ice cream scoop or larger Disher to fill the muffin tin so every portion comes out even.
- Check these muffins using the toothpick test, if the toothpick comes out dry the muffins are done.
- You can substitute sour cream for yogurt.
- Eggs, milk, and yogurt should be room temperature which help the muffins to bake beautifully and evenly.
- You can substitute milk for any nondairy milk of your choice or even use water, but I am not sure if the result will be the same taste and texture.
How to Serve These Gluten-Free Blueberry Muffin
Enjoy these muffins while they’re warm with a little spread of butter, apple sauce, or simply some apples, or try them after they’ve cooled for a great on-the-go snack. They are the perfect mate for orange juice, coffee, oat milk Matcha latte or even a mimosa!
Any way you slice them, these awesome Gluten-Free Blueberry Muffins are loaded with berries and great for any occasion!
Can You Store Gluten-Free Blueberry Muffins?
To store these tasty muffins, allow them to cool then move them to an airtight container. These muffins can be kept on the counter for up to 4 days, up to one week in the refrigerator and up to three months in freezer, if you can resist them for that long like me 🙂
Reheat them in the microwave or toaster oven, or simply enjoy them at room temperature, it is your choice, but I definitely enjoy them even after 10 days in the refrigerator warmed up in a toaster oven.
Please leave me a comment below if you try this recipe.
Thank you!


Amazing Gluten Free Blueberry Muffin
Description
Discover the ultimate gluten-free blueberry muffin recipe! Indulge in tender, heavenly flavorful muffins bursting with juicy blueberries. Perfect for gluten-sensitive diet. Try it and you will not be disappointed!
Ingredients
Ingredients for the Optional Streusel Topping
Instructions
- Preheat your oven at 375°F.
- Grease or line up a muffin tin with muffin liners.
- In a bowl add all the dry ingredients and whisk together gently.
- In a Separate bowl, add the room temperature eggs, and whisk for just few minutes, then add all the other wet ingredients. Whisk gently, no need to over mix.
- Add a few pinches of the dry mix into a small bowl and gently toss the blueberries in this flour mixture, this will prevent the blueberries from sinking to the bottom of the muffins.
Add the dry ingredients to the wet and gently whisk to combine. - Carefully fold in the blueberries.
- Use a large scoop to fill the prepared muffin tin with batter.
- Top with extra blueberries and optional streusel topping, which will give the muffins a nice finish.
- Bake for 20 minutes or until fully puffed up and golden brown, you will notice especially after the toothpick comes out dry.
Notes
- Please leave me a comment below if you have tried this recipe. Happy Baking!!!
Nutrition Facts
Servings 12
Serving Size 2
- Amount Per Serving
- Calories 230kcal
- % Daily Value *
- Total Fat 9g14%
- Saturated Fat 5g25%
- Trans Fat 0.2g
- Cholesterol 50mg17%
- Sodium 200mg9%
- Potassium 75mg3%
- Total Carbohydrate 30g10%
- Dietary Fiber 1g4%
- Sugars 15g
- Protein 5g10%
- Vitamin A 300 IU
- Vitamin C 2 mg
- Calcium 72 mg
- Iron 1 mg
* Percent Daily Values are based on a 2,000 calorie diet. Your daily value may be higher or lower depending on your calorie needs.


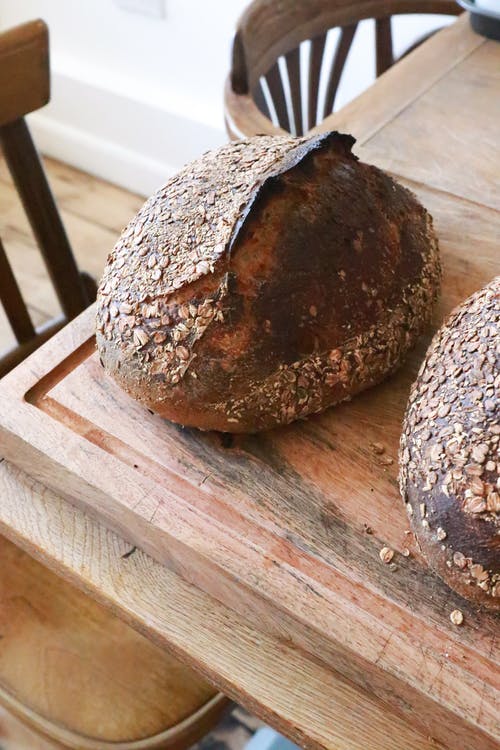 Dinner Rolls are a staple side dish in nearly every home. No matter where in the world you live, adding some type of grain to your meal is a hearty compliment to breakfast, lunch, or dinner.