Cali
CaliIndulge in Perfection with Our Gluten-Free Raspberry Muffins!
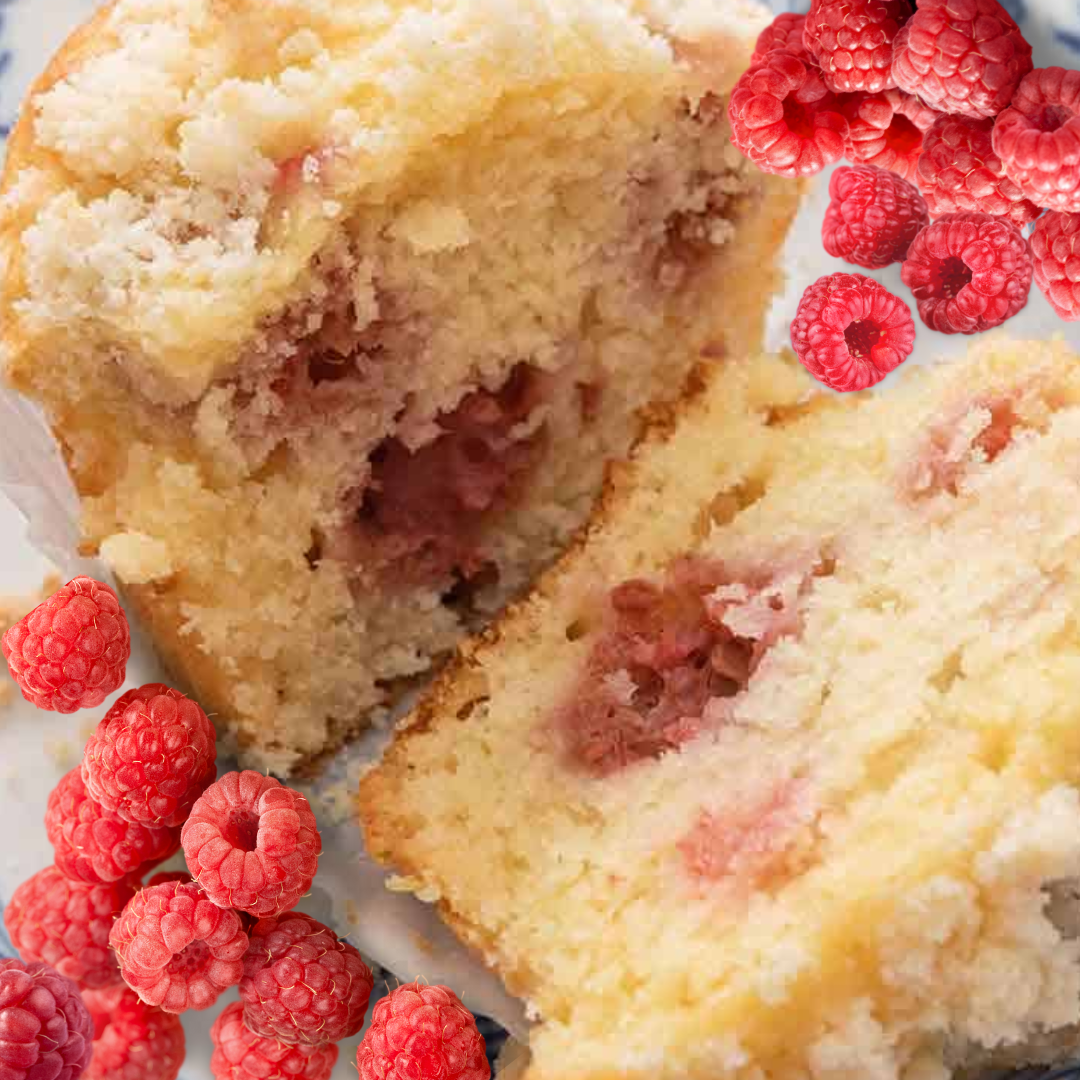
Get ready to elevate your mornings with a burst of flavor courtesy of our delightful Raspberry Muffins recipe! These muffins boast bakery-quality goodness, brimming with juicy fresh raspberries and crowned with a simple yet irresistible crunchy streusel topping. Prepare to be enchanted by every bite—you’ll find it hard to resist reaching for a second one!
Experience the epitome of fluffy, moist, and flavor-packed delight in every bite with our best-ever gluten-free raspberry muffins. Elevate your taste buds with this tantalizing blend of tender textures and bursting raspberry flavors. A gluten-free treat that’s sure to leave you craving more!

Elevate Your Baking Game with these Irresistible Homemade Raspberry Muffins!
Become a Culinary Hero with Gluten-Free Raspberry Muffins
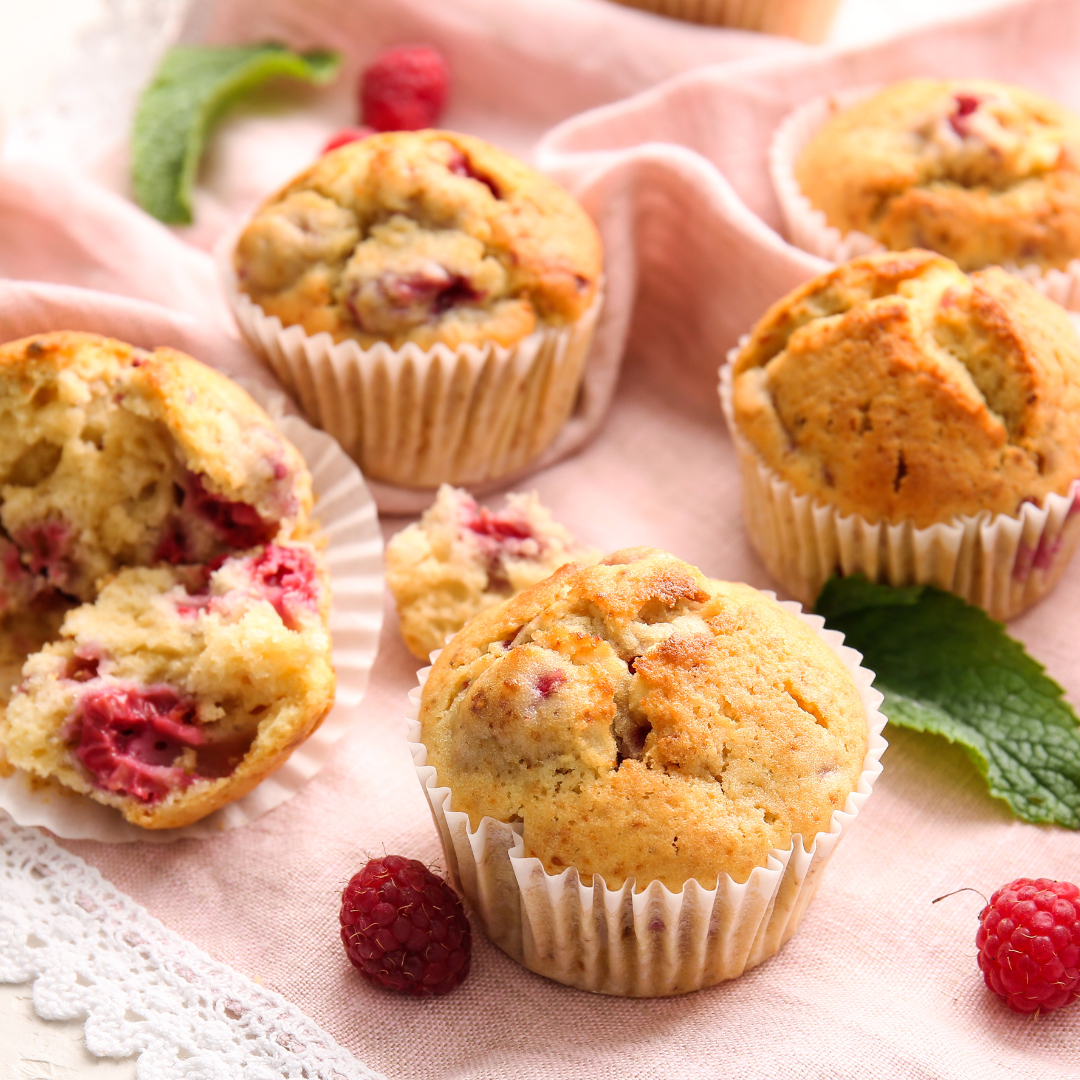
Prepare to dazzle your kitchen audience with homemade gluten-free raspberry muffins, a favorite that always impresses. Perfect for breakfast or as an afternoon snack, these muffins disappear quickly—doubling the recipe might be wise. They’re infused with zesty lemon, filled with juicy raspberries, and have a soft, fluffy texture that’s utterly delightful.
Effortless and Mixer-Free Baking
These muffins are a breeze to make from scratch without needing a mixer, making them a perfect choice for any baker. If you’re planning ahead, these muffins are ideal for batch baking and stocking up your freezer.
Morning Rituals and Freezer-Friendly Delights
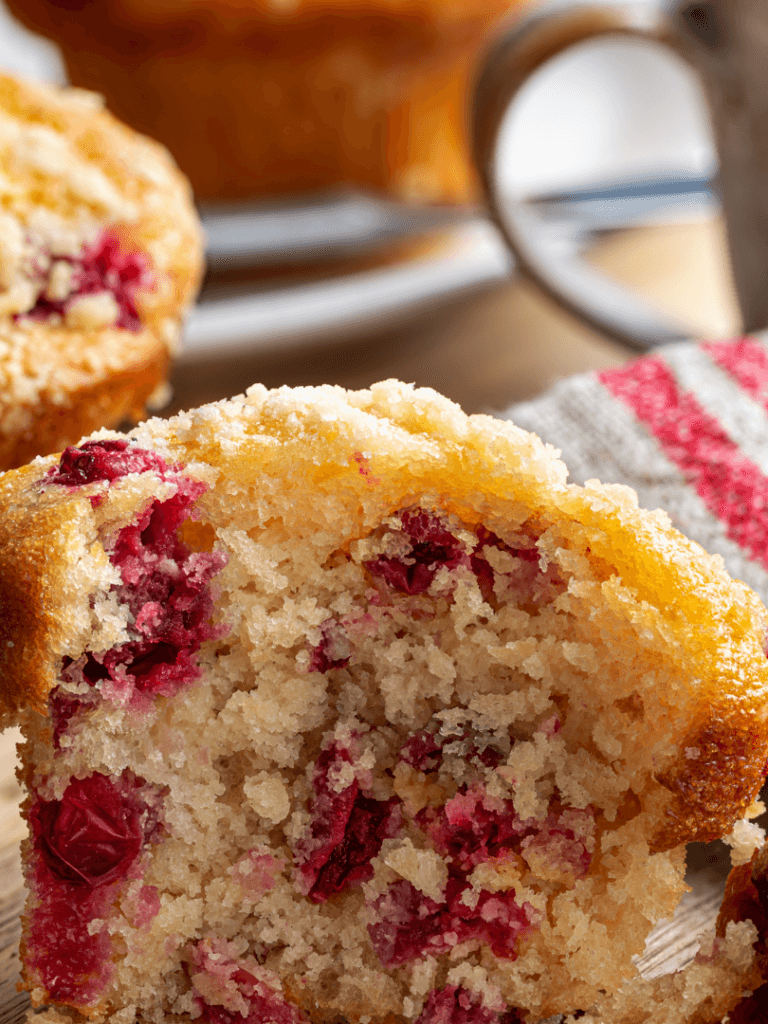
Envision starting your day with a warm, homemade muffin and a hot cup of coffee—a guaranteed joy-filled morning ritual. For those looking to fill their freezer with a variety of morning treats, don’t miss out on trying my gluten-free blueberry and pumpkin muffins as well.
What you will need to make this recipe

Perfecting Muffins with the Right Ingredients
Gluten Free Flour- The perfect gluten free flour blend I used is Bod Red’s Mill one to one cup gluten free flour. Gluten Free Flour Blend
Raspberries- Using fresh raspberries in my recipes is something I always aim for, emphasizing the importance of fresh ingredients to enhance flavors.
Unsalted Butter- The secret behind the muffins’ great flavor and their soft, tender, and moist texture? Unsalted butter, especially when served warm. Although some might consider using vegetable oil to maintain moisture without needing to warm them up, the outcome will differ significantly from using butter.
For those looking to perfect their streusel topping, cold butter is essential for achieving the best results. Should you choose to use melted butter, take care to melt it well in advance. This precaution ensures it cools down sufficiently, avoiding any risk of prematurely cooking the eggs upon mixing.
Vanilla Extract- Adding vanilla extract into the mix elevates the aroma, making the whisking process a truly heavenly experience. I used Vanilla Bean Paste.
How to make Gluten Free Raspberry Muffins
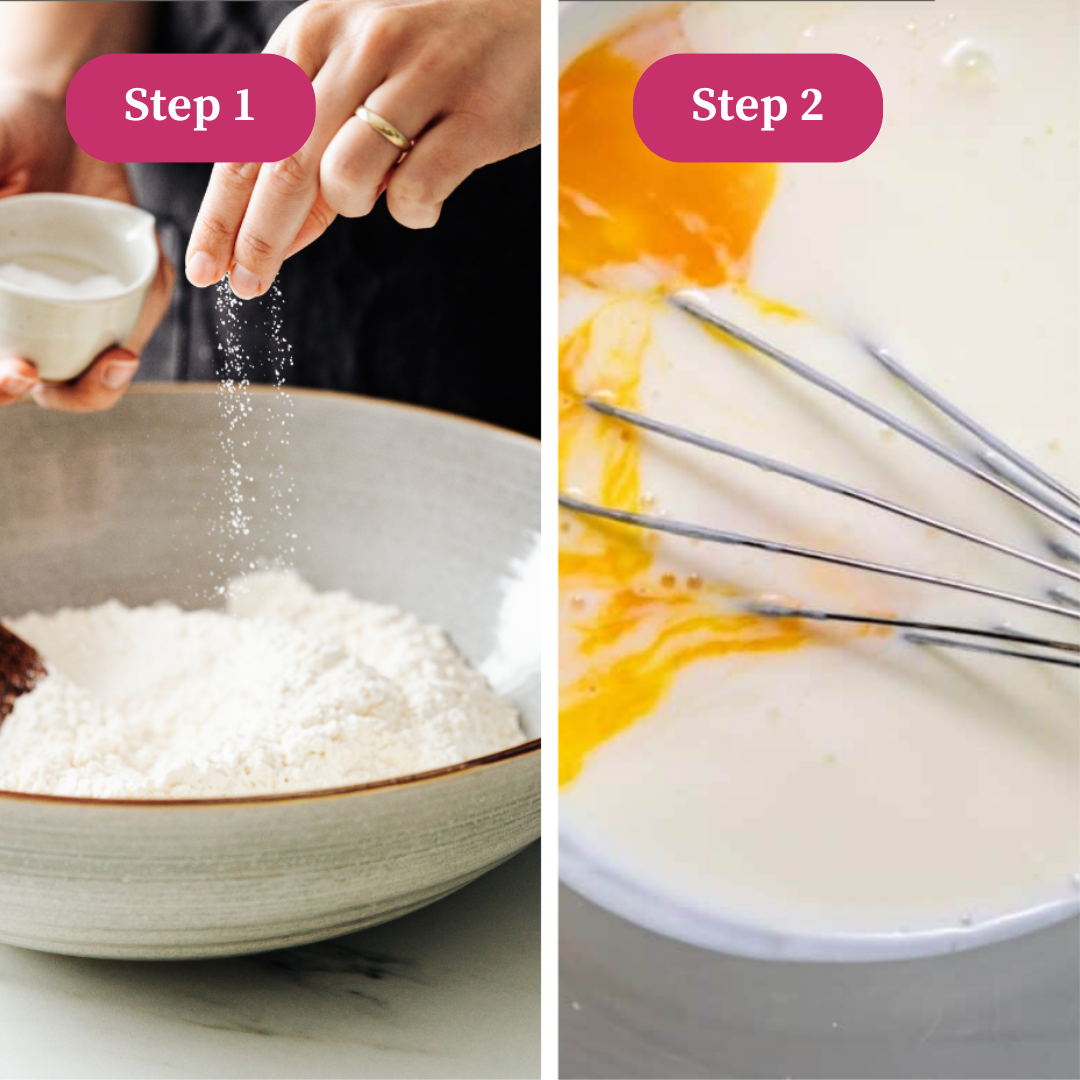
Step 1- In a large bowl, whisk together all dry ingredients.
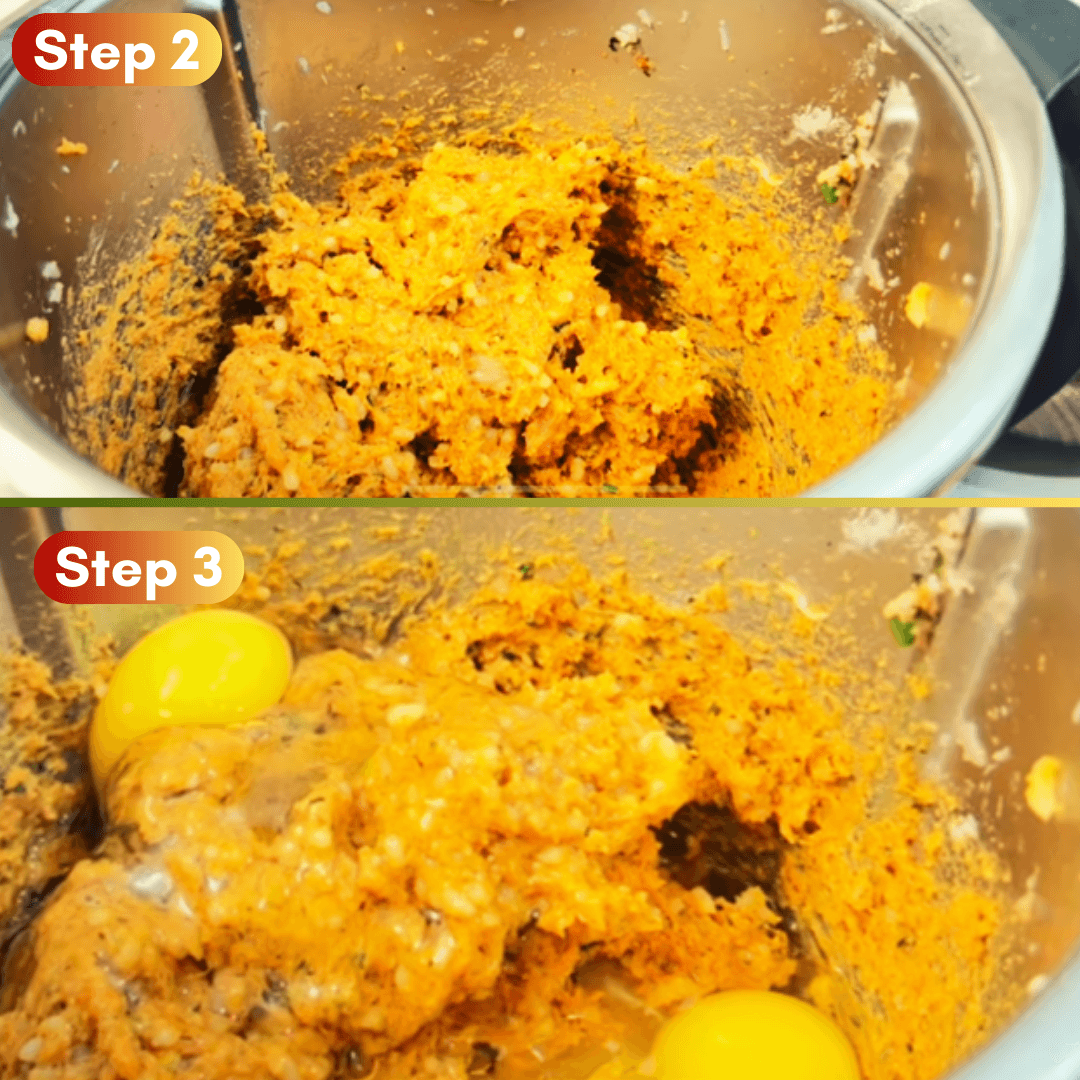
Step 2- In a separate medium bowl, combine the wet ingredients.
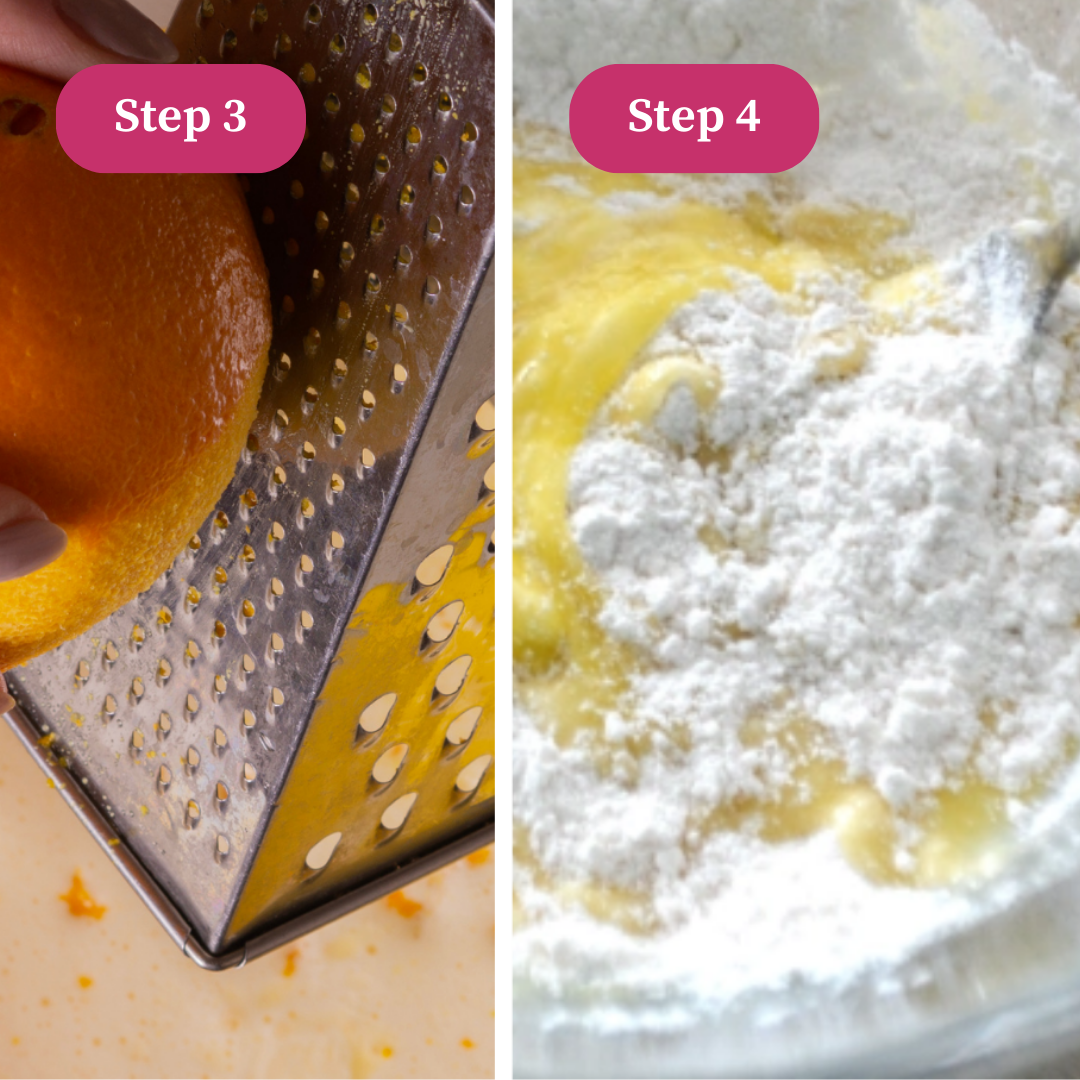
Step 3- Zest the orange into the wet ingredients and mix to combine.
Step 4- Fold the egg mixture into the flour mixture, stirring just until combined.
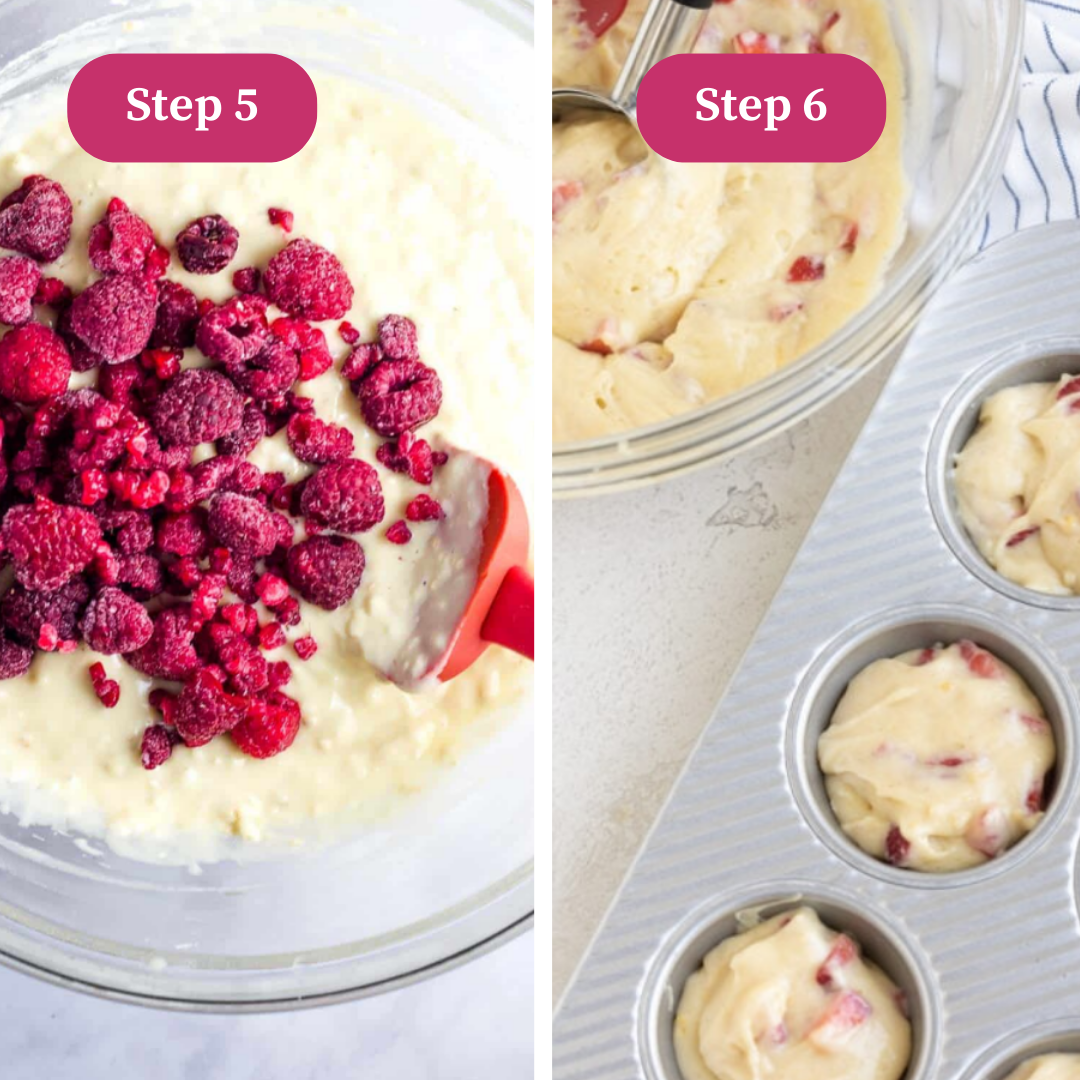
Step 5- Fold in the raspberries. Avoid over mixing the raspberries as they might end up breaking in your mixture.
Step 6- Add the muffin batter to either a lined or buttered muffin tin, I used both.

Step 7- Make the streusel by cutting the butter into flour mixture with a pie blender or pastry blender cutter measuring at least 1.5mm, mix well until all incorporated.
Step 8- Top the muffins with the streusel and bake for 20-25 minutes or until golden brown on top and the toothpick is dry.
Pro Tips for Mastering This Recipe
- If you are using frozen raspberries in place of fresh, there is no need to thaw them.
- Accurate flour measurement is crucial; too much flour can result in dense muffins. Utilize a scale for precise measurements or fluff the flour with a spoon, then level it off with a knife.
- If skipping paper liners, ensure thorough buttering and flouring of the muffin tin wells.
- To Check if the muffins are ready, insert a knife or a toothpick into the center of one muffin, and if it comes out dry and clean, they have finished baking.
- To ensure the muffins are perfectly baked, simply insert a toothpick into the center of one; if it emerges clean without any batter residue, they’re good to go.
- Opt for real vanilla extract for an authentic flavor kick.
- When using frozen raspberries instead of fresh, there’s no need to thaw them beforehand.
- These muffins toe the line between muffins and cupcakes, offering a tender, cake-like texture. For a cupcake twist, skip the streusel and consider topping them with my luscious Italian Buttercream flavored with a raspberry reduction for an exquisite treat.
- Store in airtight container after cooling for up to 3 days if made with oil, if made with butter store them in an airtight container in the refrigerator for up to 5 days.
- For a savory, exquisite taste warm-up your muffin in an oven toaster for 10-15 minutes.
- Allow your raspberry muffins to cool for at least 10 minutes before removing them from the tin.
Frequently Asked Questions
Can I change the berry?
If you’re feeling adventurous and want to put your own twist on these delectable muffins, go ahead and experiment with a variety of berries to suit your taste buds. Consider incorporating blueberries, blackberries, or even diced strawberries for a vibrant burst of flavor. For a more daring approach, why not divide the batter and introduce different berries to each half—creating a medley of berry goodness in every bite!
Can I change to a different gluten free flour brand?
The result might not be the same, as each gluten free flour brand have a different scale measurement and ingredients.
Can I use a different butter brand?
Feel free to use any unsalted butter brand, I personally like this brand because it’s creamier.
What does it mean to “cut in the butter”?
“Cutting in butter” entails blending cold butter into the dry ingredients to create a crumbly mixture with small butter pieces distributed throughout. Use a pastry blender, forks, or your fingers to achieve this texture, ensuring the butter remains distinct from the flour. Proper incorporation of butter ensures a perfect streusel topping that holds its shape during baking.
Can I freeze these muffins?
Yes, these muffins can be stored in the freezer, by freezing them on a tray until fully frozen, then transfer them to a freezer bag, or simply store them in a 13×9 Pyrex container. Press the air out from the freezer bag and store for up to two months. When you are ready to enjoy them, just thaw them overnight in the fridge and warm up in the microwave or oven toaster.
Freezing Instructions for Future Enjoyment
When it comes to extending the lifespan of these delightful treats, freezing is your best friend. Follow these simple steps to freeze your raspberry (or berry of choice) muffins for later indulgence:
-
- Freeze on a Tray: Place the muffins on a tray in a single layer and pop them into the freezer until they are completely frozen.
- Storage in Freezer Bag: Once frozen solid, transfer the muffins into a freezer bag. Squeeze out any excess air before sealing the bag tightly.
- Storage Duration: Your frozen muffins can be safely stored for up to two months without compromising their taste and quality.
- Thawing and Reheating: When the craving strikes, remove the desired number of muffins from the freezer and thaw them overnight in the refrigerator. To enjoy them warm, simply reheat in the microwave or defrost gently using the microwave.
With these freezing tips at your disposal, you can always have a stash of your favorite berry-infused muffins ready to brighten up your day whenever the mood strikes!
Please- If you’ve tried these gluten free raspberry muffins recipe, then don’t to rate the recipe and let me know how you like them in the comments below. I would love hearing from you! Thank you,

Amazing Gluten-Free Raspberry Muffins
Description
“Get ready to kickstart your morning with sheer excitement courtesy of our fluffy gluten free Raspberry Muffins recipe! Packed with juicy raspberries and crowned with delectable crunchy streusel topping, these bakery-quality delights are simply irresistible. Prepare to fall head over heels for every mouthful- Gluten free breakfast has never tasted this good!”
Ingredients
Streusel Topping
Instructions
- In a bowl whisk all the dry ingredients and set aside.
- In another bowl, add the eggs, the milk and the juice, the butter, and vanilla extract then zest either the orange or the lemon, and whisk all these wet ingredients.
- Add that sunny beautiful color of the liquid mixture that smells amazing to the flour mixture.
- Fold the batter together until everything is wet.
- It’s okay if you still can see some pockets of flour.
- Add the raspberries and fold them gently into the mixture, you will no longer see the pockets.
- Set the batter aside then grease or line a 12-cup muffin tin with paper liners.
- Divide your muffin batter evenly among your 12 muffin cups.
- It’s time to top that delicious streusel we made earlier.
- Top some raspberries on for an extra color and yumminess.
- Bake for 20-25 minutes or until a toothpick inserted comes out clean.
- Let cool in the tin for 5 minutes before transferring to a wire rack to cool completely.
- In a bowl add all your dry ingredients, add the butter and start working the mix with your hands.
- I like to use cold butter, but let me know in the comment below, if you like to make your streusel with melted butter and why do you prefer it that way.
- Set aside and now let’s make these delicious muffins.
Streusel Topping Instructions
Notes
- My favorite Gluten Free flour to use is Bob’s Red Mill one to one cup baking flour.
To keep that bright, buttery and fluffy color, I used but if you prefer to use brown sugar, it will change the color of your muffin.
I used in this recipe lactose free milk, but you can substitute with dairy milk, almond milk or coconut milk.
Preferably room temperature eggs, it helps with the texture of your muffin and creates a moist center.
Fresh or frozen, I prefer using fresh raspberries.
I am not using this baking soda because I want my muffins to look nice and light.
Use melted butter for added moistness and flavor but you can substitute with olive oil or any other oil of your choice, or you can do 1/4 cup oil and 1/4 cup butter.
Adding orange zest and juice to your raspberry muffins adds a bright, citrusy flavor that complements the sweetness of the raspberries perfectly.
Nutrition Facts
Servings 12
Serving Size 2
- Amount Per Serving
- Calories 300kcal
- % Daily Value *
- Total Fat 3g5%
- Saturated Fat 2g10%
- Trans Fat 1g
- Cholesterol 2mg1%
- Protein 1g2%
* Percent Daily Values are based on a 2,000 calorie diet. Your daily value may be higher or lower depending on your calorie needs.