Cali
Cali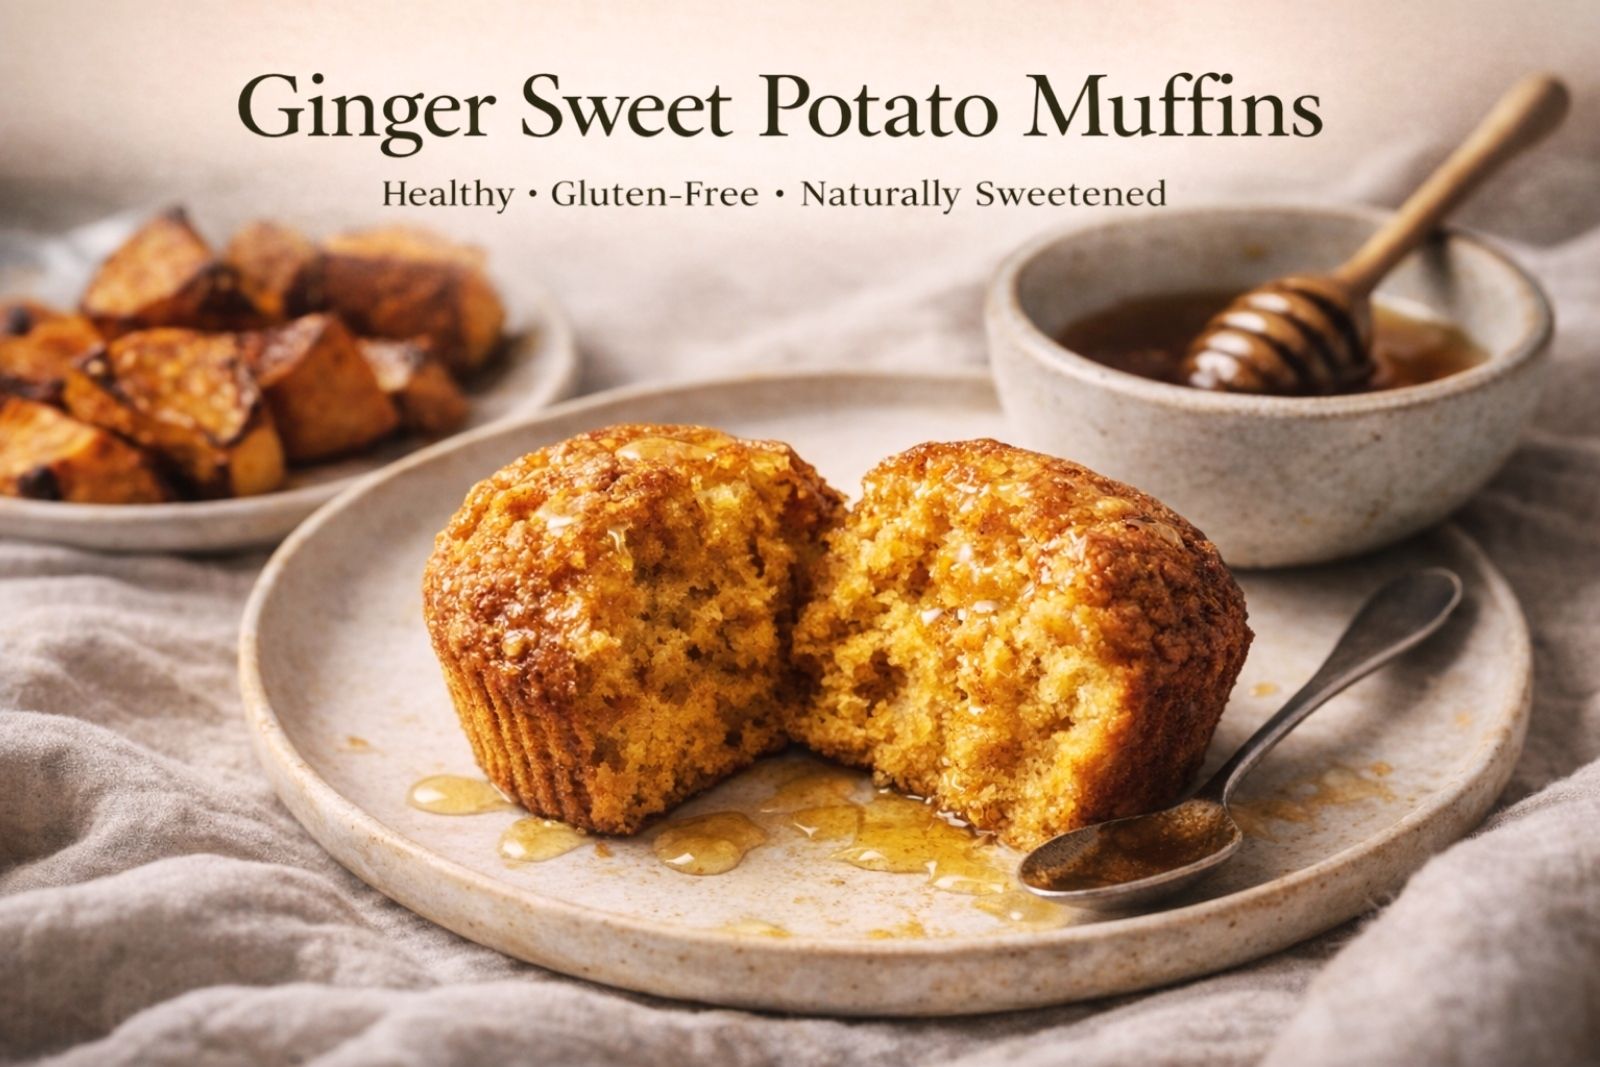
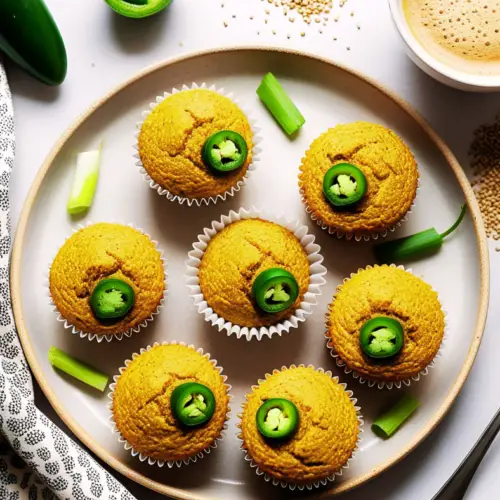
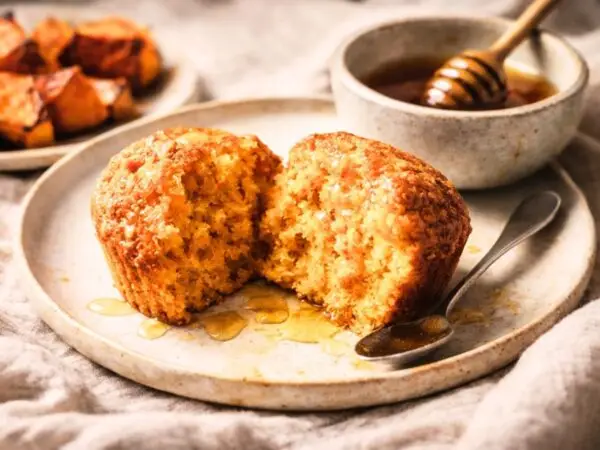
These sweet potato muffins are everything you want in a cozy bake—soft, moist, lightly spiced, and naturally sweet. Made with wholesome ingredients and a touch of warmth from cinnamon and maple, they’re perfect for breakfast, snack time, or a comforting treat with your coffee.
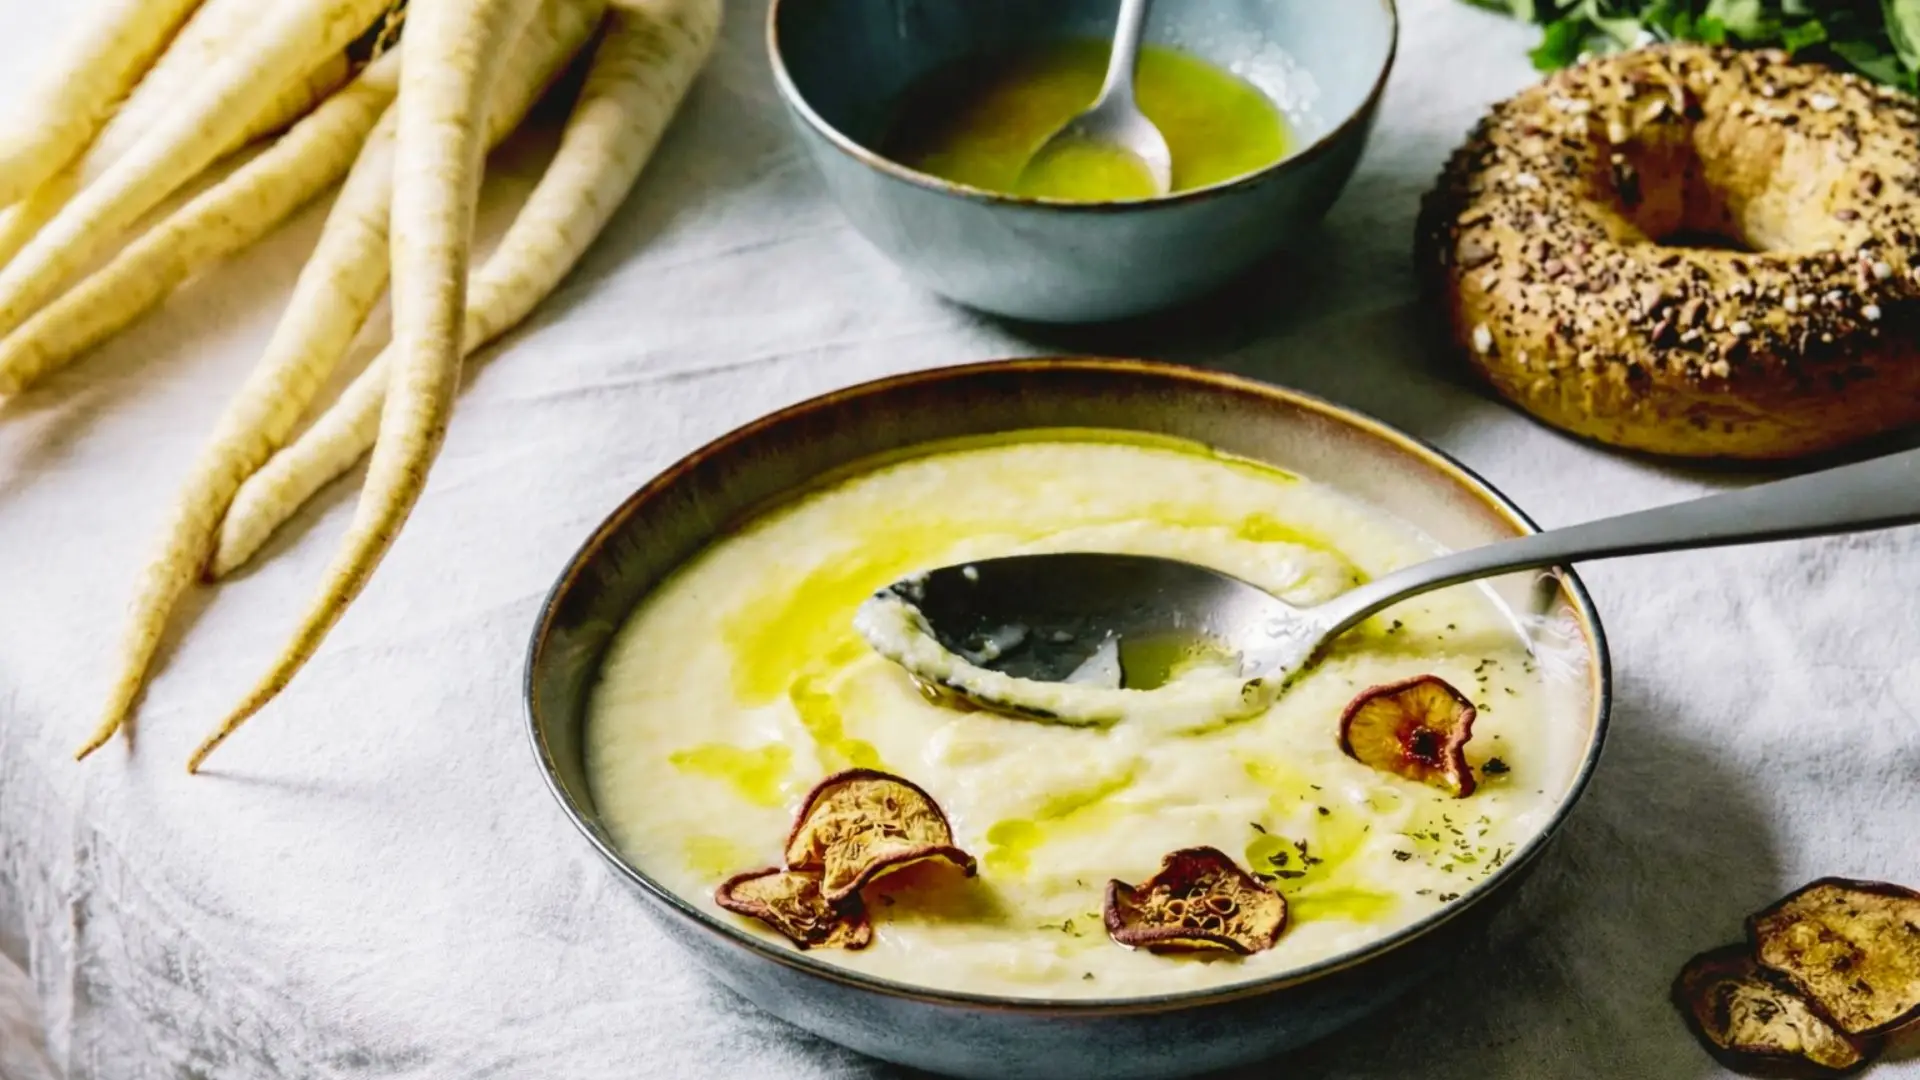
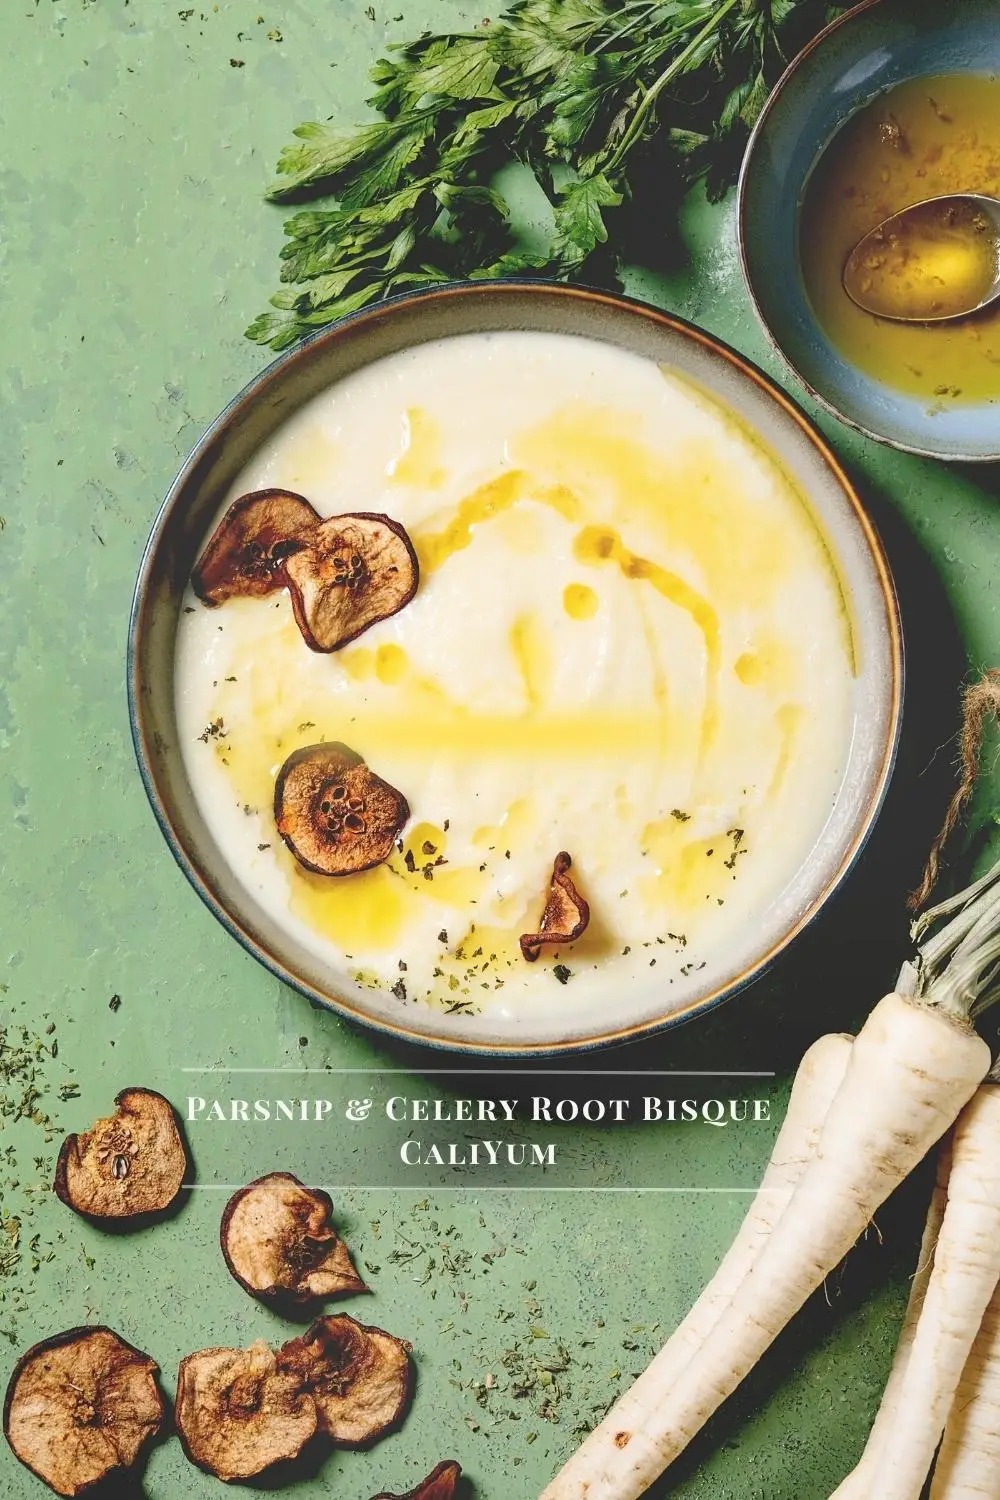
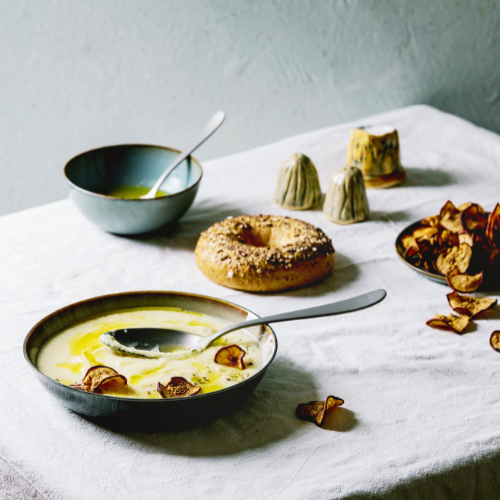
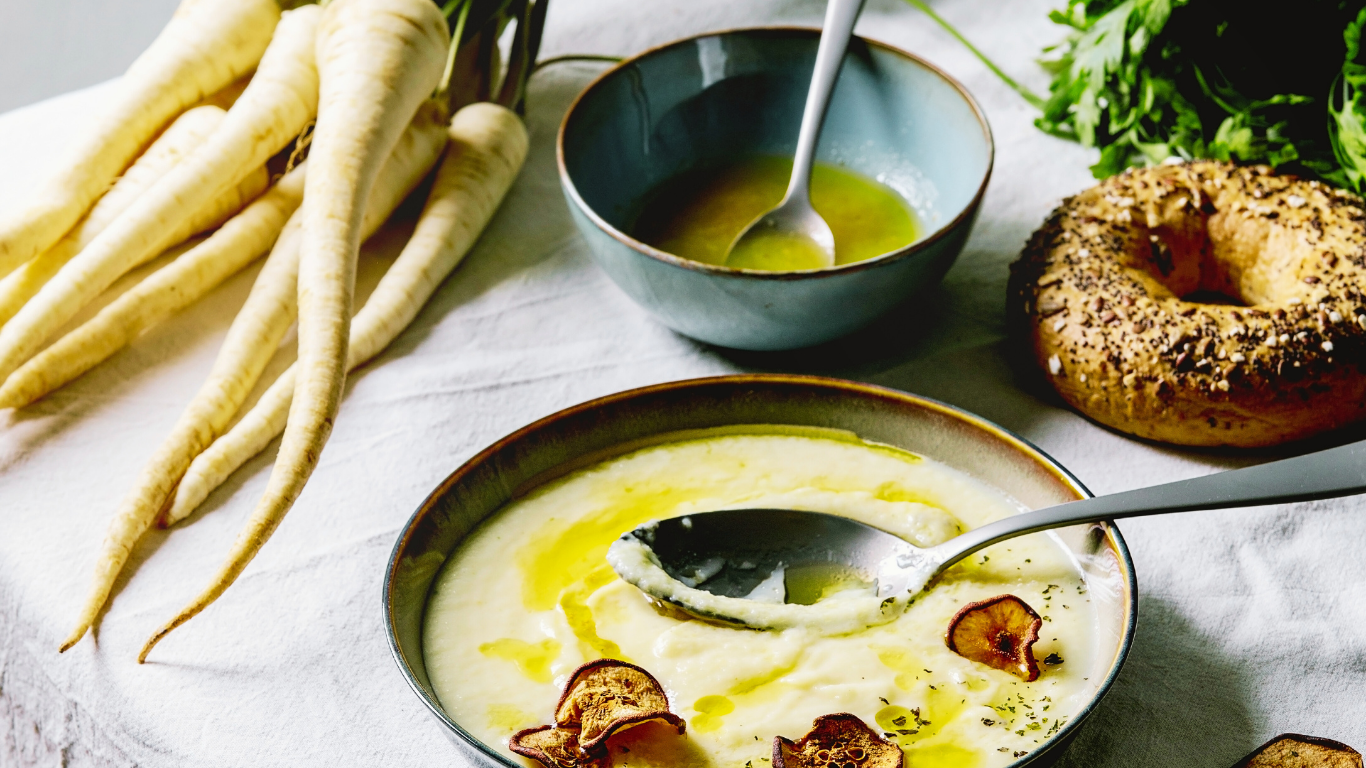
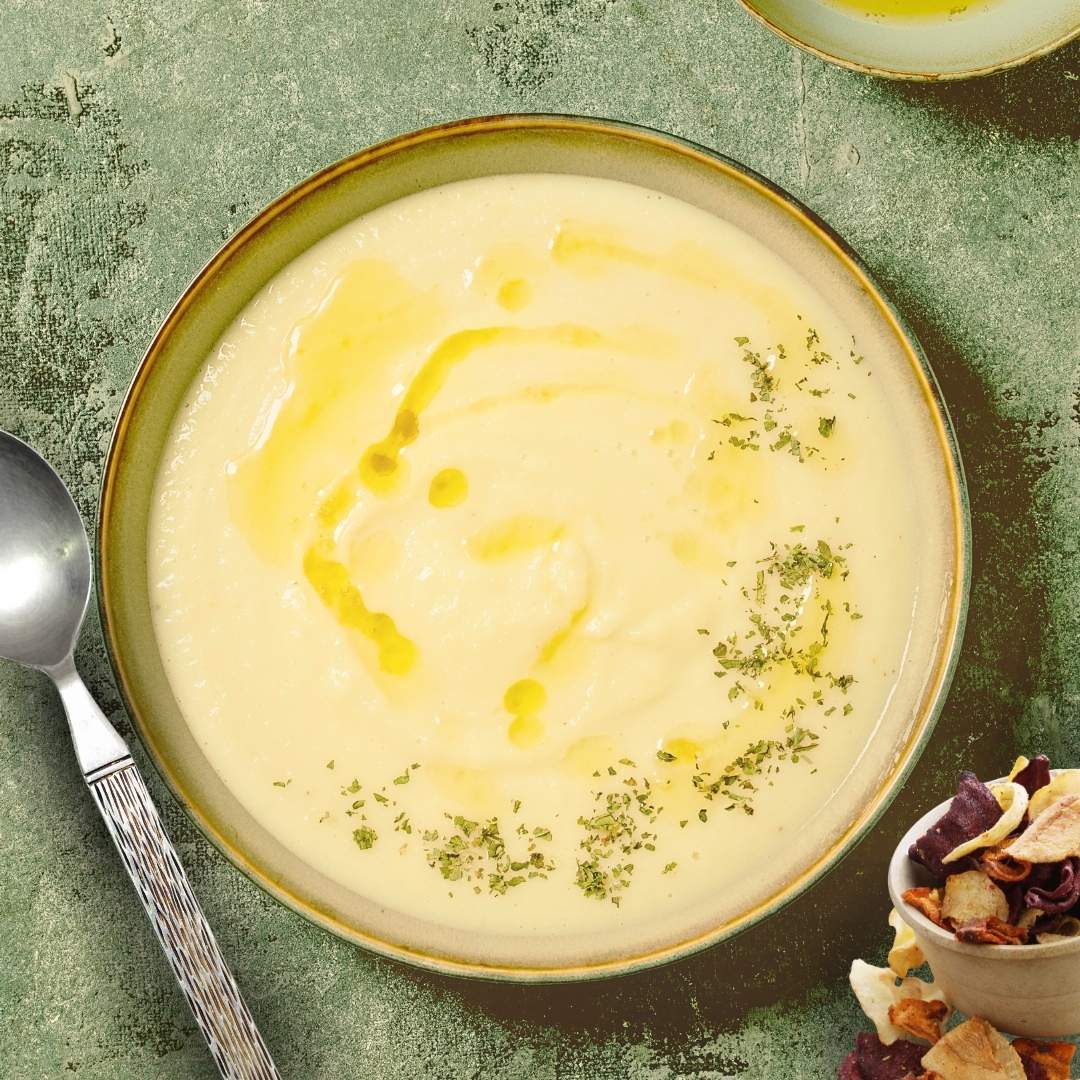
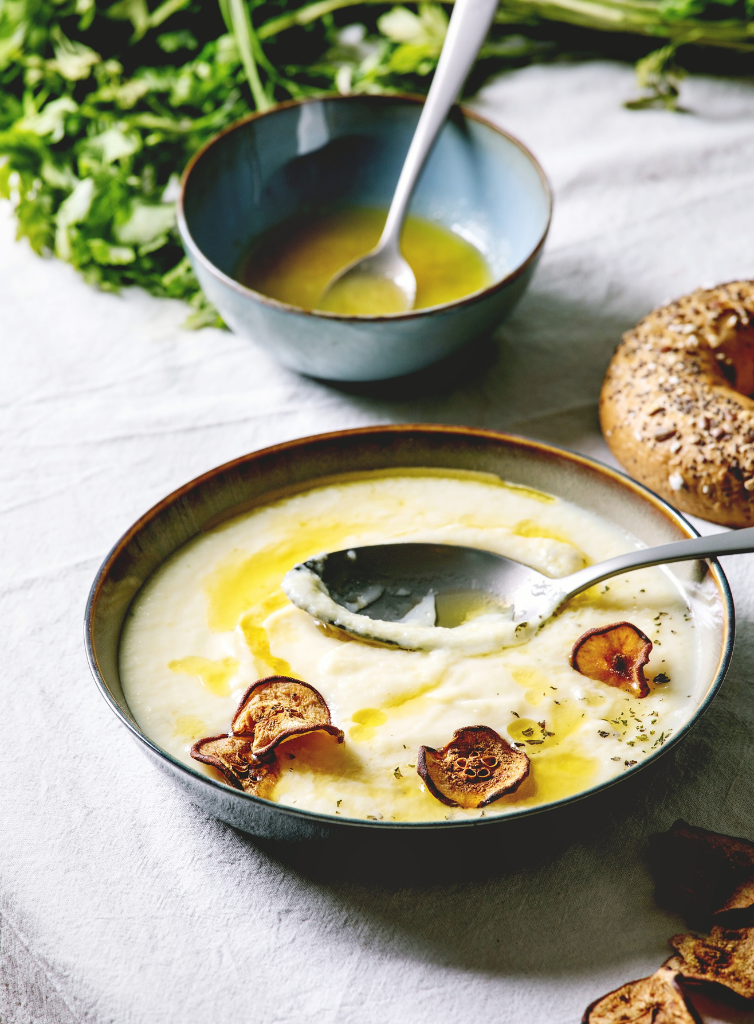
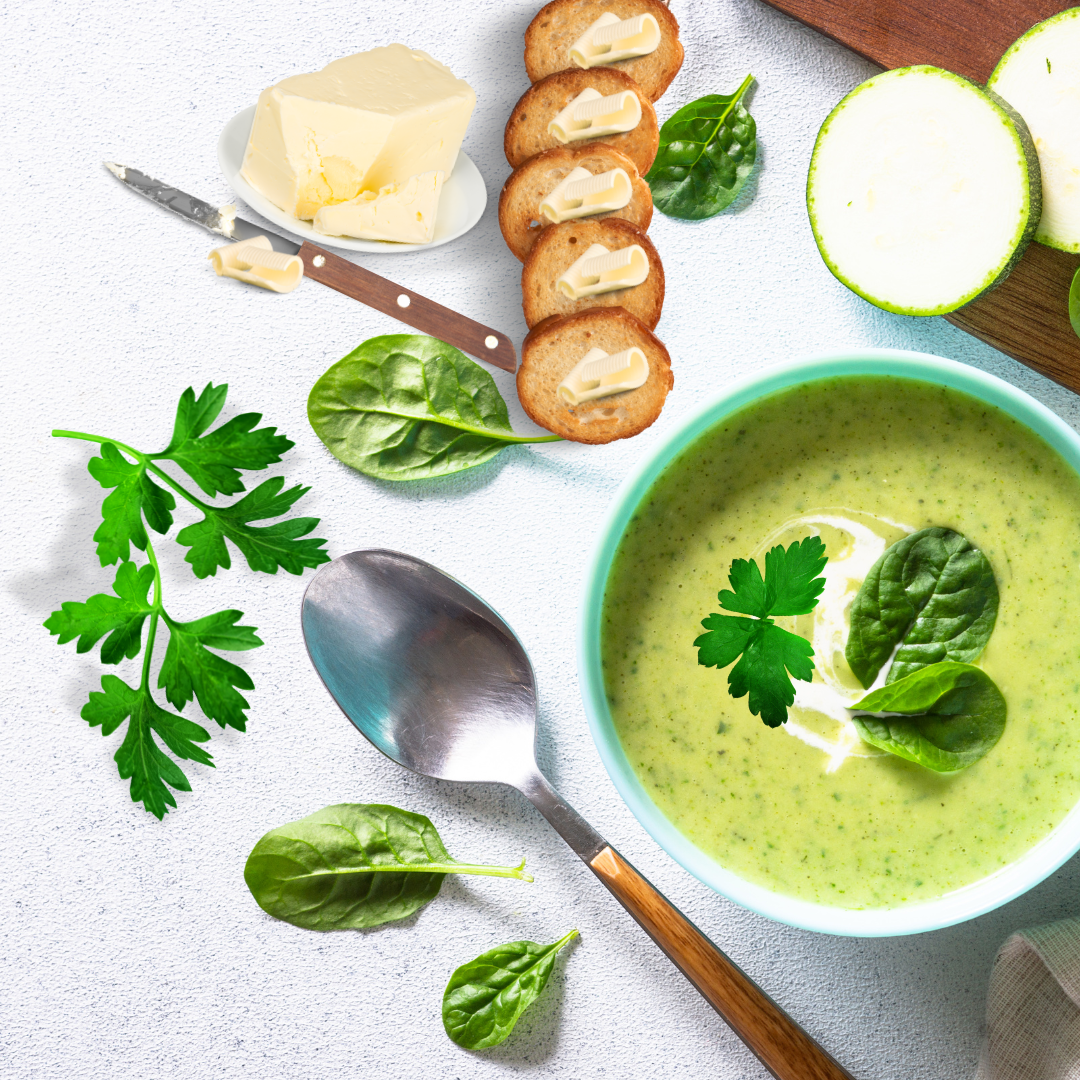
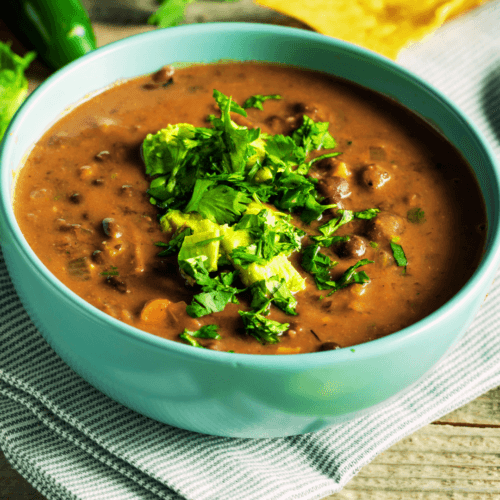
“If you loved this cozy flavor profile, you’ll also enjoy my Parsnip & Celery Root Bisque”-—another warm and comforting CaliYum favorite.
Why You’ll Love This Recipe
- Naturally sweetened with maple syrup and sweet potato
- Soft, moist texture without being heavy
- Gluten-free and nourishing
- Perfect for breakfast, snack, or meal prep
- Cozy fall flavors you’ll crave all year
Did you know?
Sweet potatoes are rich in fiber, vitamin A, and antioxidants, making them not only delicious but also incredibly nourishing. Their natural sweetness also allows you to reduce added sugars in baking—win-win!
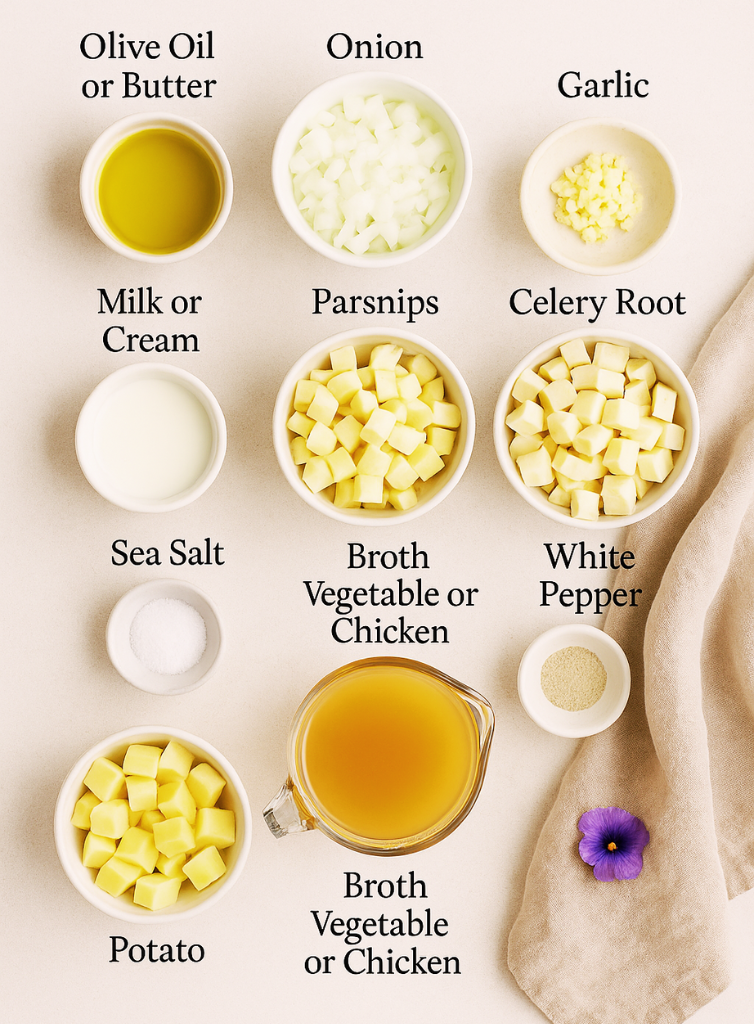
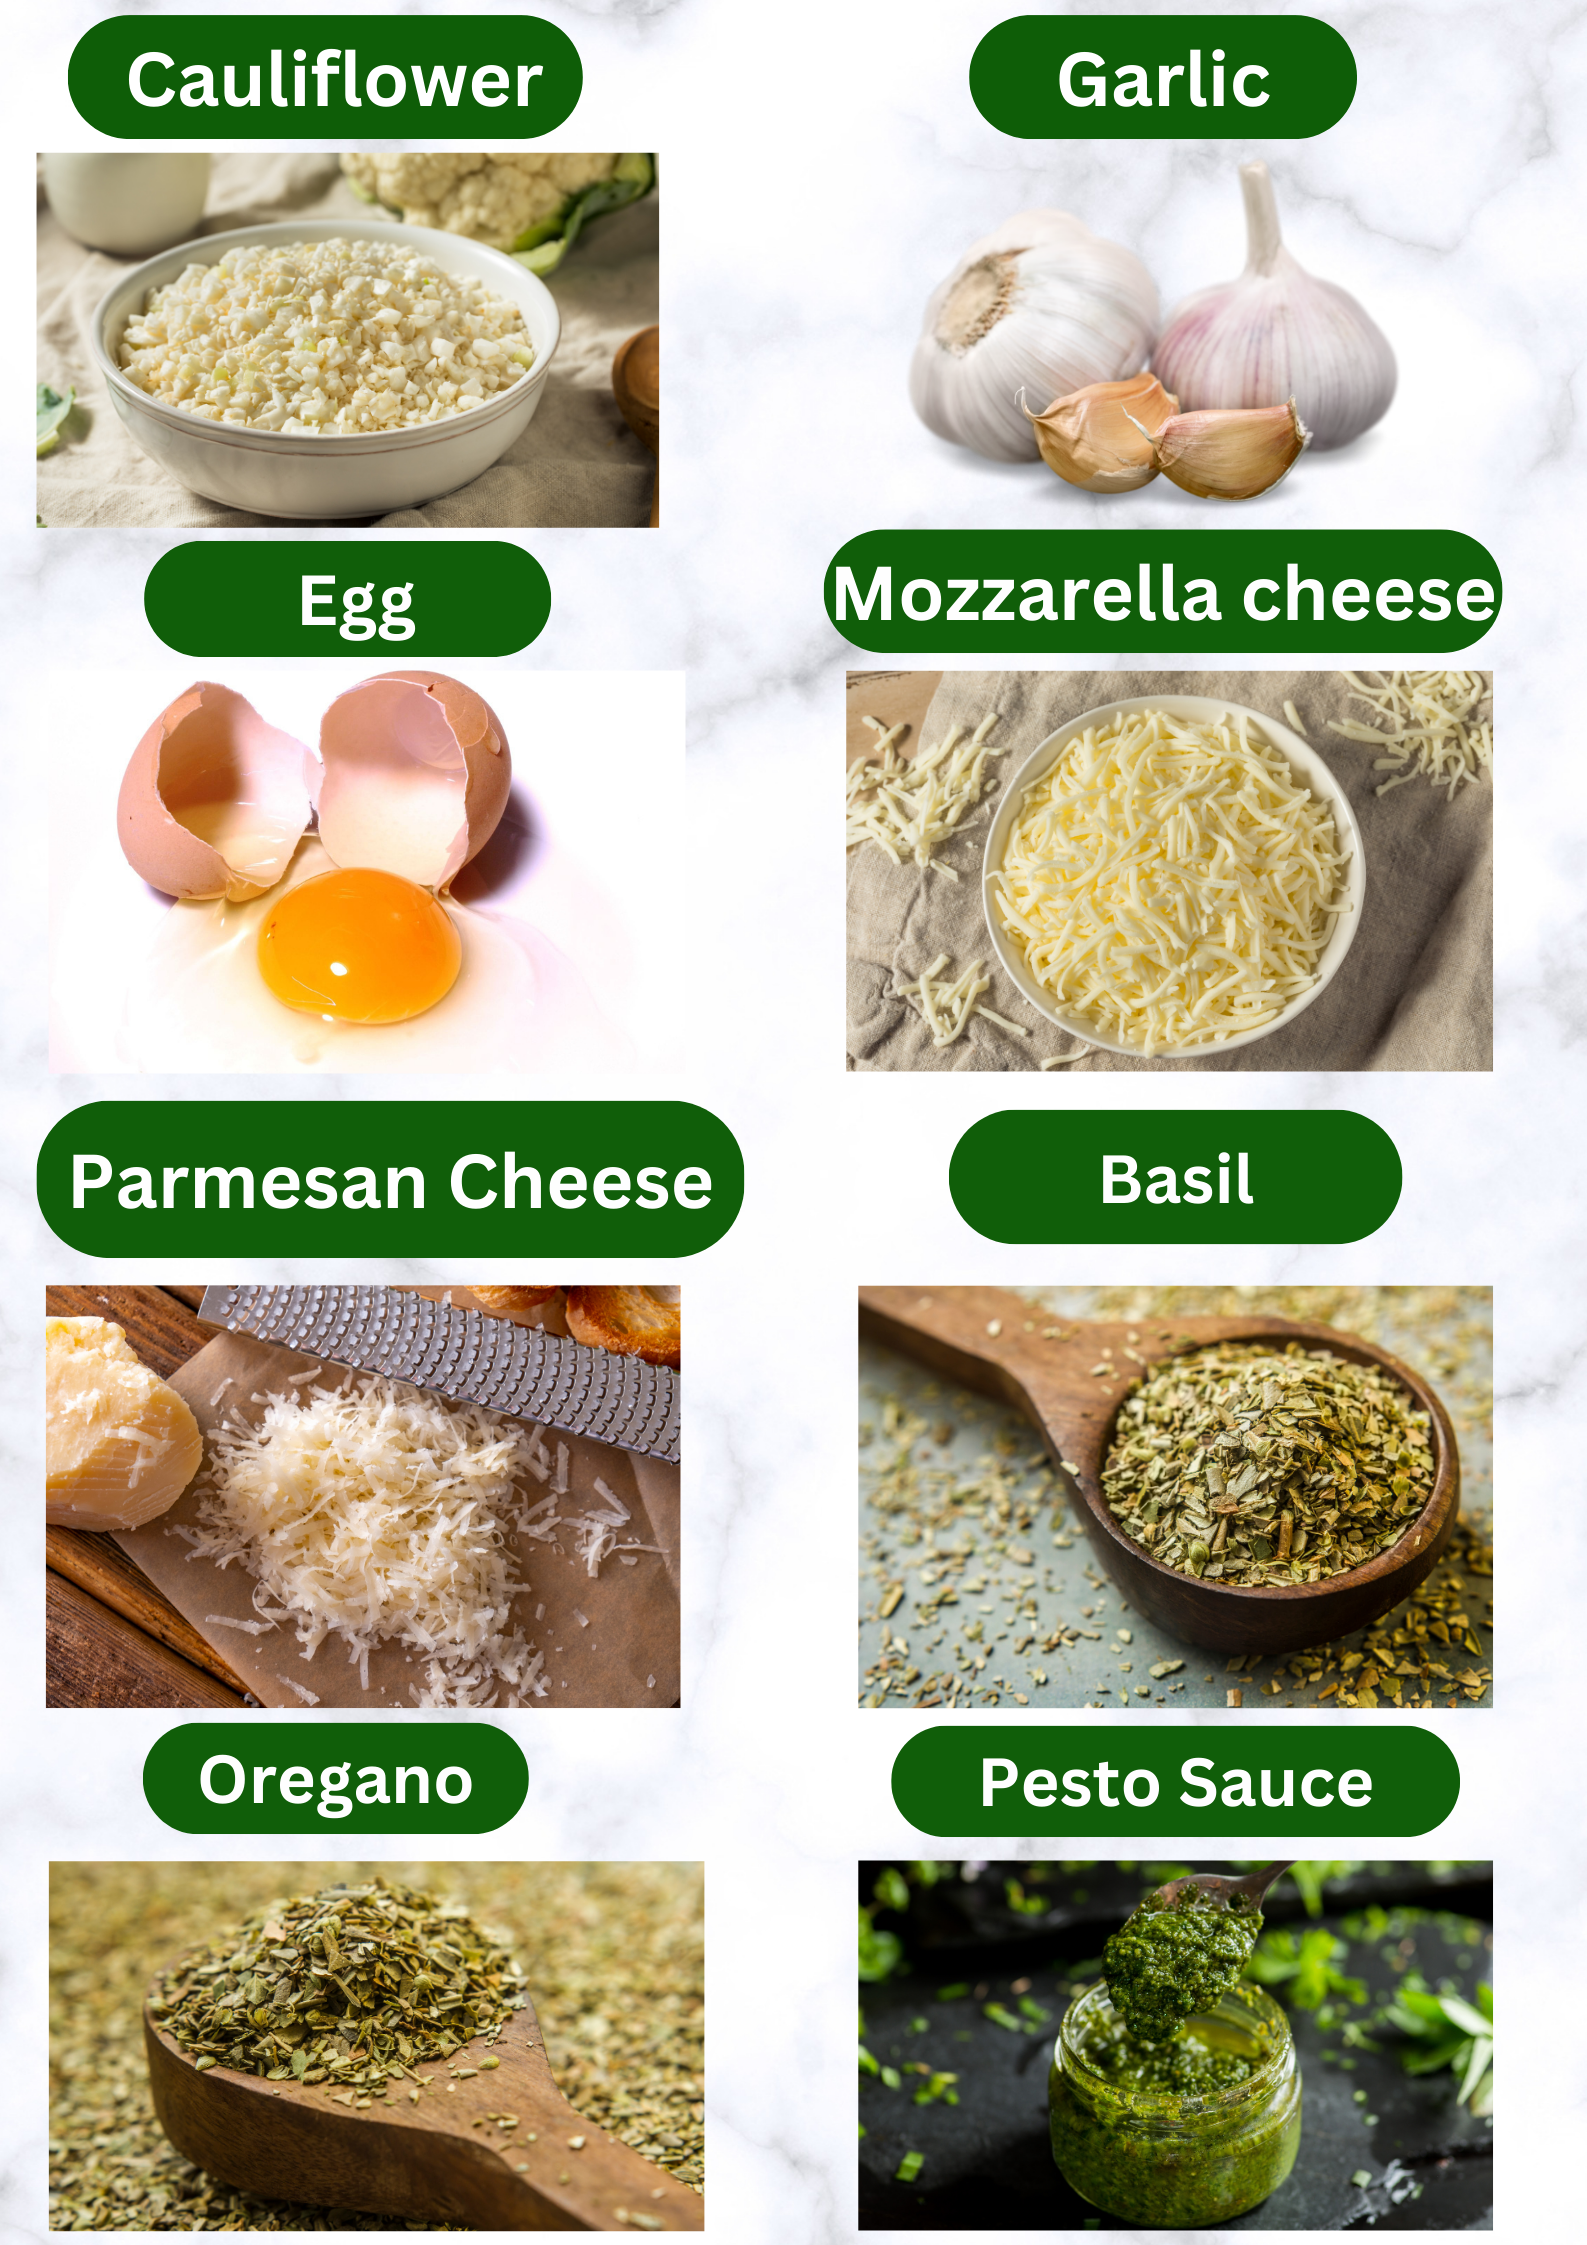
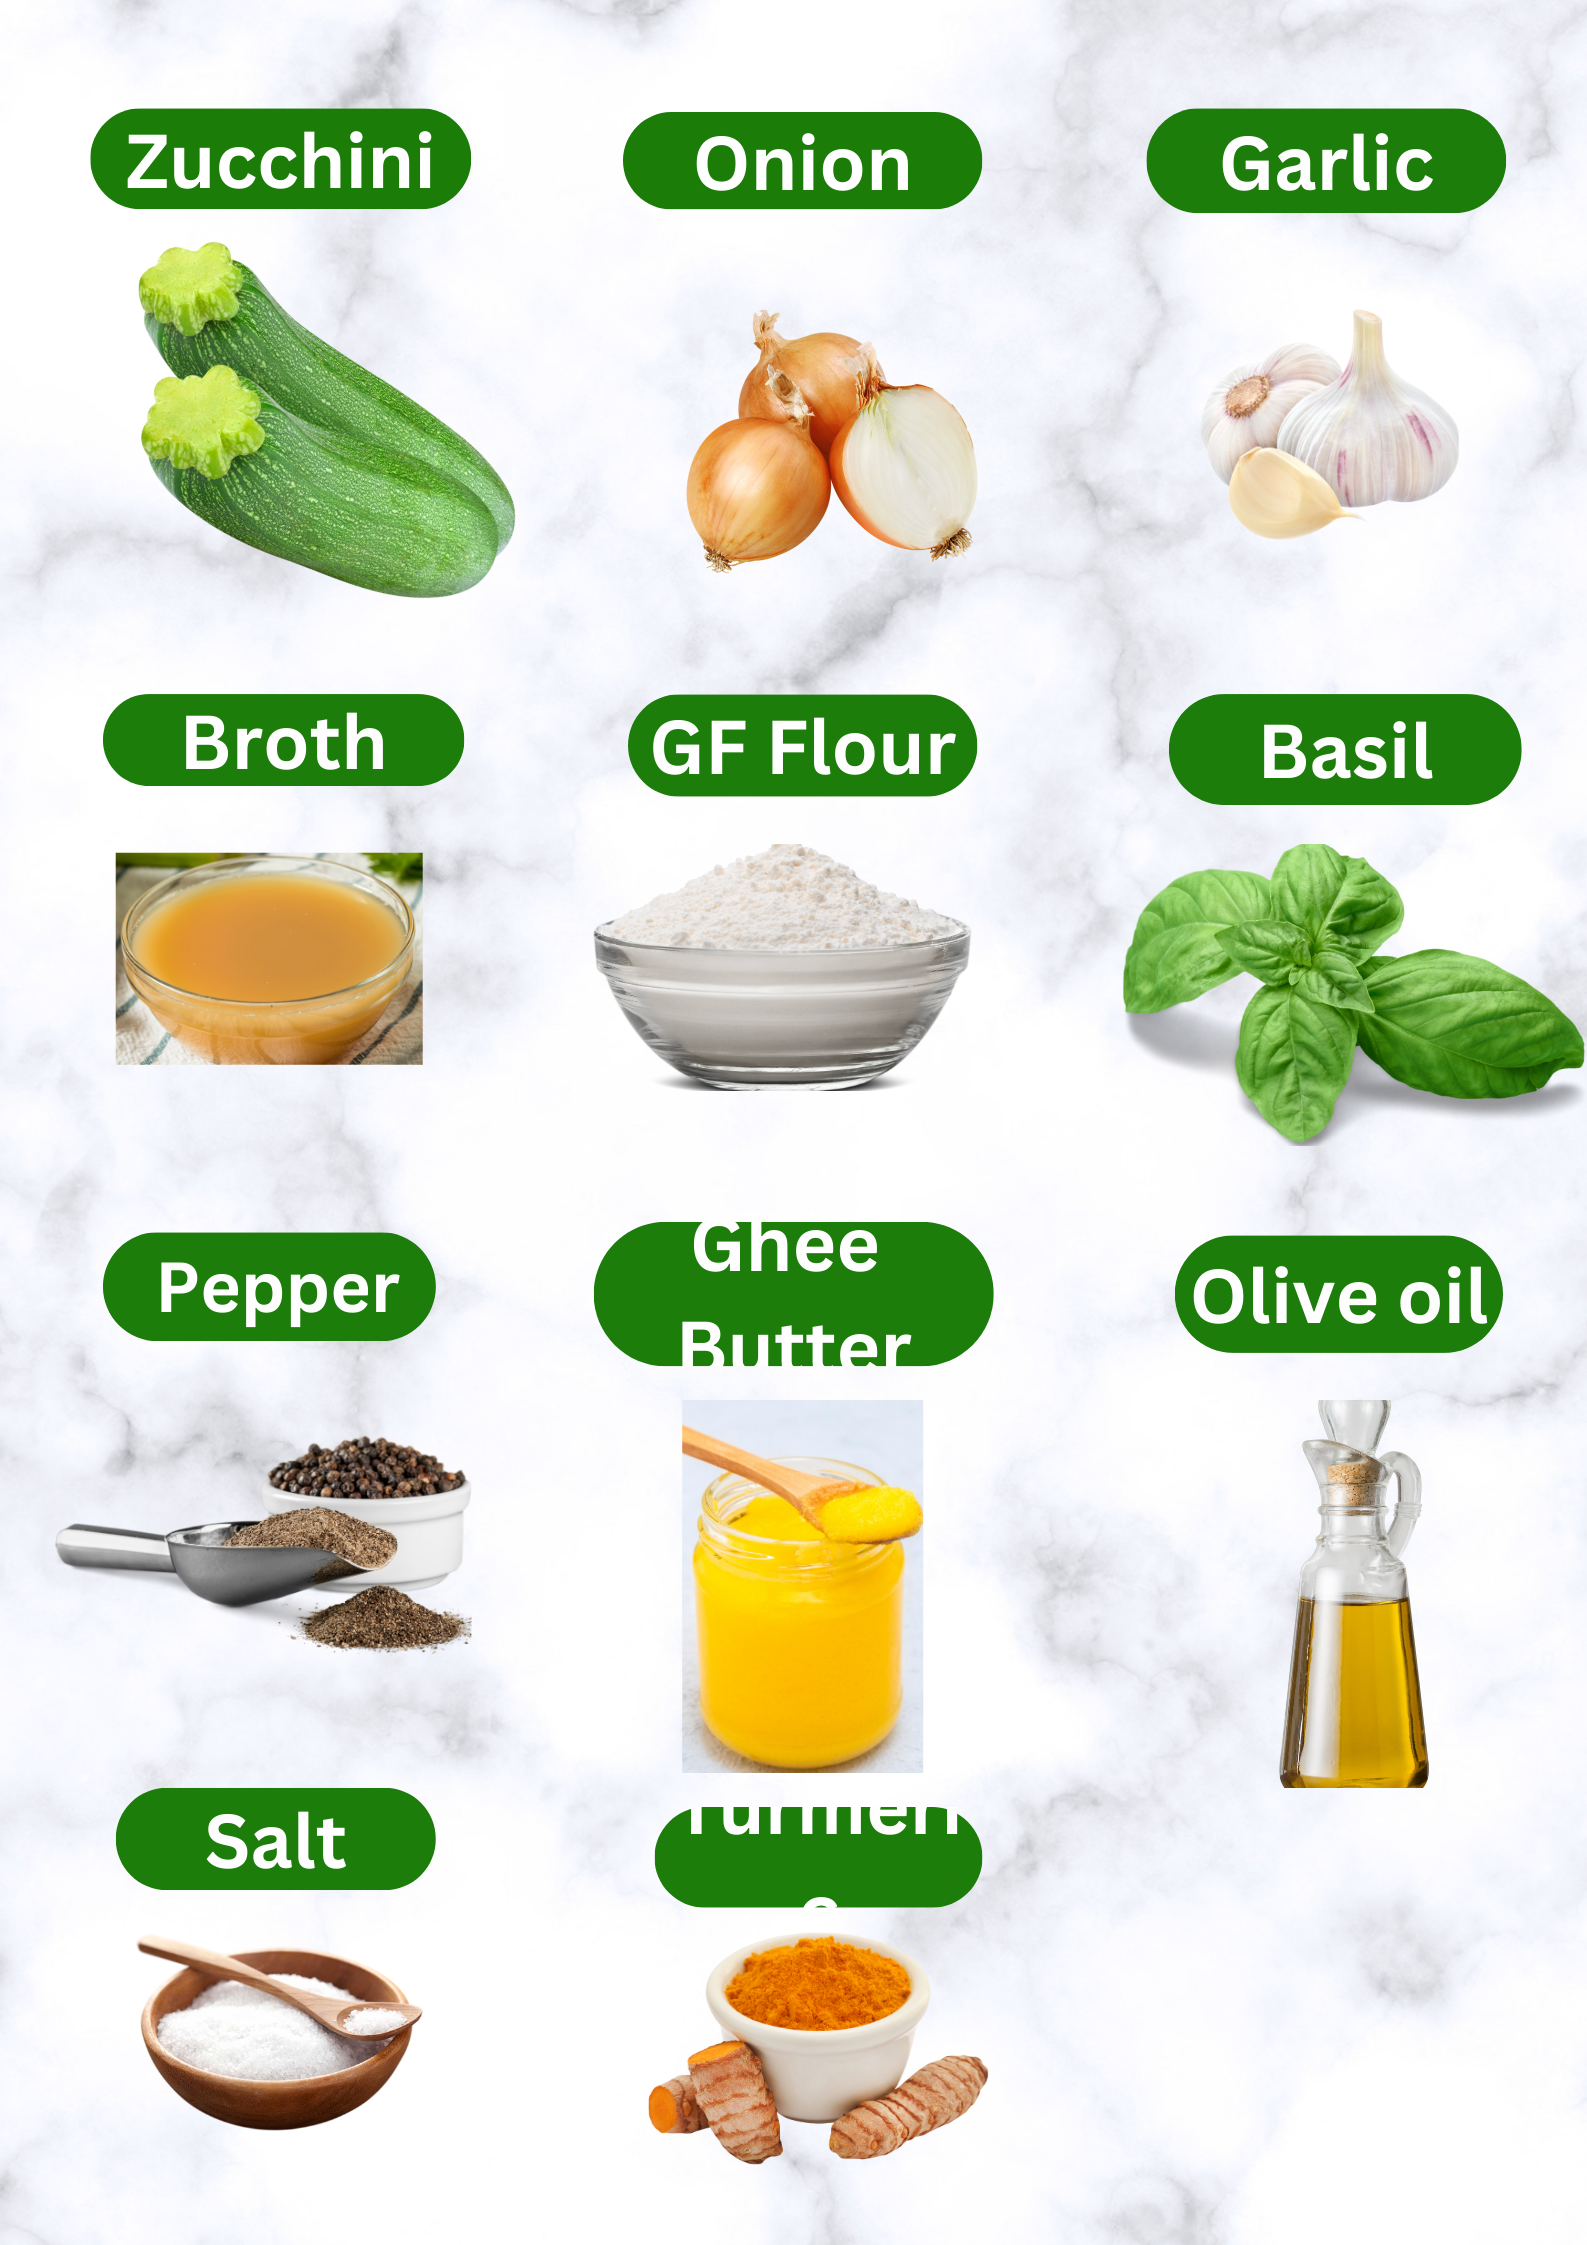
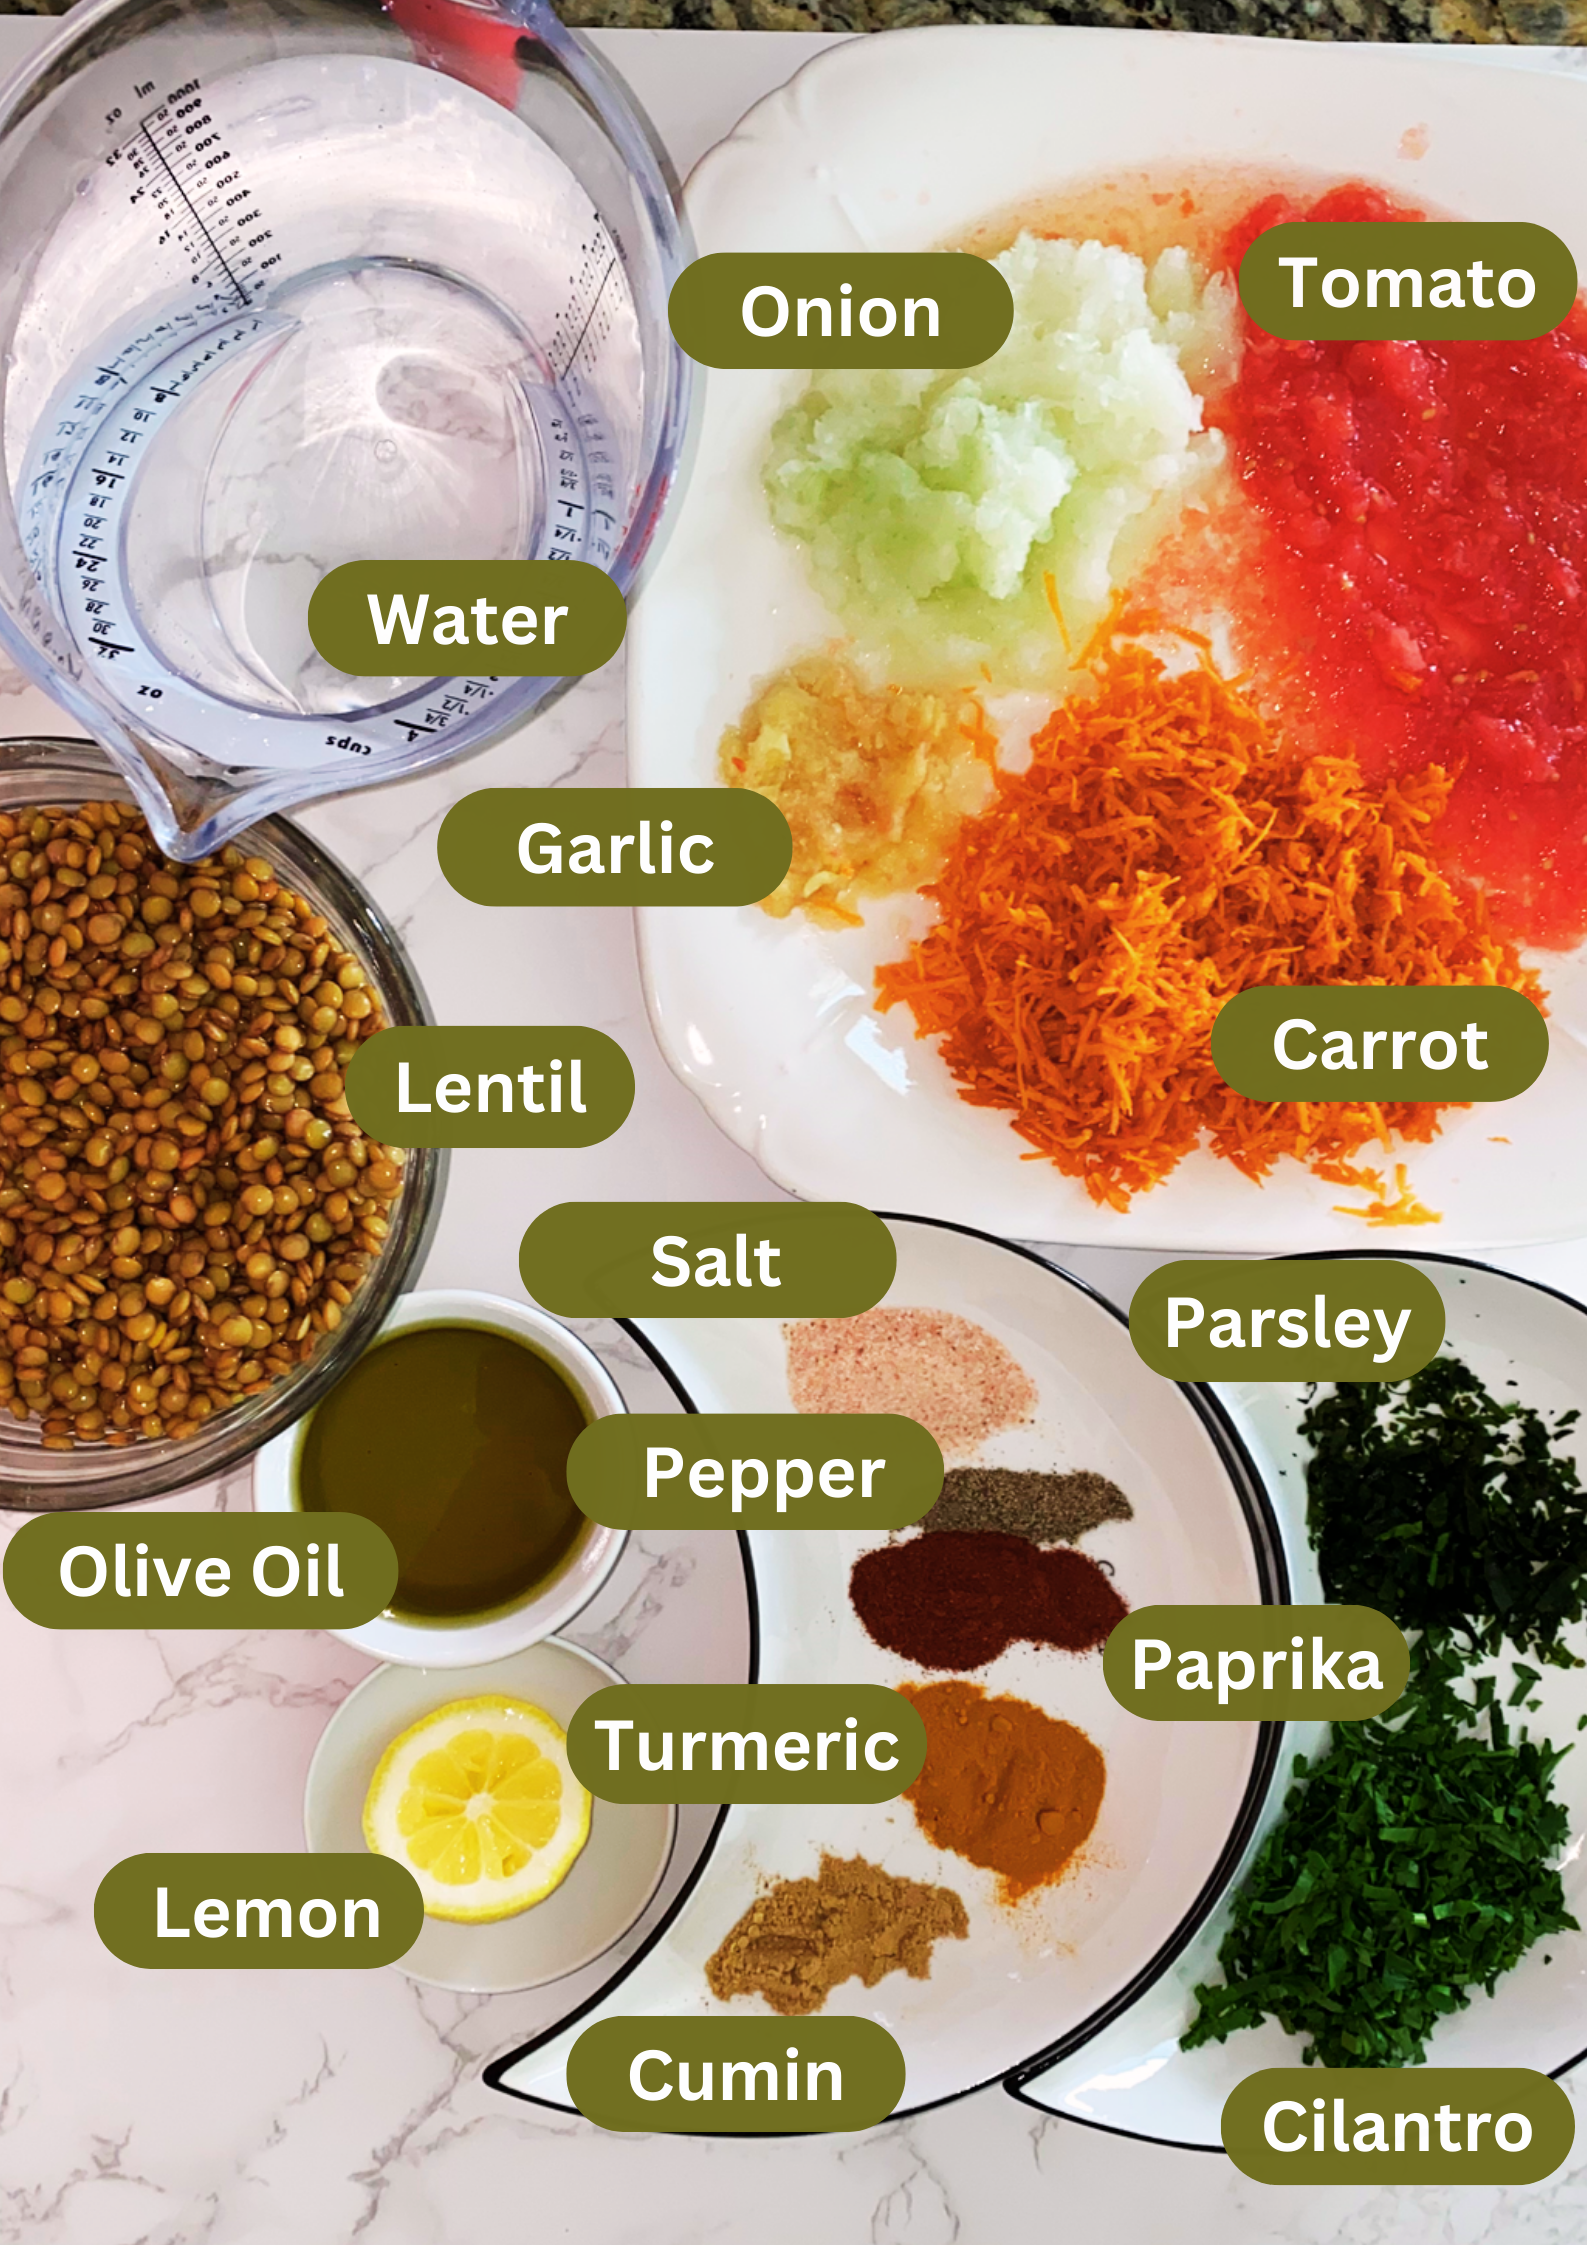
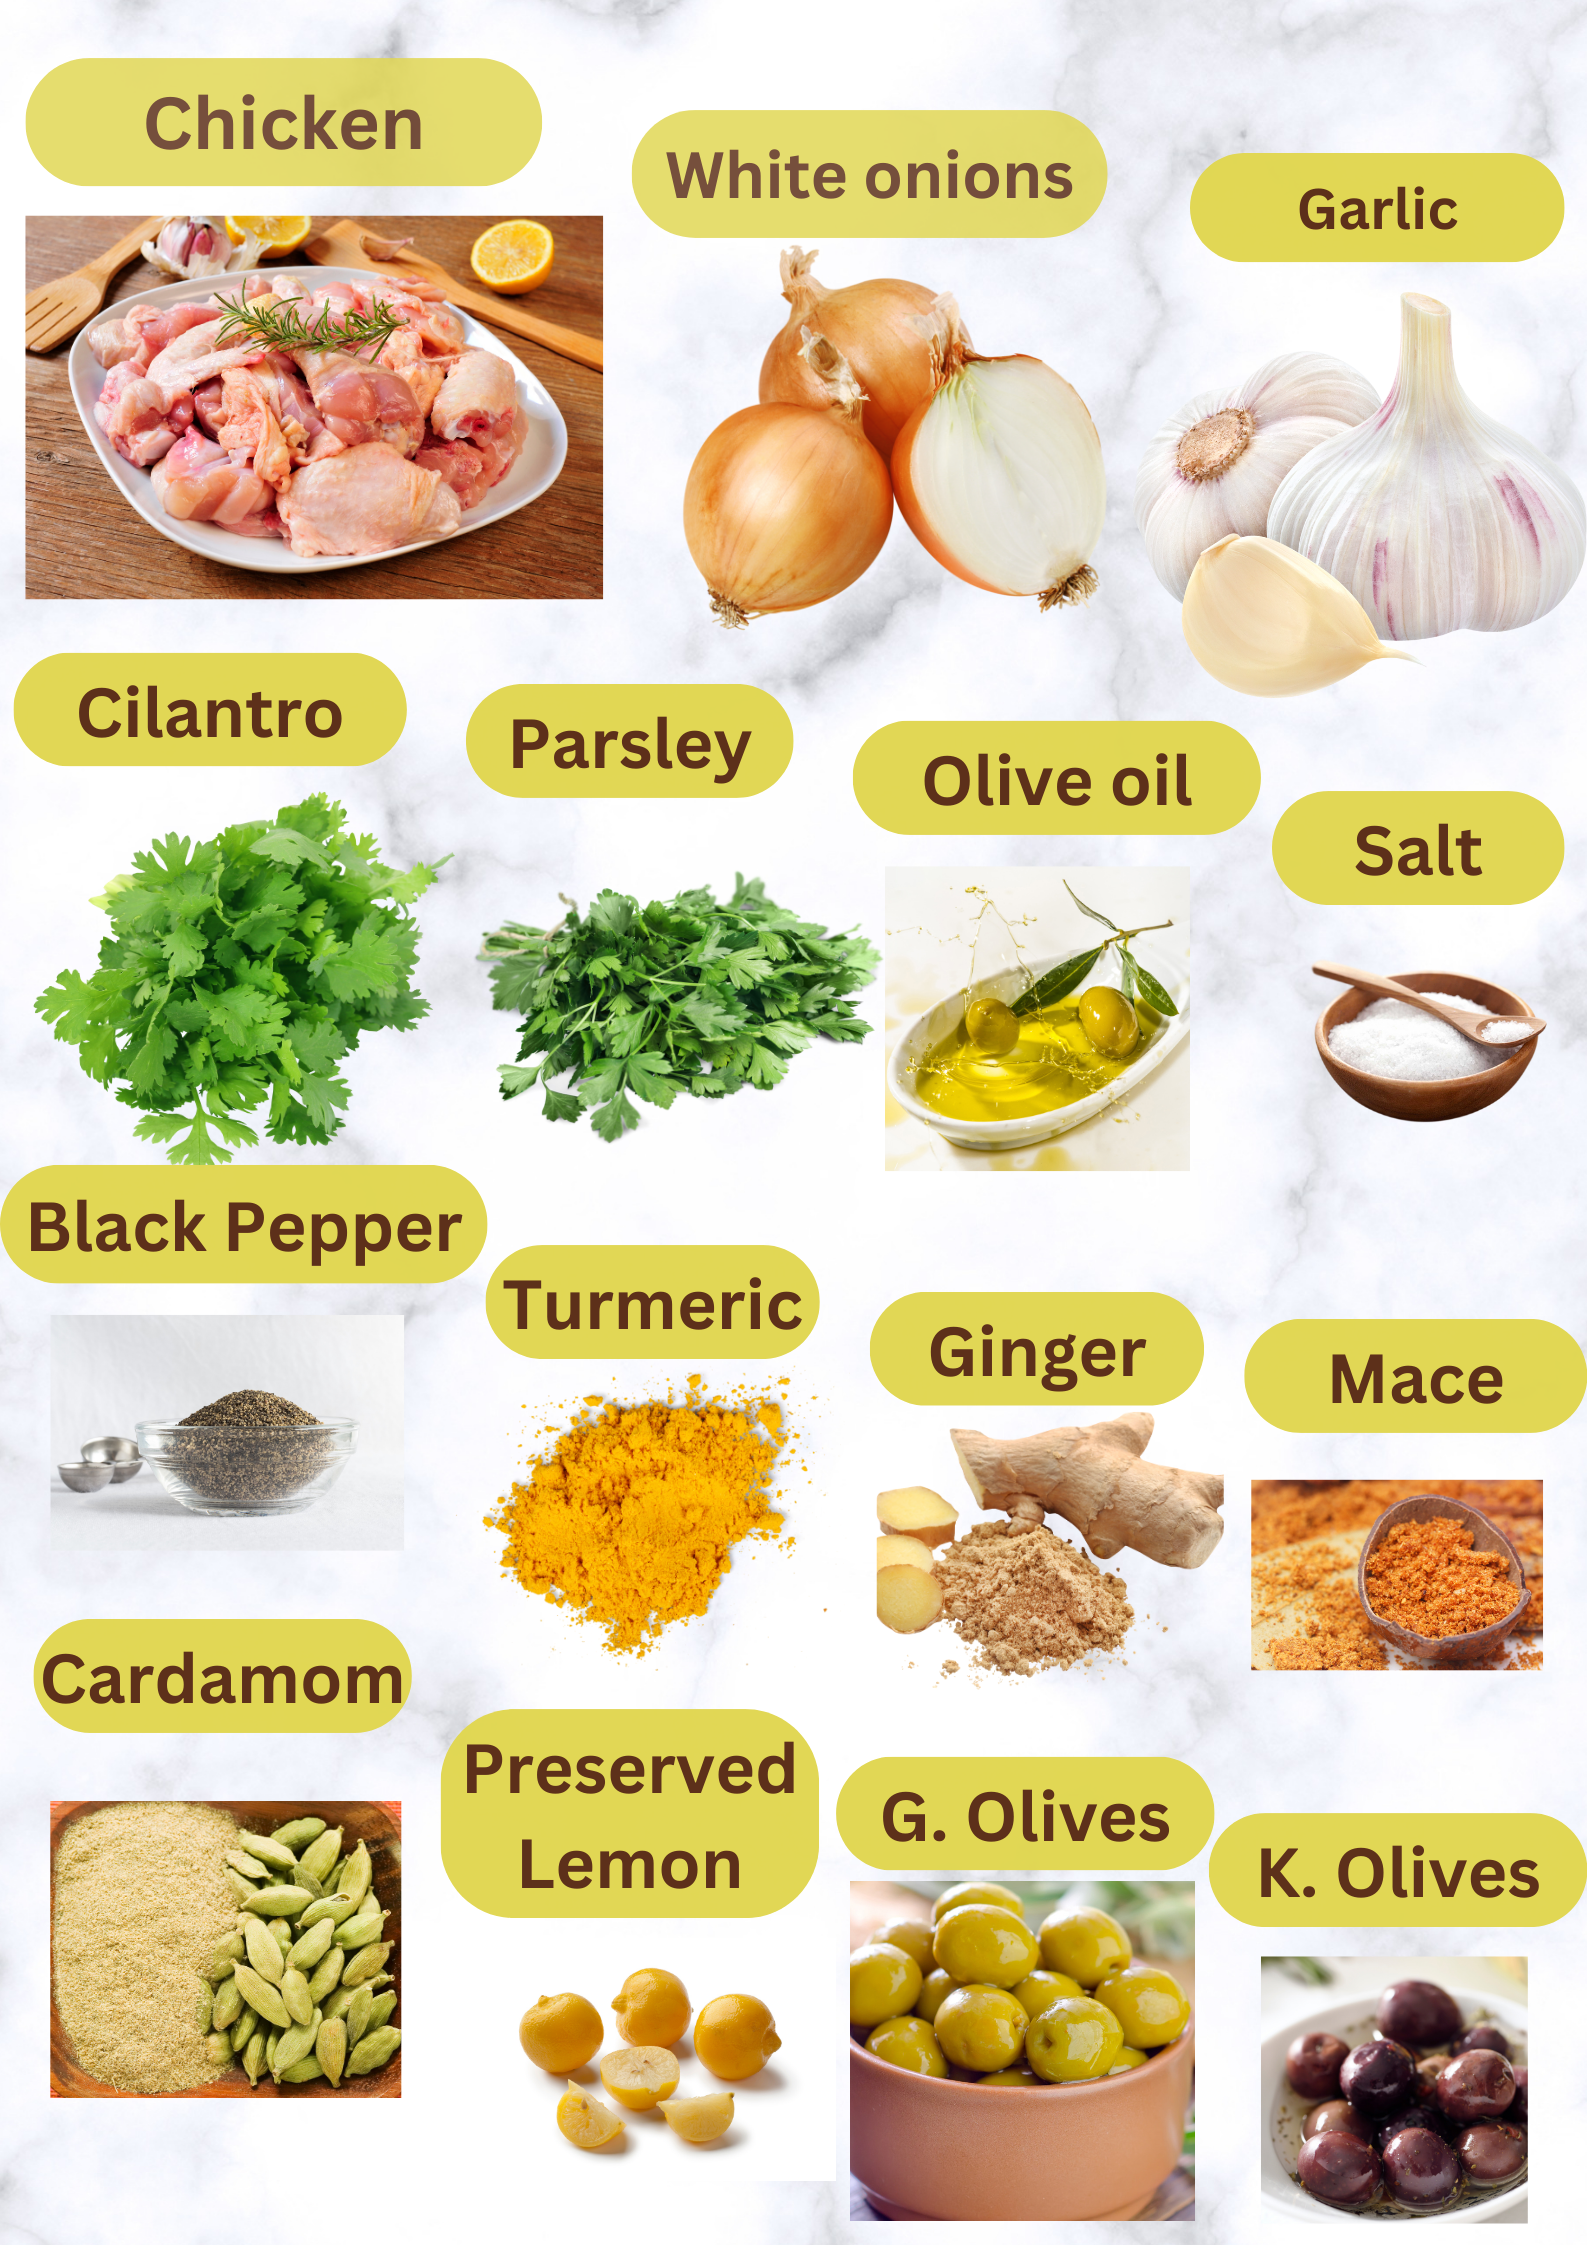
Ingredients
Dry Ingredients
- 1 cup almond flour
- 1 cup oat flour (gluten-free)
- 2 tsp baking powder
- ½ tsp baking soda
- ¼ tsp salt
Spices
- 1 tbsp cinnamon
- ½ tsp ginger
- ¼ tsp nutmeg
Wet Ingredients
- 1 cup mashed sweet potato (roasted or steamed)
- 2 eggs
- ⅓ cup maple syrup (or honey)
- 1/2 cup greek yogurt
- ¼ cup olive oil or melted coconut oil
- ¼ cup unsweetened almond milk
- 1 tsp vanilla extract
- 2 tbsp orange juice
- 1 tbsp orange zest

Ingredient Deep Dive- The Magic Behind These Muffins
Sweet Potato – Nature’s Golden Sweetness
Sweet potatoes are the heart of this recipe, bringing natural sweetness, moisture, and a beautiful golden color. They are rich in fiber and packed with vitamins like A and C, making these muffins both nourishing and satisfying.
Roasting the sweet potatoes enhances their caramelized flavor and gives the muffins a deeper, richer taste.
Ginger – The Warm Healing Spice
Ginger adds that signature cozy warmth and a gentle spice that balances the sweetness perfectly. It’s also known for its digestive benefits and anti-inflammatory properties.
Just a small amount transforms these muffins into something truly comforting and aromatic.
Honey – Natural Sweetness & Glow
Honey brings a soft, natural sweetness while keeping the muffins moist and tender. It also adds a subtle floral note that pairs beautifully with the spices.
The light drizzle on top? That’s your CaliYum finishing touch
Almond & Oat Flour – The Perfect Gluten-Free Balance
This combination creates a soft, tender crumb while keeping the muffins light and wholesome. Almond flour adds richness and healthy fats, while oat flour keeps the texture balanced and slightly fluffy.
Together, they give you that perfect bakery-style bite—without gluten.
Learn More About These Ingredients
- Sweet Potato Nutrition – Healthline: Sweet Potatoes 101: Nutrition Facts and Benefits
- Ginger Benefits – Healthline: 11 Proven Health Benefits of Ginger
- Honey Nutrition – Healthline: Honey: Benefits, Uses, and Risks
- Almond Flour Nutrition – Healthline: Almond Flour: Nutrition, Benefits & How to Use It
- Oat Flour Benefits – Harvard T.H. Chan School: Whole Grains and Health
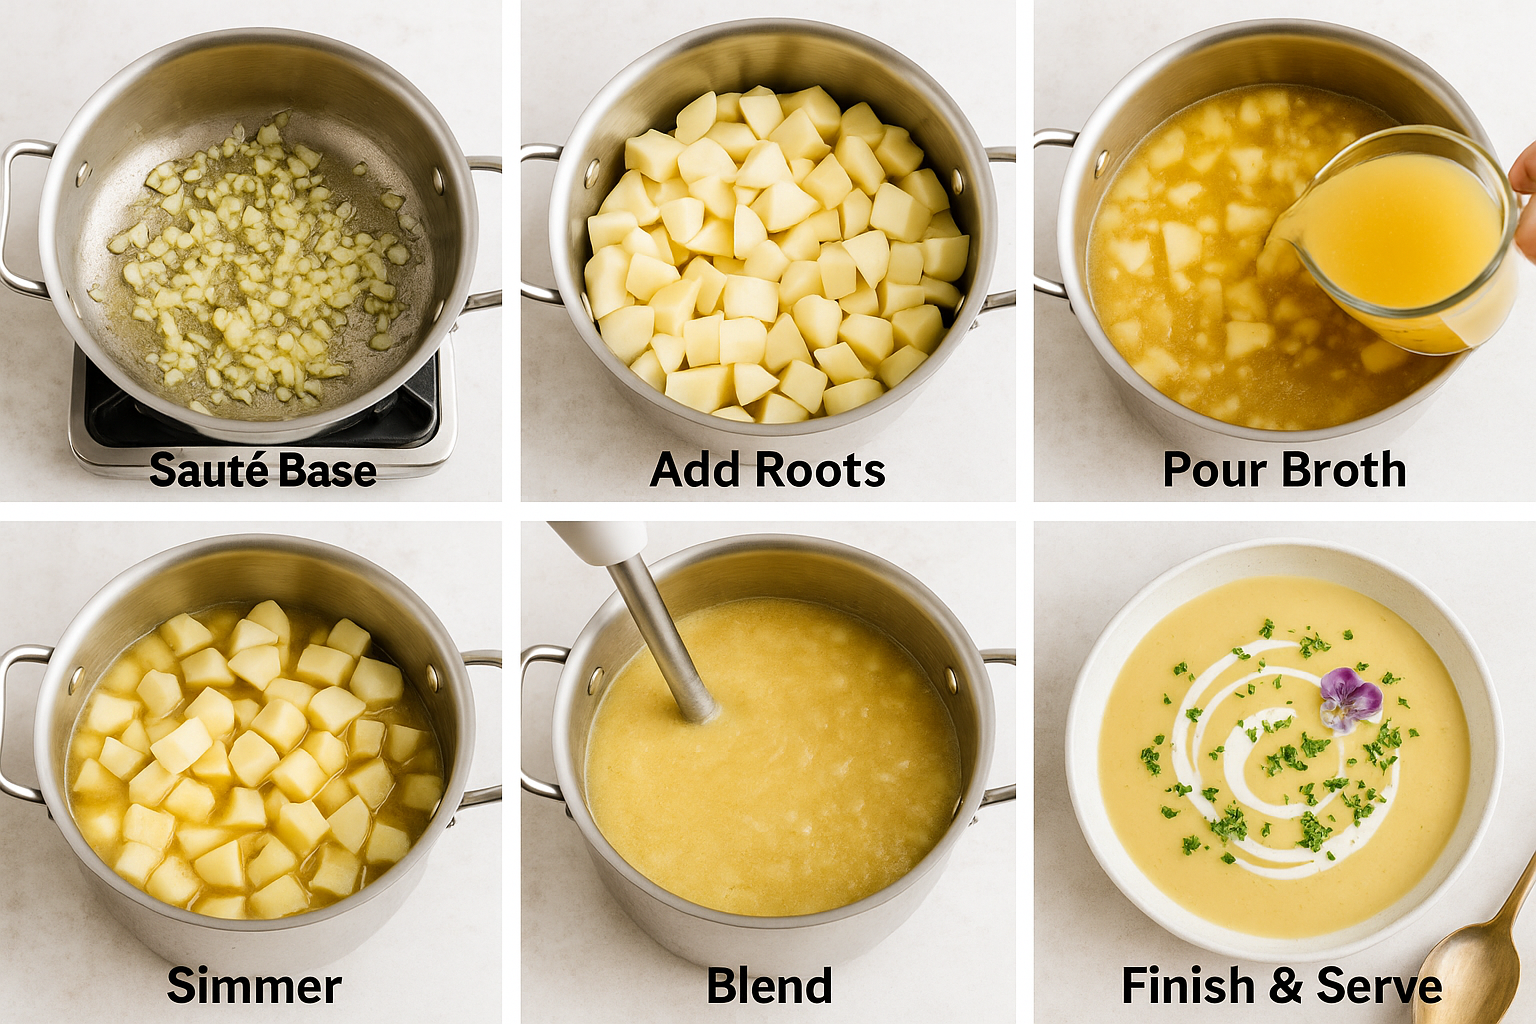
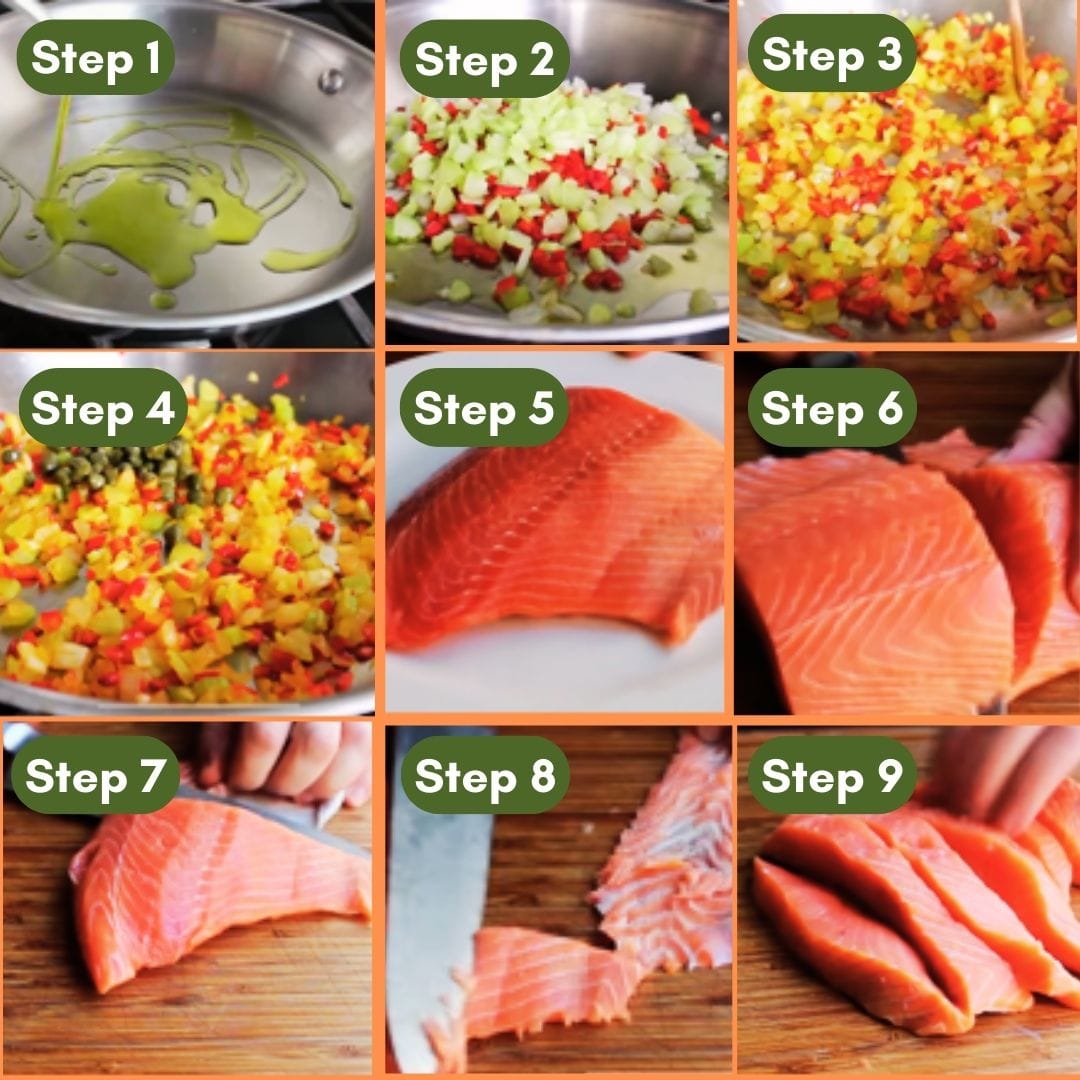
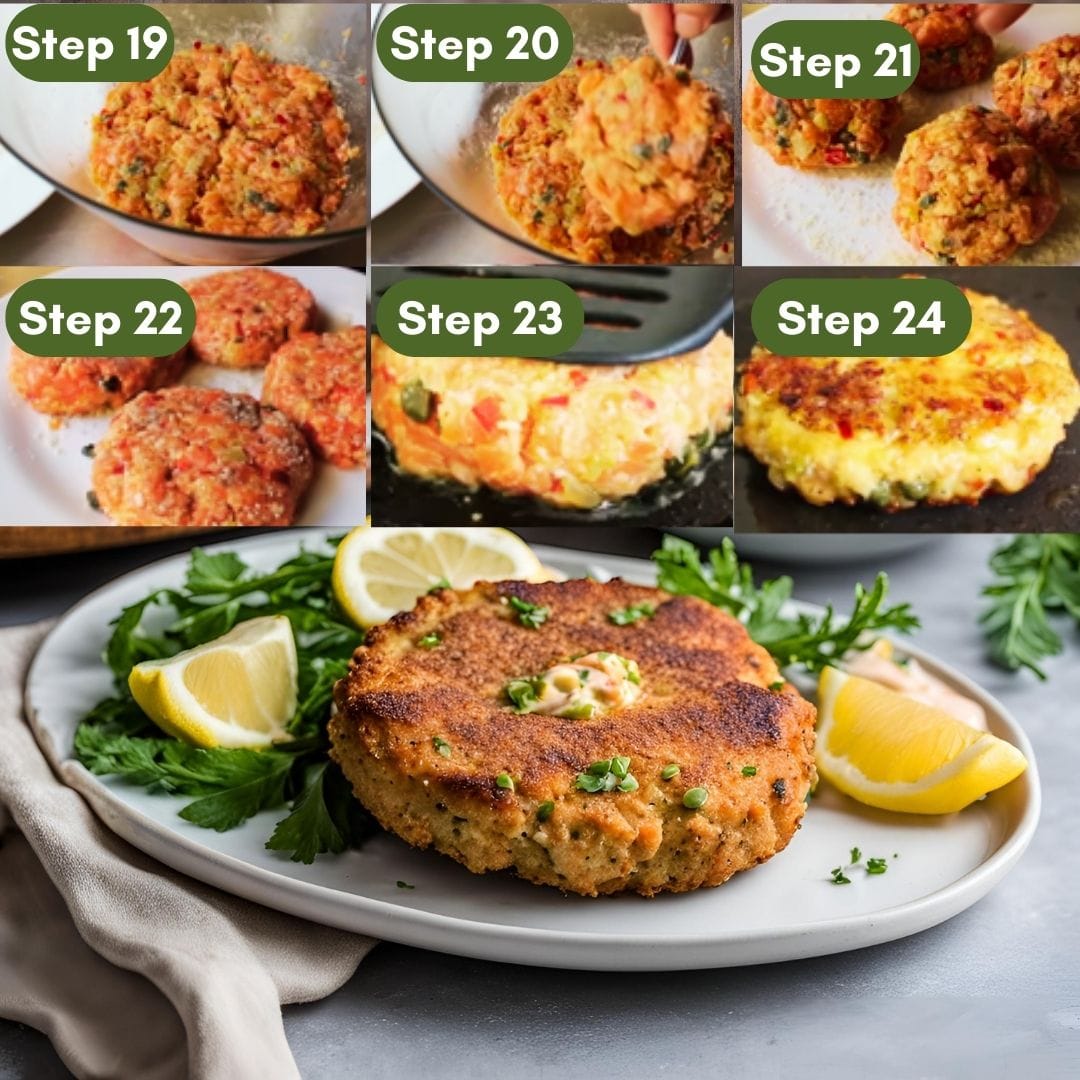
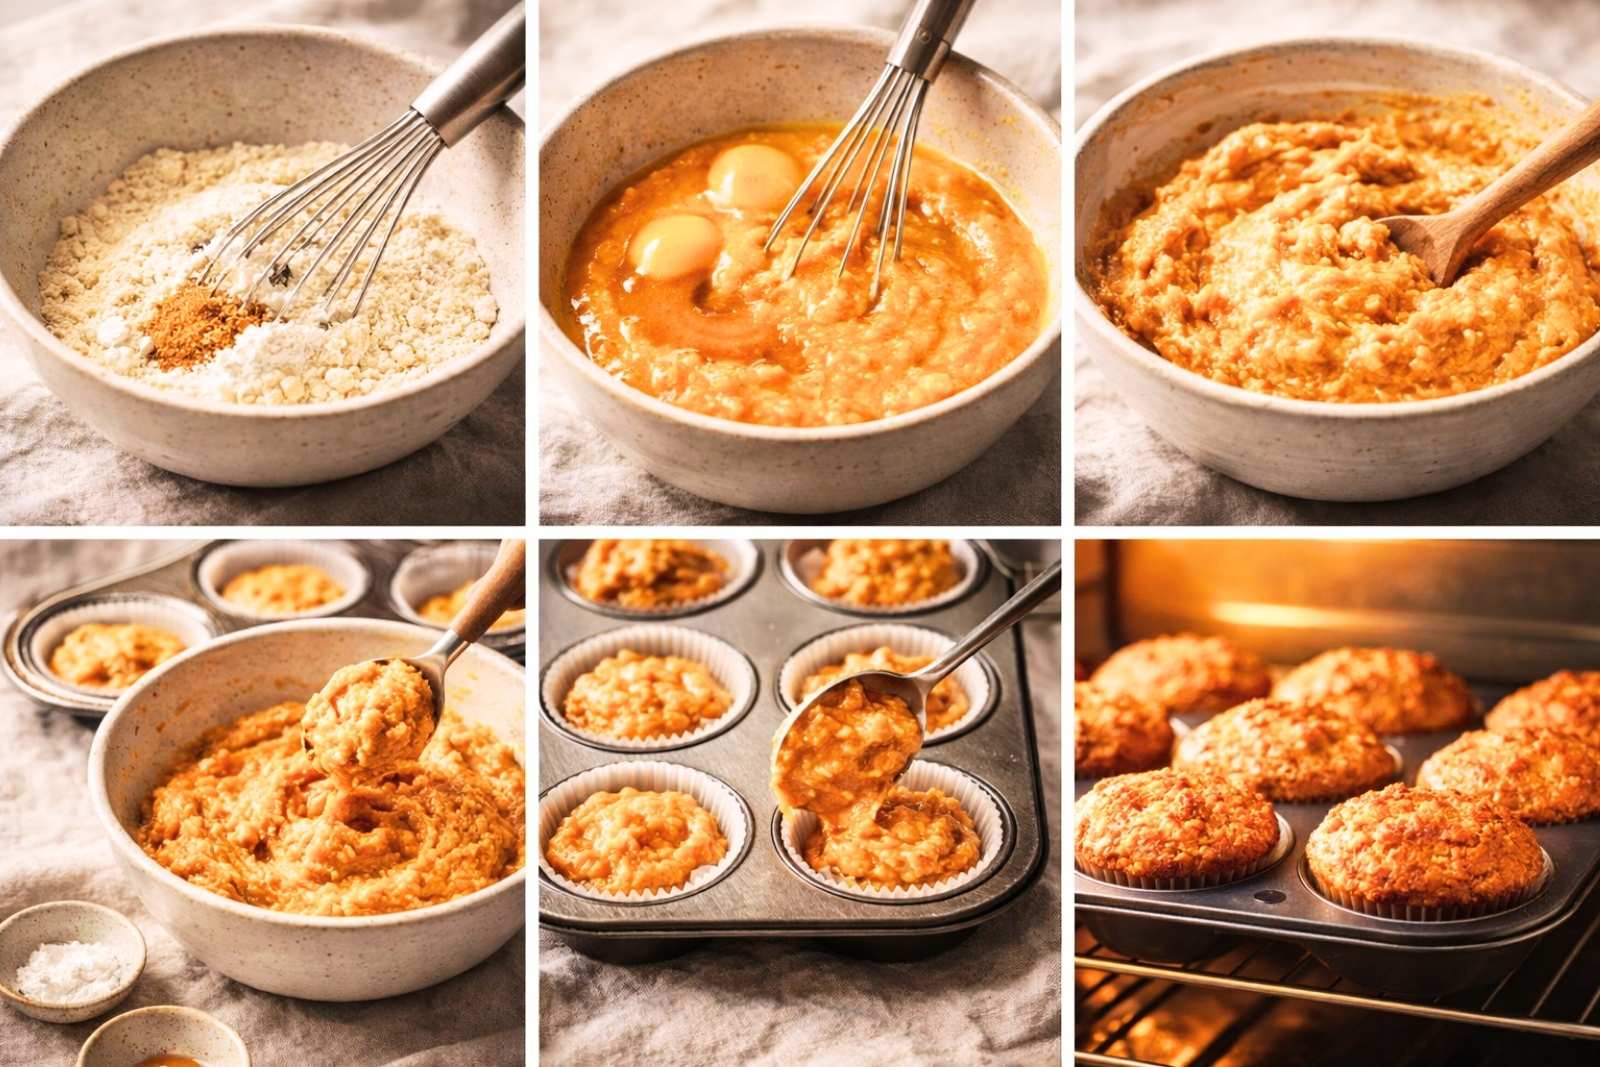
Instructions
Now let’s bring this cozy ginger sweet potato muffins to life.
1. Prep
Preheat oven to 350°F (175°C) and line a muffin tin.
2. Mix Wet Ingredients
Whisk together sweet potato, eggs, honey, oil, milk, and vanilla until smooth.
3. Combine Dry Ingredients
In a separate bowl, mix almond flour, oat flour, baking powder, baking soda, salt, and spices.
4. Combine
Gently fold dry ingredients into wet mixture. Do not overmix—keep the batter light.
5. Bake
Fill muffin cups about ¾ full and bake for 18–22 minutes, until a toothpick comes out clean.
6. Cool & Finish
Let cool slightly, then drizzle with honey if desired.
Chef’s Tip
For extra moisture and flavor, roast your sweet potatoes instead of boiling them. This enhances their natural sweetness and gives your muffins a deeper, richer taste.
Nutrition (Approx. per muffin)
Calories 180 • Protein 4g • Carbs 18g • Fat 10g • Fiber 3g
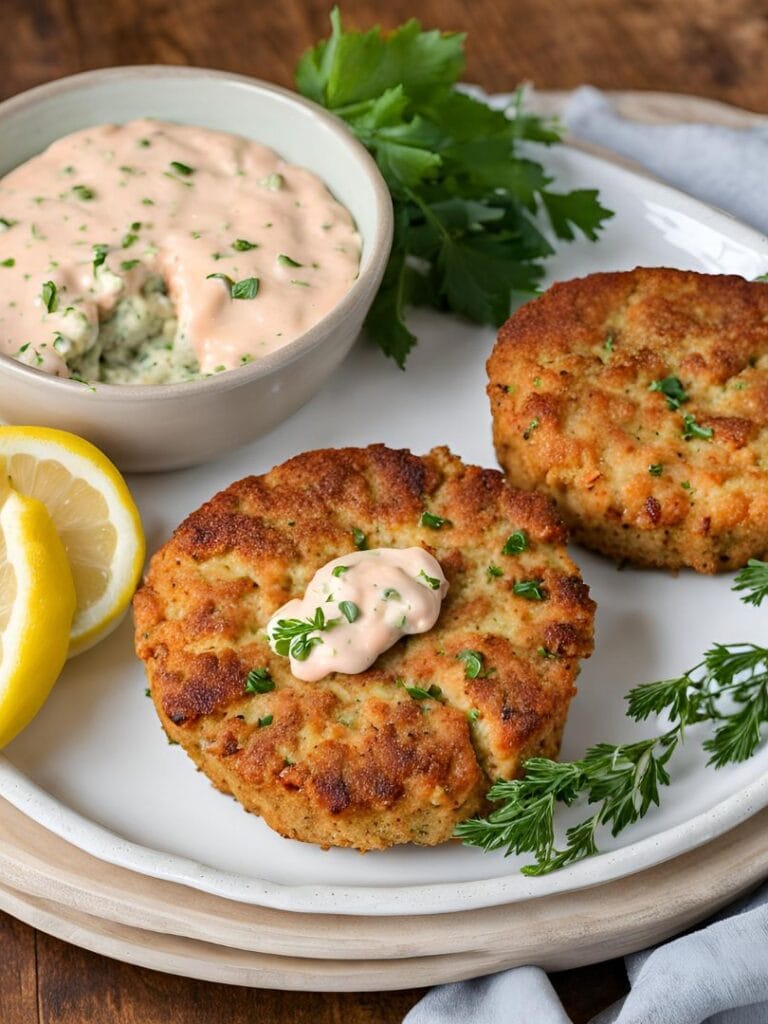
Serving Suggestions
These muffins are delicious on their own, but you can elevate them even more:
✨ Enjoy warm with a drizzle of honey or almond butter.
✨ Pair with your morning coffee or tea.
✨ Serve with Greek yogurt for a balanced breakfast.
✨ Add fresh fruit on the side for a light, nourishing plate.
Storage
Store in an airtight container at room temperature for up to 2 days, or refrigerate for up to 5 days.
Reheating
Warm in the microwave for 10–15 seconds or in the oven at low heat for a freshly baked feel.
Freezing
Freeze in an airtight container for up to 2 months. Thaw at room temperature or warm before serving.
FAQ
Can I make this dairy-free?
Yes! Use almond milk or any plant-based milk.
Can I substitute the flour?
You can try all oat flour, but texture will be slightly denser.
Can I make it vegan?
Yes—replace eggs with flax eggs (1 tbsp flax + 2.5 tbsp water per egg).
📌 Save this recipe for later on Pinterest
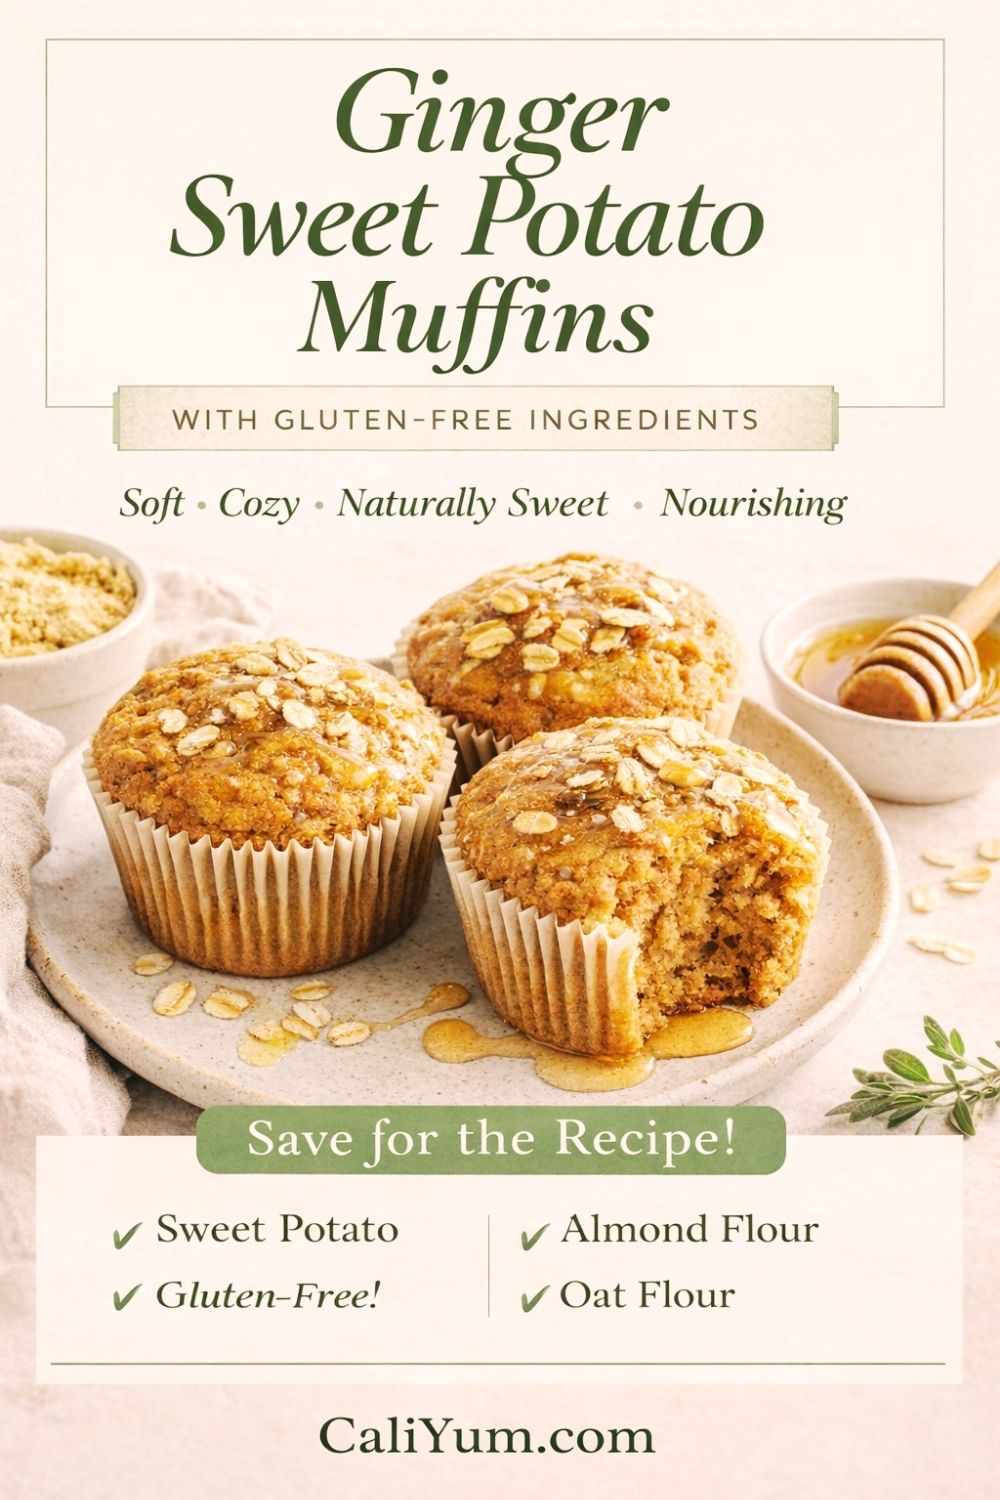

Healthy Gluten-Free Ginger Sweet Potato Muffins
Description
Soft, moist ginger sweet potato muffins made with wholesome, gluten-free ingredients. Naturally sweetened and warmly spiced, these cozy muffins are perfect for breakfast, snack time, or a nourishing treat with your coffee.