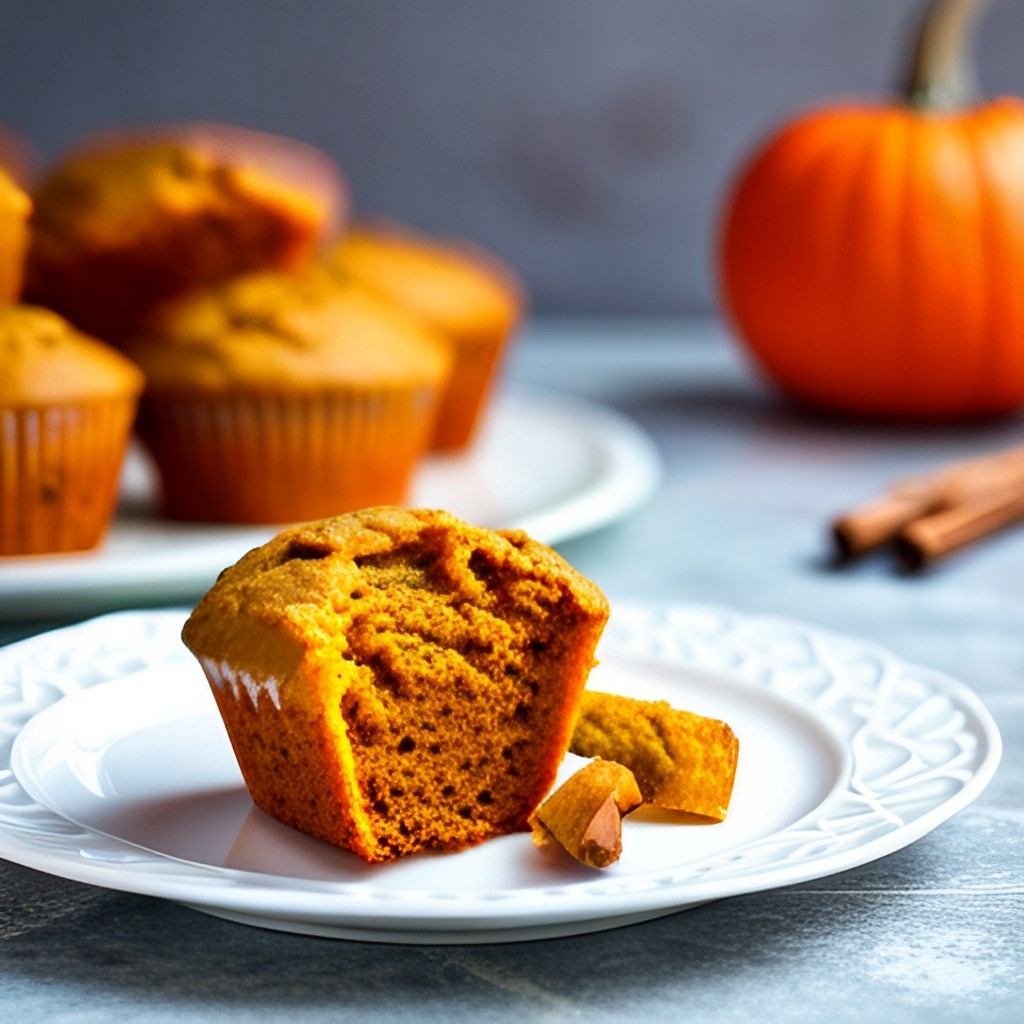
“Irresistibly delicious, moist, tender and full of fall flavor in every bite that will surely please any crowd!”
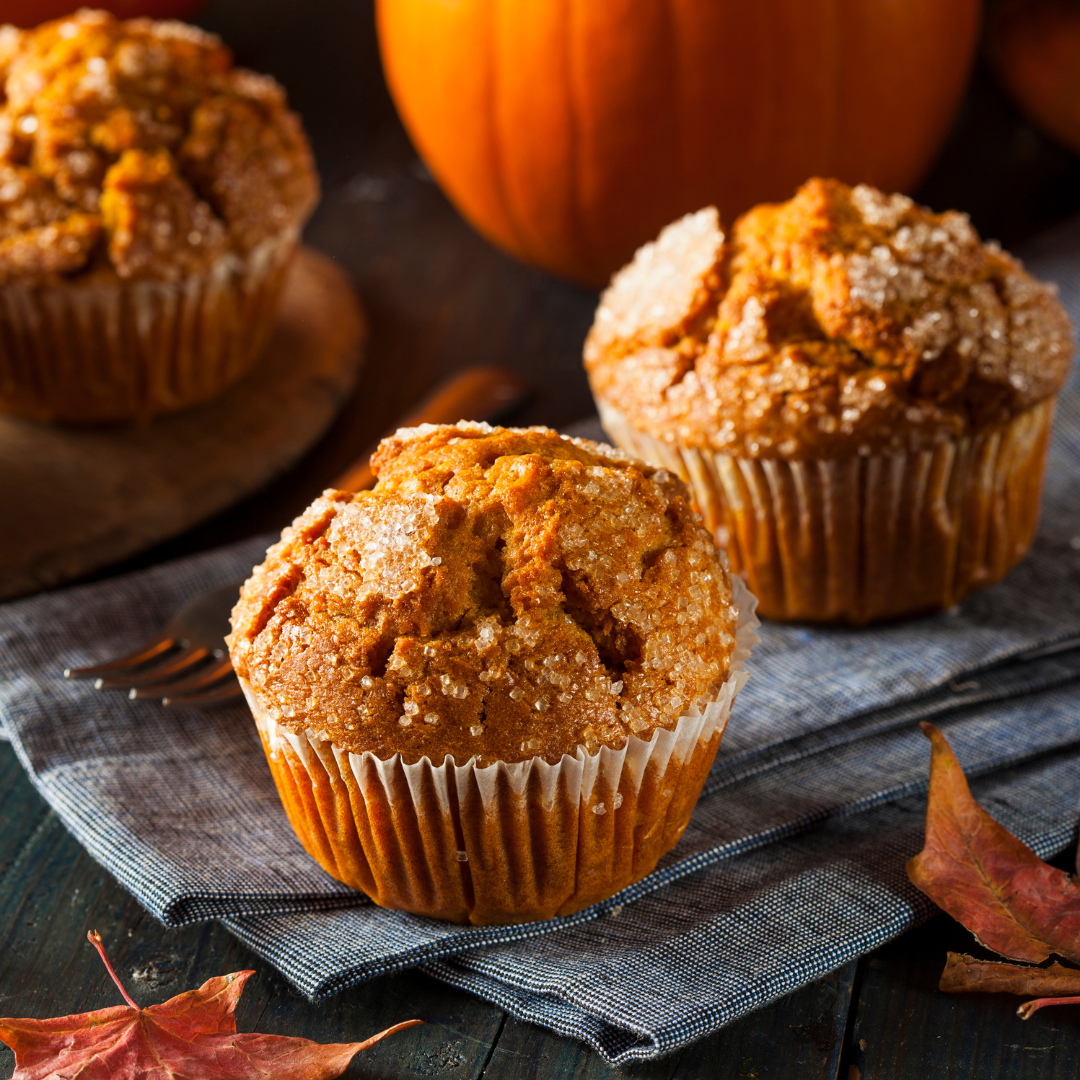
Pumpkin Muffin Magic: A Fall Favorite
Indulge in the softness and fluffiness of pumpkin muffins this fall. Enriched with your favorite autumn spices and the irresistible essence of pumpkin, these treats are quick to prepare. They keep their tender texture for days, becoming a household staple.
A Kitchen Alive with Autumn Spirit
With the arrival of fall, my kitchen becomes a vibrant baking center, spotlighting subtly spiced pumpkin muffins. Their easy preparation and my husband’s frequent requests have made them a year-round delight.
Simple and Quick Baking
Creating these pumpkin muffins requires just 10 minutes of active effort. Starting with a hot oven ensures tall, beautifully domed muffins. They’re made with pantry staples, making this recipe a convenient choice for any baker.
Expanding Your Pumpkin Breakfast Menu
Interested in more pumpkin-flavored breakfasts? Try baked pumpkin donuts, scones, or pancakes. Each recipe brings the comforting flavors of fall into your mornings.
Overcoming Dietary Restrictions with Flavor
For those facing dietary restrictions, the challenge of missing out on seasonal flavors like pumpkin spice can be disheartening. Yet, making gluten-free pumpkin muffins offers a delicious solution that doesn’t skimp on flavor.
The Ultimate Gluten-Free Pumpkin Muffin Recipe
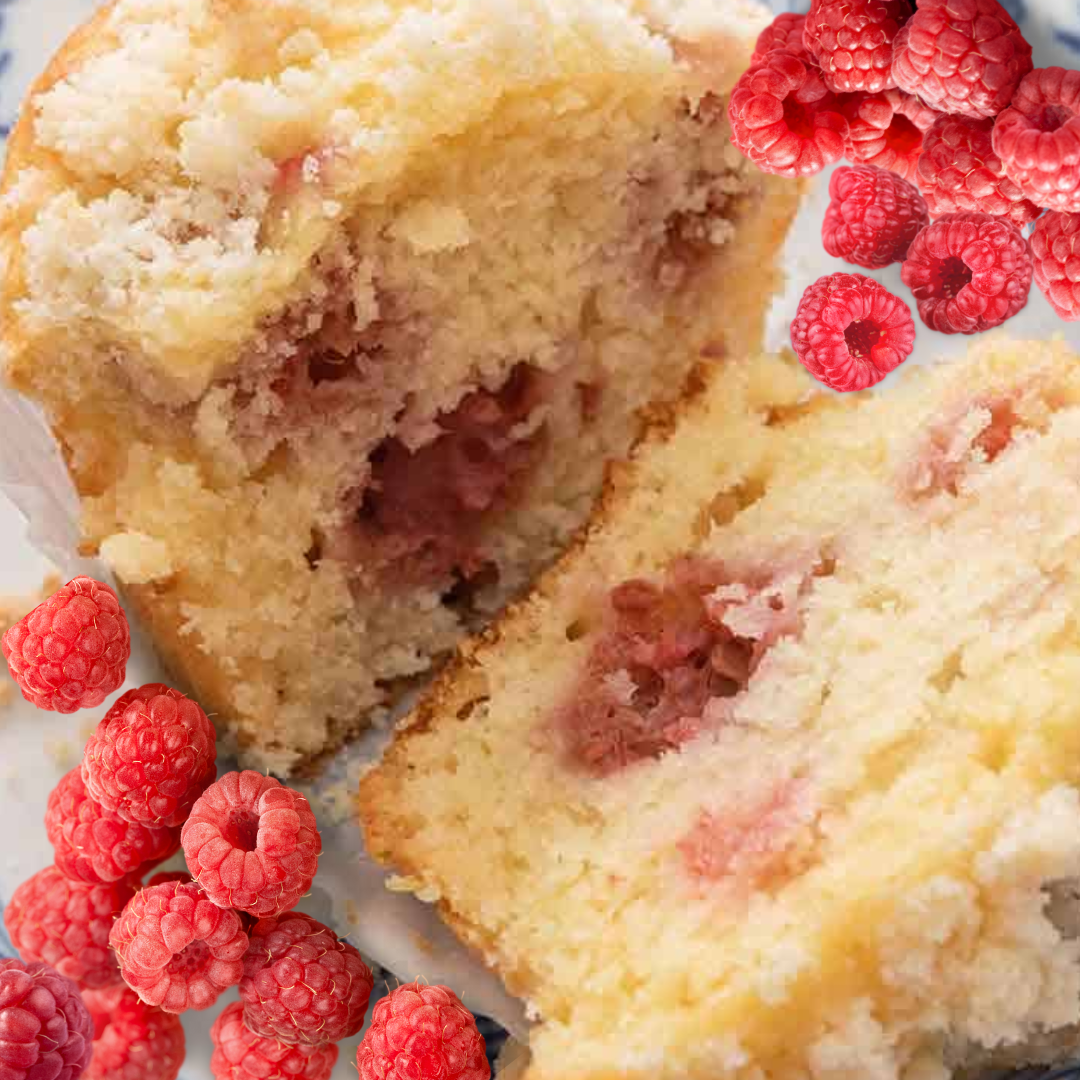
Discover the best gluten-free pumpkin muffin recipe here. It’s so moist and flavorful; you won’t believe it’s gluten-free. The key is pumpkin puree, creating a rich, moist texture. Get ready to enjoy the most delightful gluten-free pumpkin muffins baked right in your kitchen.
What you will need to make this recipe
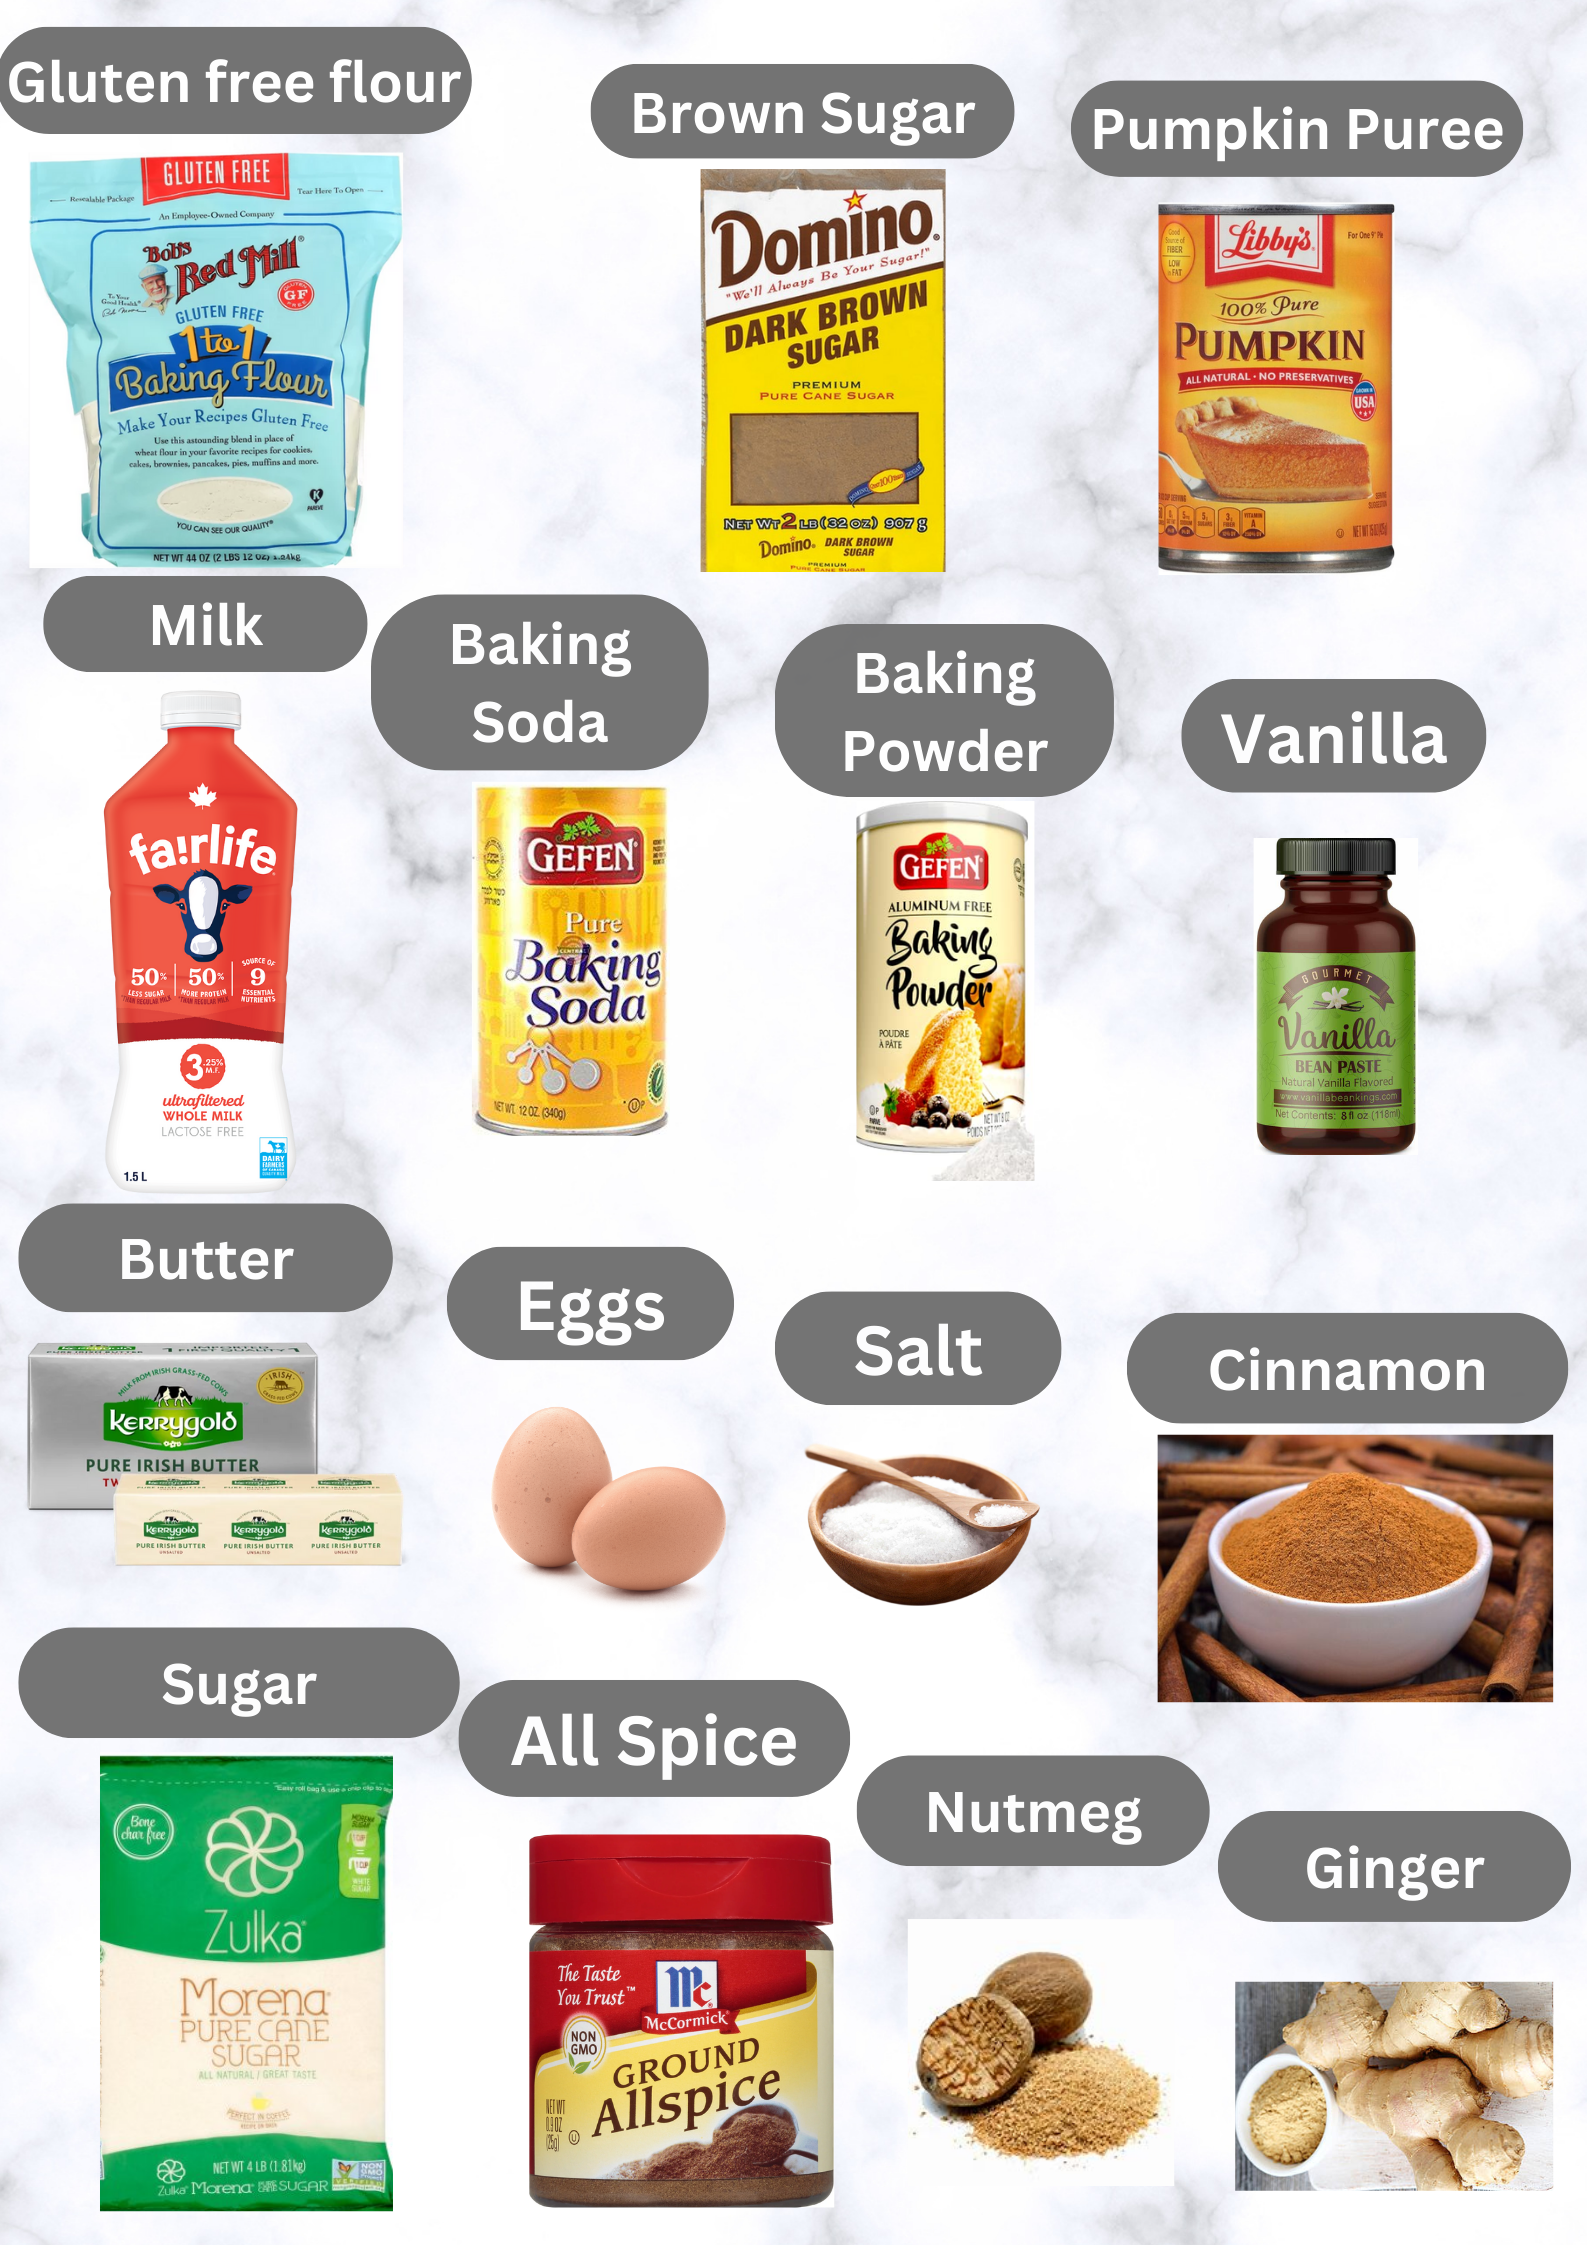
Gluten Free flour- I used 1-1 cup Bob’s Red Mill gluten free flour Gluten Free Flour, if you don’t have any issue with regular flour feel free to use it in the same cup measurement.
I don’t suggest using almond flour or coconut flour as these flours have much density than gluten free flour and requires a different measurement.
Leavening agents- for a fluffy, and puffed muffins, you will need both baking powder and baking soda.
Spices- whether homemade or store-bought pumpkin pie spice, it packs a perfect fall flavor. The choice is yours, so if you only like cinnamon, use just that. Another suggestion is to use garam masala for a savorer and bolder flavor.
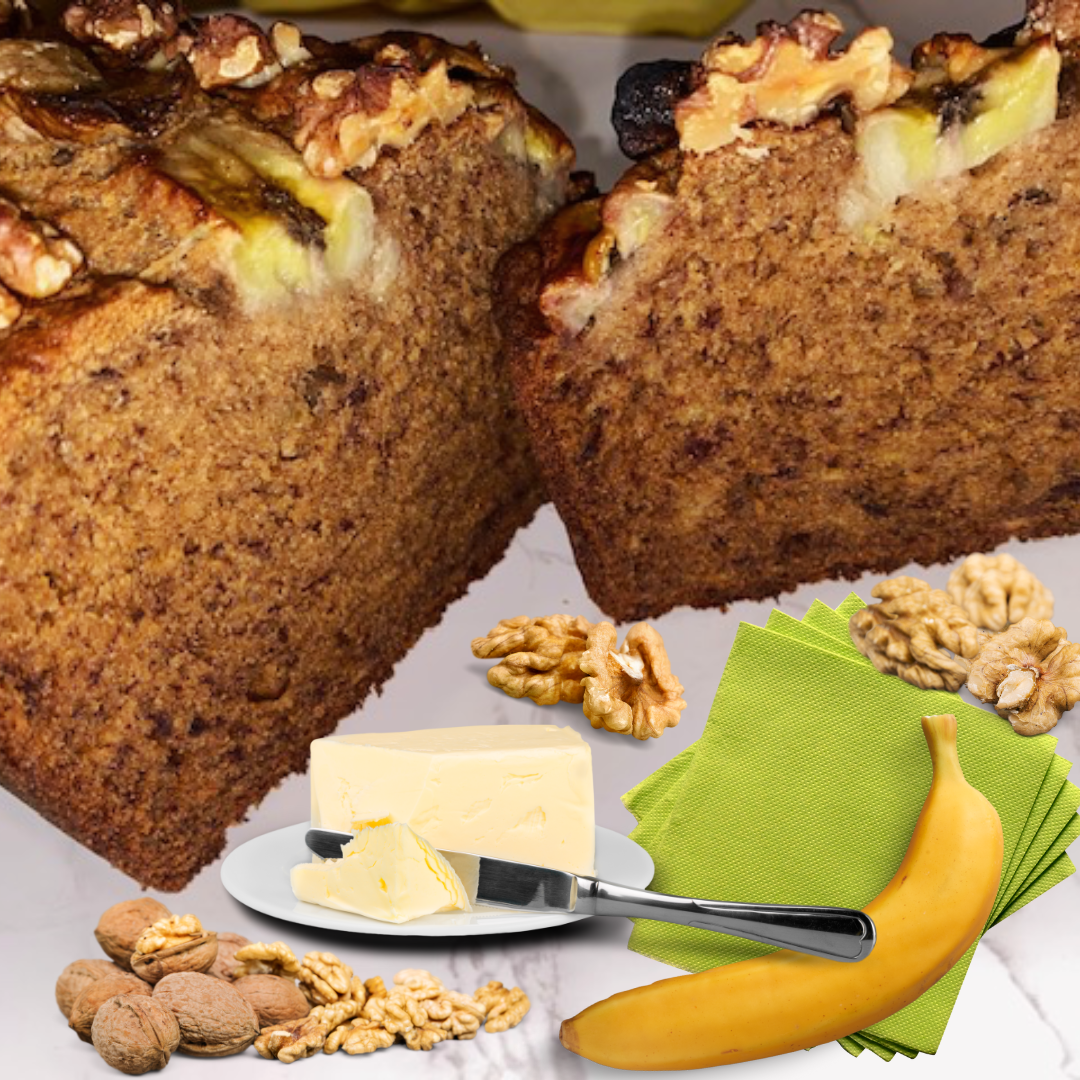
Pumpkin- you need canned pumpkin puree for these muffins, don’t use pumpkin pie filling which has other ingredients added to it that might affect the flavor of your muffins. So, double check the can label, it should contain 100% pumpkin. Organic Pumpkin Puree
Sugar- I like to use both sugars in this recipe, with dark or light brown sugar you will get molasses notes in each pumpkin muffin, which is sublime paired with the warmth of fall spices. Granulated Cane Sugar.
Butter- I love using butter instead of oil in all my baking. You can use vegetable oil, which adds plenty of moisture and richness to these muffins. You could also use coconut oil, which will add a hint of sweetness.
Milk- a 1/4 cup of milk is not too much at all, so feel free to use any milk you have in the fridge. I used lactose free milk, but almond milk or water works as well.
Vanilla Extract- Using a good vanilla extract will make a difference in taste. I used this organic vanilla bean paste Vanilla Extract.
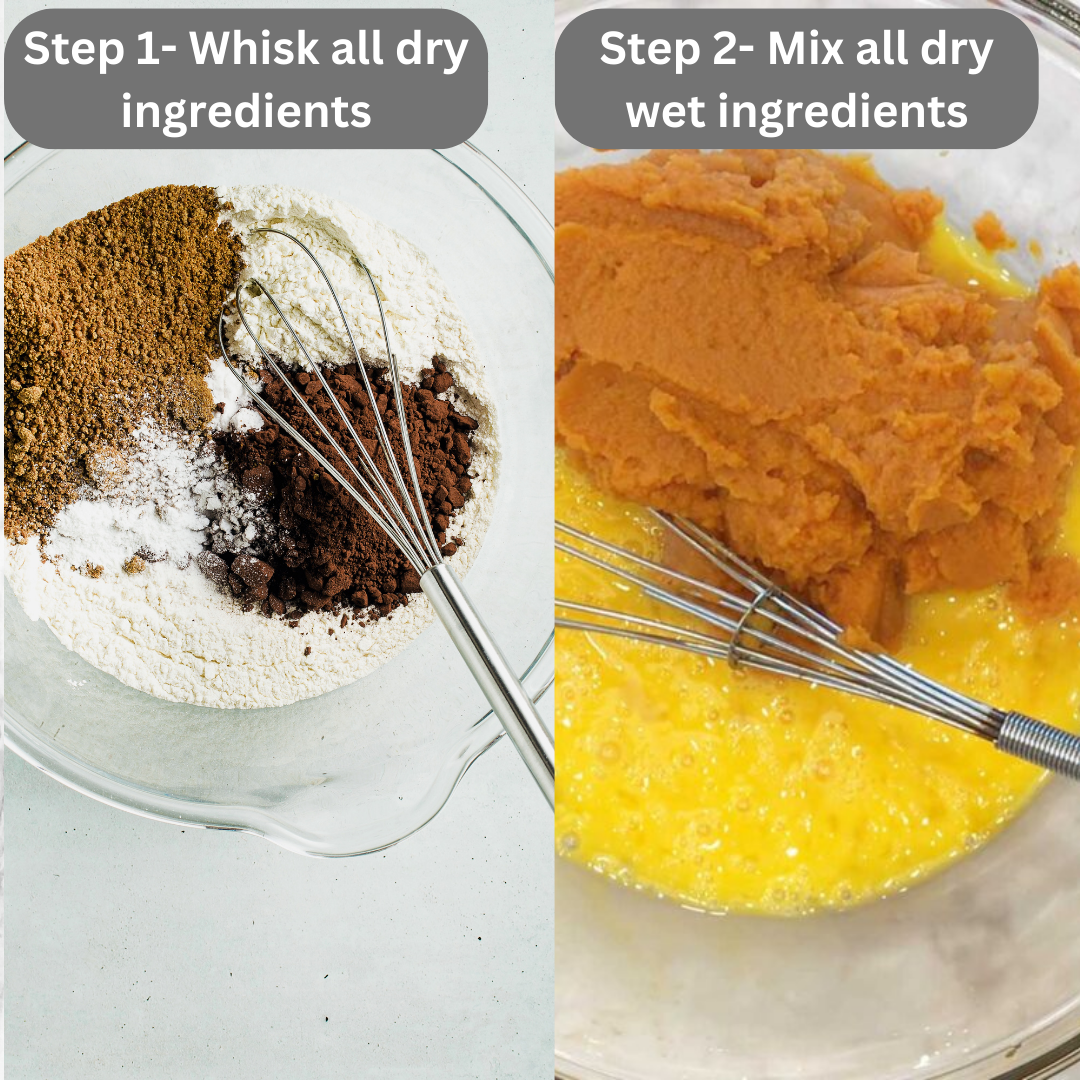
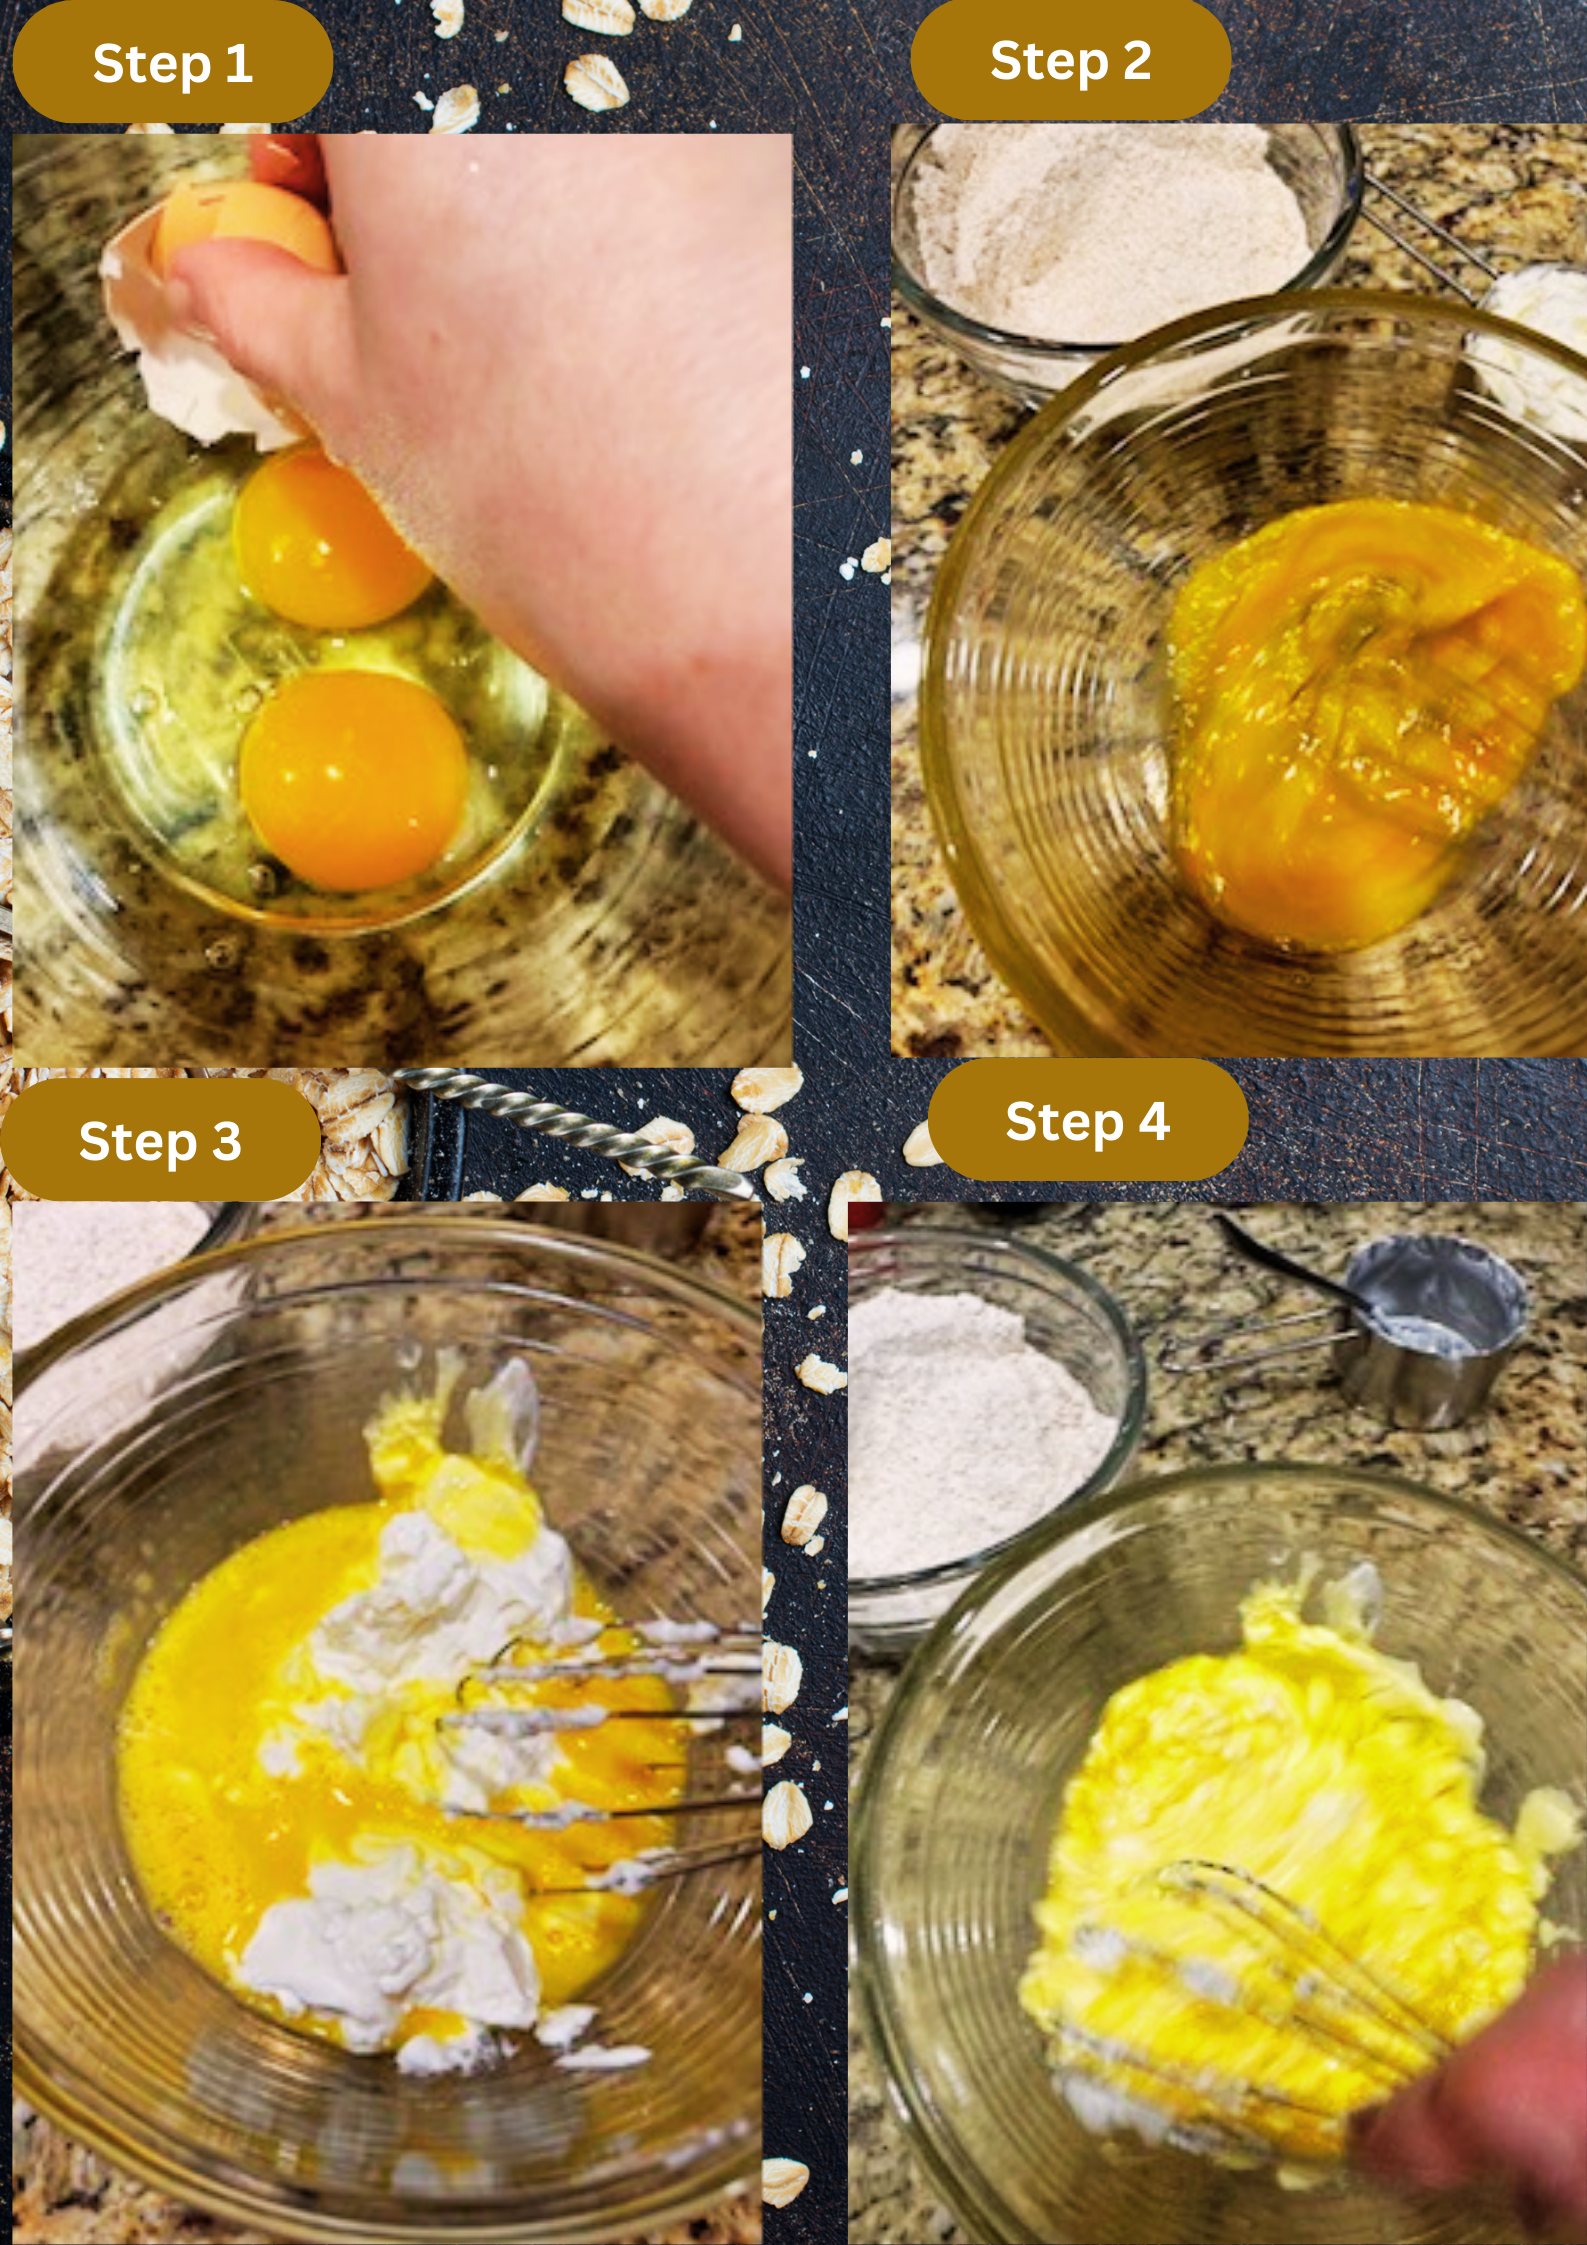
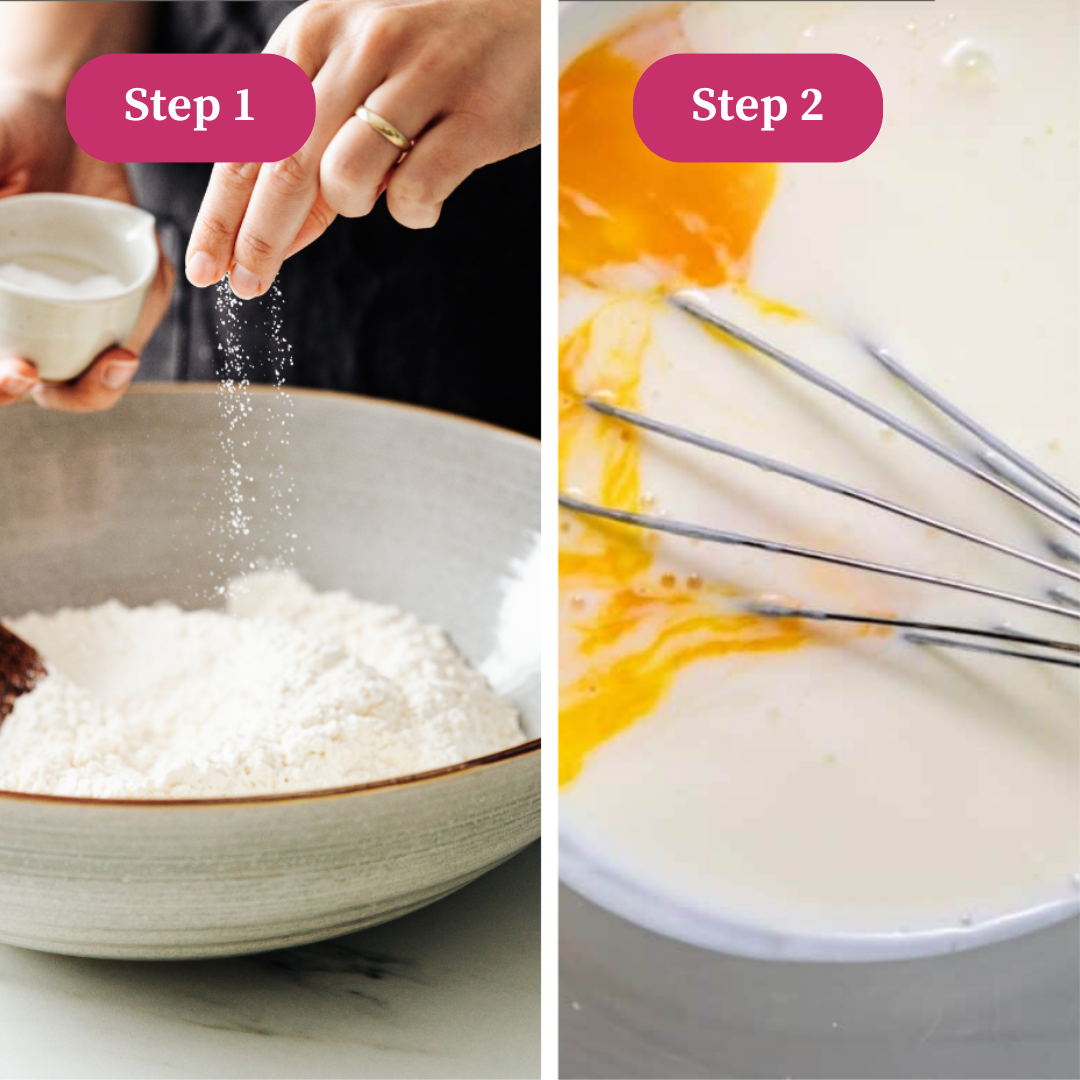
Step 1- In a small bowl whisk gluten free flour, spices that you have, baking powder, baking soda, and salt until combined and set aside.
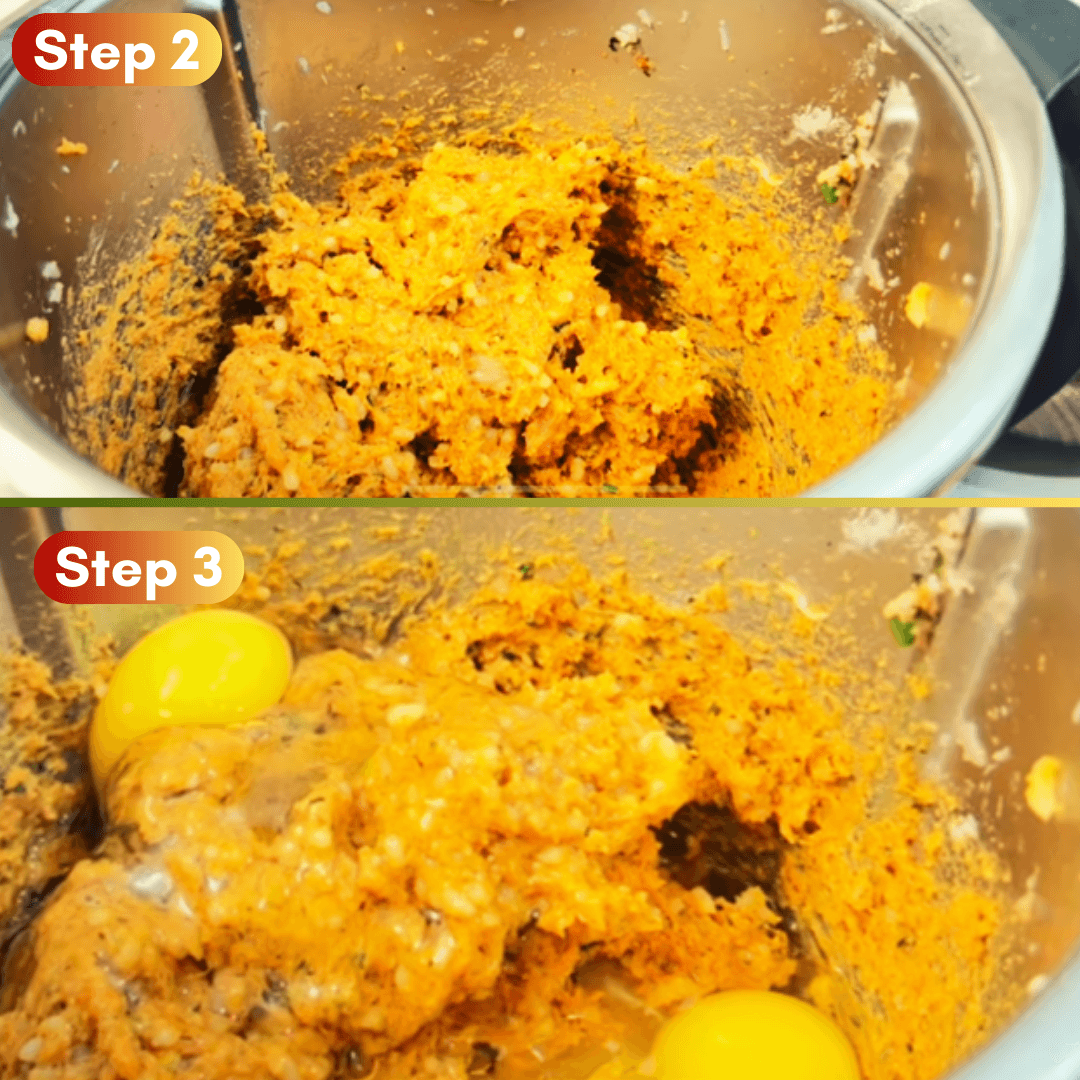
Step 2- In a medium bowl whisk together butter, milk, eggs, vanilla, granulated sugar, and brown sugar. Top in the pumpkin purée and whisk until all smooth.
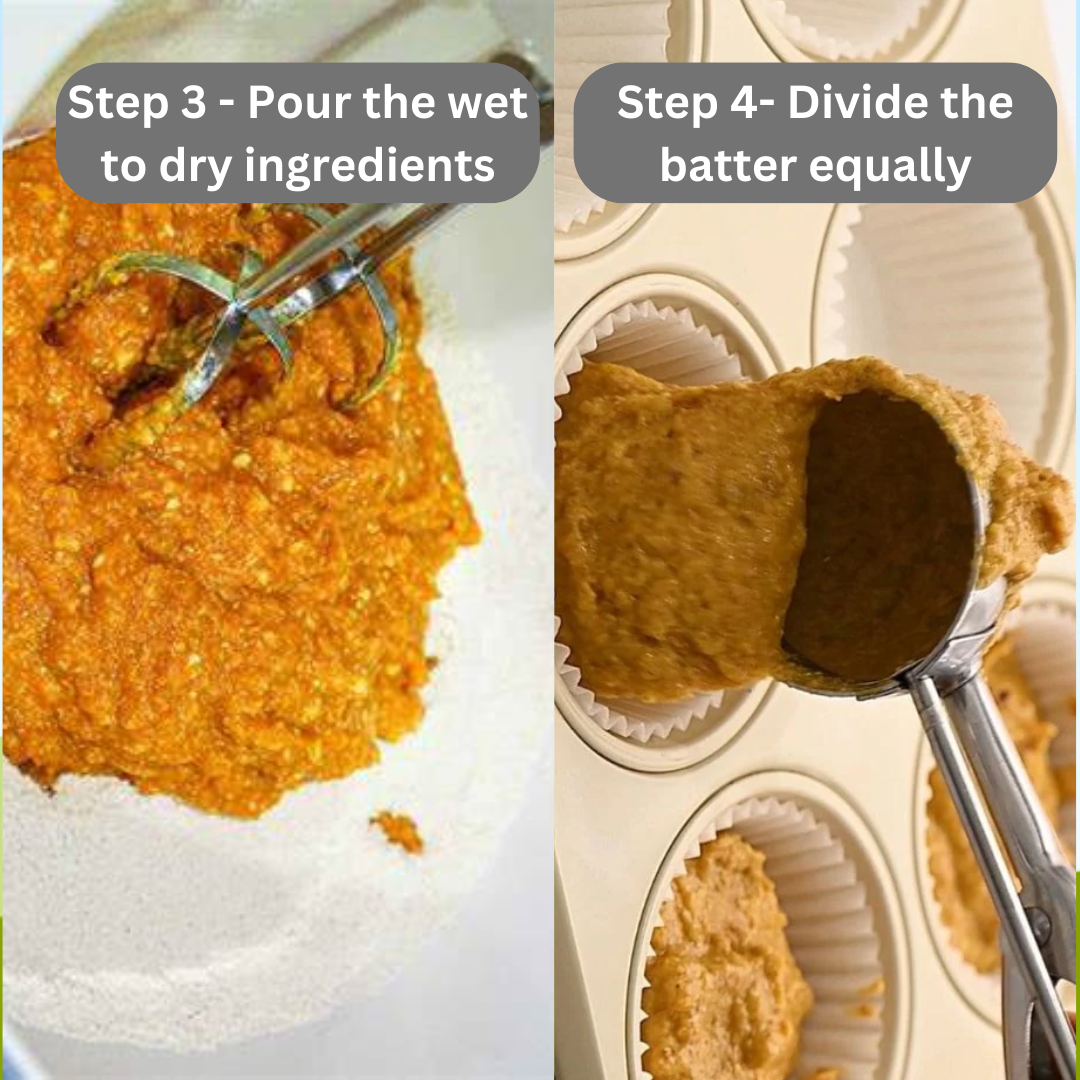
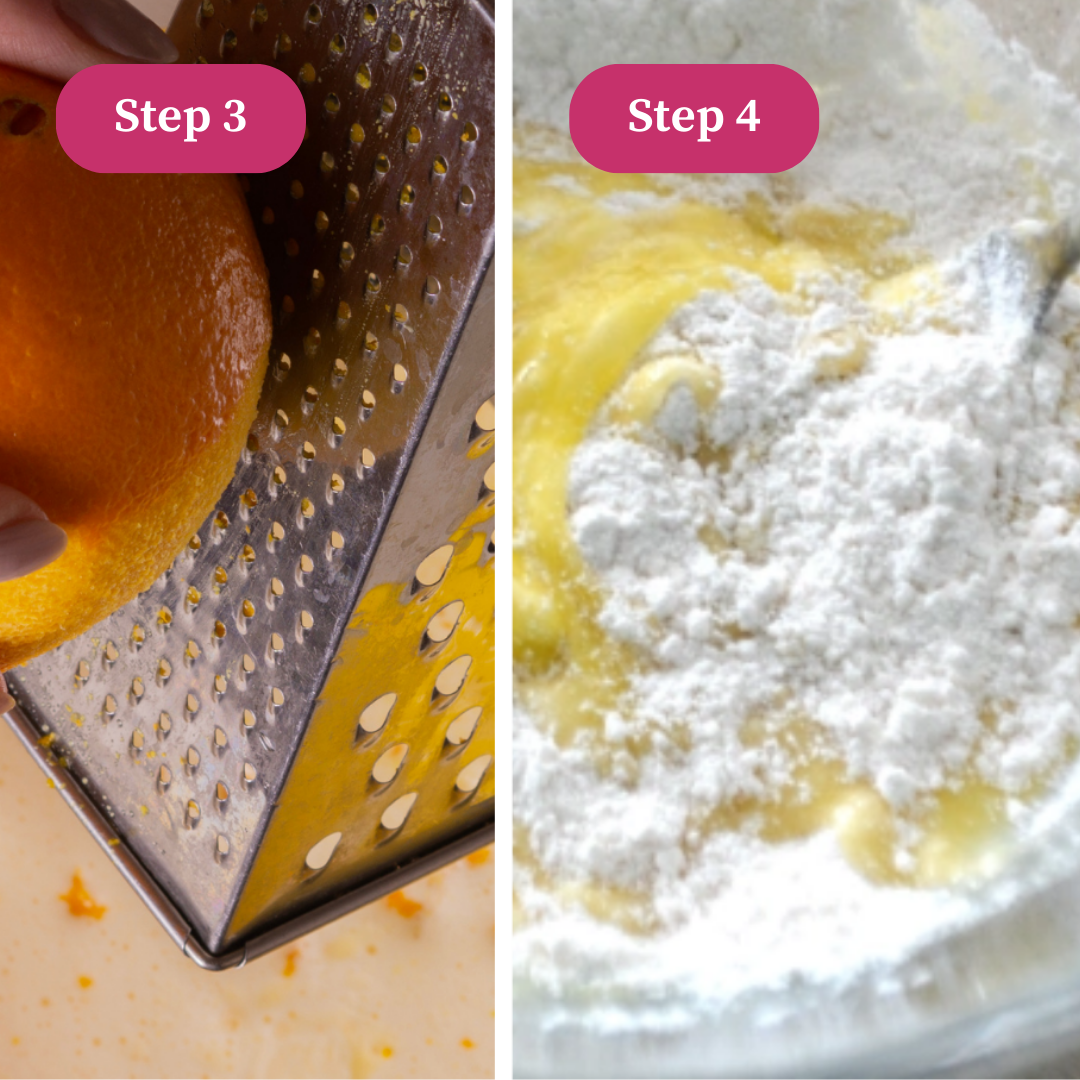
Step 3- Pour the wet ingredients into the bowl with the dry ingredients and mix until just combined. Do not overmix or your muffins will turn tough.
Step 4- Line a muffin pans with paper muffin liners or spray or butter your muffin tin if using non-stick version. Divide the batter equally, fill each one about three quarters of the way.
Bake at 425°F for the first 5 minutes, this will help the muffins puff up, then reduce the temperature to 350°F and bake for 15 minutes or until a toothpick inserted in the center comes out clean. Remove the muffin from the pan and allow them to cool completely on a wire rack.
Pro Tips for making this Recipe
- Use room temperature ingredients- Set your eggs and milk out on your counter at least 30 minutes to an hour before starting the baking journey. Cold ingredients will make your batter cold. Room temperature ingredients mix together better.
- Weigh your flour- For a moist, tender pumpkin muffin, it’s better to measure your flour with a kitchen scale. If you don’t have a scale, make sure to fluff up the flour before spooning it into your measuring cup, then level it off with a knife.
- Don’t over-mix your batter- gently stir the wet ingredients and the dry ingredients until combined and no visible flour clumps. Mixing your batter too much might result into a dry and dense muffin.
- Pre-heat your oven- starting out with a scorching hot oven at 425° for the first 5 minutes will help them rise and give them that puff professional baked muffins look.
- Use paper liners in the muffin tin- It will prevent your muffins from sticking catastrophically to the tin. Or if you have a non-stick muffin tin, simply spray it with butter spray.
- Add chocolate chips on top- If you love chocolate chips either add some to your batter or simply sprinkle on top before popping it to the oven.
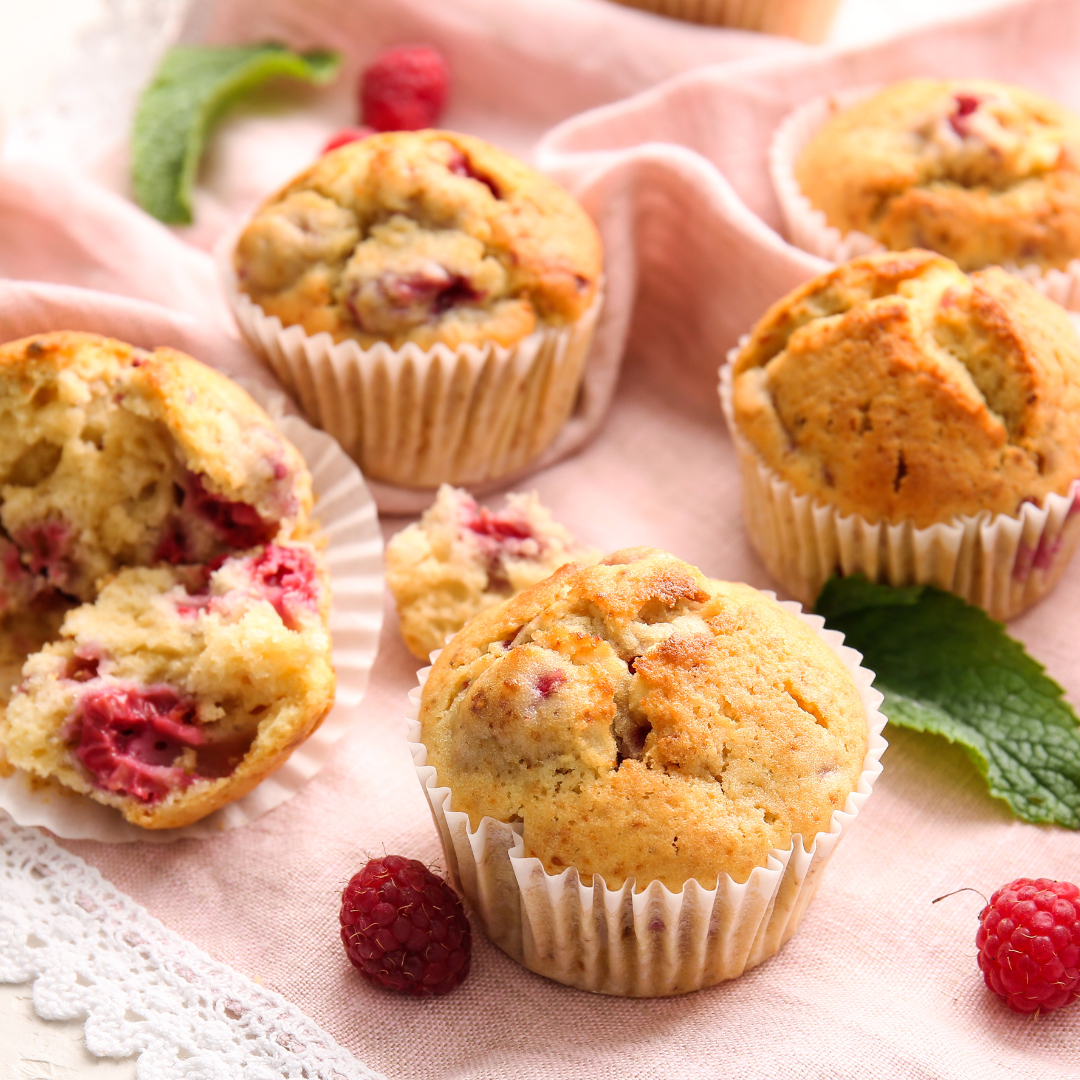
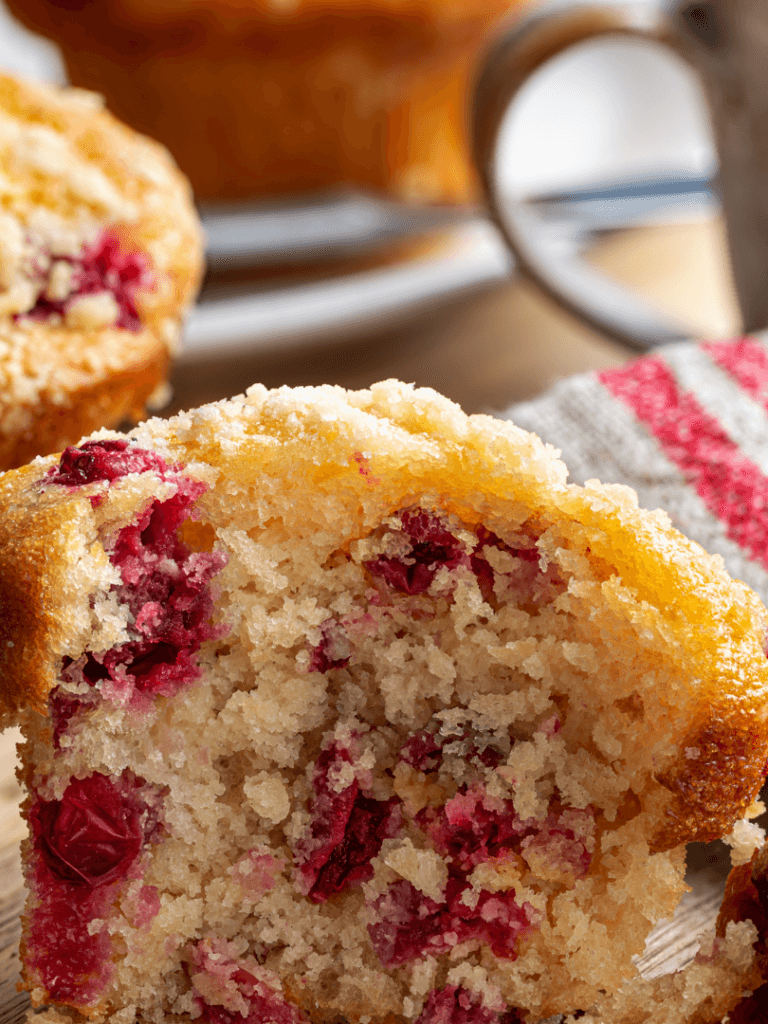
- Add Streusel topping for some texture and crispness- for a crunchy and perfectly sweet finish, add the crisp streusel from my Gluten Free Blueberry muffin, or Gluten-Free Raspberry Muffins on the top of your muffins before popping it in the oven. Instead of using granulated sugar use brown sugar.
Frequently Asked Questions
Can I replace flour with Gluten-Free flour?
No, you can’t just replace gluten-free flour with regular flour in the same gram ratio, but you can measure 1 cup and a half which is equal to 180 to 200 grams.
Gluten-free flour is made from various gluten-free grains, seeds, and beans. Each one has a different protein, starch, and fiber content. Due to this, gluten-free flour does not have the same binding, rising, and texture properties as wheat flour.
In order to achieve the best results with gluten-free flour, you may have to adjust the amounts, add extra liquid or leavening agents, or combine different types.
Is All Pumpkin Puree Gluten Free?
There needs to be more clarity about what’s gluten-free and what’s not. And when it comes to pumpkins, there are a lot of conflicting opinions.
So, is all pumpkin Puree gluten-free?
I would say yes. All pumpkin Puree is naturally gluten-free. However, depending on their ingredients, some pumpkin products may not be gluten-free.
For example, some brands of pumpkin puree may contain gluten, so it’s always important to check the label before you buy.
Does Baking Powder have Gluten in It?
Yes, baking powder does have gluten in it. It’s because baking powder is made from baking soda and cream of tartar, both of which contain gluten.
Can I Substitute oil for butter?
I love butter in all my baking goods! Vegetable oil is the best oil for muffins because it adds moisture and richness to the batter, and you don’t have to worry about warming up your muffin. You could swap it to coconut oil or olive oil, but both these oils have a strong flavor note that will come through your muffins.
How can I Store or Freeze these Muffins?
Store the muffins in an airtight container for up to 4 days. Alternatively, you can freeze the muffins for up to 3 months or refrigerate for one week. Place the muffins in a freezer-safe bag and squeeze out as much air as possible.
How can I find Gluten-Free Items?
Look for certified gluten-free baking ingredients to ensure that they are truly gluten-free. Many groceries store now have dedicated gluten-free sections, so check there first. Otherwise, you can find quality gluten-free products at health food stores or online retailers.
Is pumpkin puree the same as pumpkin pie filling?
The key to making these muffins perfect is to use canned pumpkin puree. It can be confusing since the puree and pie are stocked side by side in the grocery store, don’t use the pumpkin pie filling because it has other ingredients added to it that will affect the flavor of the muffins.
These muffins are also best if you use dark brown sugar, as it gives them a richer flavor.
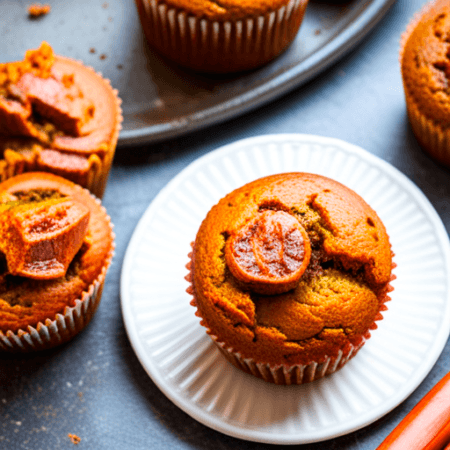
Amazing Gluten Free Pumpkin Muffin
Description
Elevate your morning routine with these delightful pumpkin muffins! They boast just the right amount of sweetness, a wonderfully soft texture, and are brimming with the unmistakable flavors of autumn. Plus, they maintain their freshness for an entire week when stored in the refrigerator.
Instructions
- First, preheat your oven to 425 degrees F. Grease or line a 12-cup muffin tin with paper liners.
- In a medium bowl, whisk together the gluten free flour, baking soda, baking powder, cinnamon, nutmeg, cloves, salt.
- In a separate bowl, mix the pumpkin puree, melted butter, brown and granulated sugar, eggs, and vanilla extract until smooth.
- Add the dry ingredients to the wet ingredients and mix until just combined. Don’t overmix!
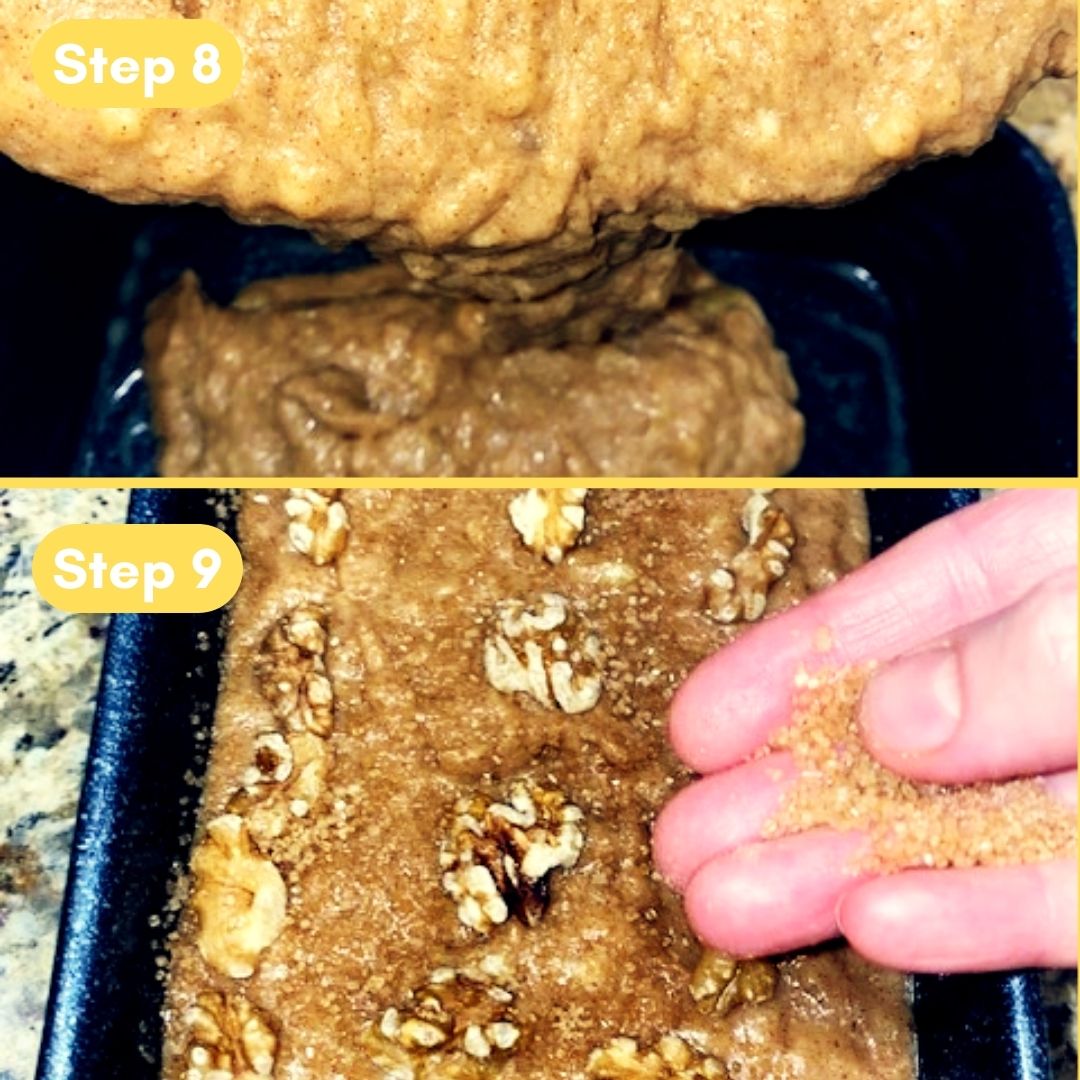
- Divide the batter equally among the muffin cups.
- Sprinkle some extra raw sugar on top of each muffin, if desired.
- At 425°F bake the muffins for 5 minutes then reduce the oven to 350° for 10-15 minutes or until they are golden brown, and a toothpick inserted in the center comes out clean. This way will get the muffins to rise quick and bake perfectly soft from the inside and crispy from the top.
- Allow cooling completely before serving.
Keywords:Gluten Free Muffins, Fall Muffins
Servings 2
Serving Size 2
- Amount Per Serving
- % Daily Value *
- Total Fat 10g16%
- Saturated Fat 2g10%
- Trans Fat 0.2g
- Cholesterol 28mg10%
- Sodium 200mg9%
- Potassium 100mg3%
- Total Carbohydrate 28g10%
- Dietary Fiber 1g4%
- Sugars 18g
- Protein 3g6%
- Vitamin C 1 mg
- Calcium 40 mg
- Iron 1 mg
* Percent Daily Values are based on a 2,000 calorie diet. Your daily value may be higher or lower depending on your calorie needs.

 Cali
Cali


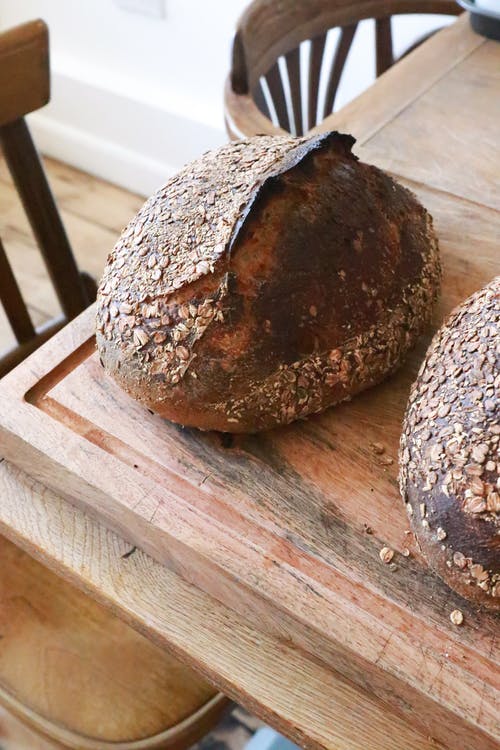 Dinner Rolls are a staple side dish in nearly every home. No matter where in the world you live, adding some type of grain to your meal is a hearty compliment to breakfast, lunch, or dinner.