Cali
CaliIs there any food that says Morocco more than chicken and rice? The recipe comes from North Africa and was perfected in Morocco (at least, in my opinion).
Traditionally, Moroccans use short-grain white rice with chicken, but you can substitute brown rice, couscous, or even quinoa to make it healthier or appeal to different tastes. This traditional Moroccan recipe is easy to make at home, and your family will love this entrée!
Moroccan cuisine is known for its bold flavors, and dishes with chicken are no exception. In Morocco, chicken is always cooked with vegetables and served with bread. We have other uses for the rice. I love ethnic food and was craving some chicken and rice… I wanted to experiment with rice and chicken but the Moroccan way. If you’ve followed me for a while, you know that I like to use spices that aren’t often present in standard American dishes. I want to expose you to bold new flavors that invigorate your senses and curiosity. Pairing spices like Star Anise and Cardamom gives any basic dish a flavor boost that’ll arouse your taste buds.

What is Anise, and what is it used for?
Anise or aniseed is a plant spice used most often in middle eastern recipes. It has a sweet smell, and the taste is akin to licorice. It’s a spice I’m accustomed to using, so I enjoy the flavor. Anise can be used in many types of foods, and it’s used in desserts, drinks (primarily in Liqueurs), and candies.
Recipe for Chicken and Rice the Moroccan Way
| Prep Time | Cook Time | Total Time |
| 1 hr. 10 Minutes | 1 hr. 1 Minute | 2 hrs. 11 Minutes |
First, gather your ingredients:
Ingredients
- One whole chicken (cut into four pieces)
- One plain Greek yogurt 5.3oz
- 1tsp ginger powder or fresh
- Two medium onions
- Three garlic cloves
- 1 tsp Coriander
- Juice of lemon
- Five cloves
- 1 Star Anise
- 1/4tsp Cardamom
- 1/8tsp cinnamon
- One cinnamon stick
- 1tbsp dry cilantro
- 1tsp Paprika
- 1/2tsp salt
- 1/2tsp pepper
- 1tsp turmeric
- 5tbsp ghee butter
- 2-4 jalapeños
- 4tbsp olive oil
- 2 tbsp canola oil
- 1/2 cup whole almonds
- 2 cups chicken broth
- 2 cups basmati rice
Instructions
- Clean the chicken. Remove the skin and excess fat.
- Add salt and vinegar.
- Combine all spices, minced garlic, lemon, and yogurt mix well in a bowl.
- Rub mixture onto the chicken. Cover the bowl and store it in the fridge for at least 1 hour.
- In a medium saucepan, warm olive oil and 1tbsp ghee butter, add chopped onions sauté for 6 minutes.
- Add the chicken pieces and sauté for 10 minutes.
- Add the remaining marinade sauce, chicken stock, cinnamon stick, star anise, and cloves.
- Cover the pan and cook on medium heat.
- At this time, add rice and water to a bowl and let it sit for 15 mins, then rinse well to remove excess starch (I rinse it about six times).
- Once the chicken is cooked, remove it from the pan and 1/4 cup of the sauce and set it aside.
- Cook the rice in water following the 1 cup to 1.5 cup water ratio or cook the rice in the remaining sauce. (Tip: If cooking the rice in remaining sauce, measure whatever is left, then adjust and add water accordingly).
- Bring the water and sauce to boil with a tablespoon of lemon juice and salt to taste, then add rice and whole jalapeños
- Cook rice on low heat for 20 minutes.
- In a small saucepan, boil water. Once the water is boiling, add almonds, and cook for 10 minutes.
- Drain and remove the skin once it cools down.
- Rinse and let air dry or dry them with a paper towel
- Transfer to a small pan lined with aluminum foil, drizzle canola oil, mix, and roast until gold, and place atop the dish.
Quick Tips
- Feel free to add more spice to your dish by adding cayenne pepper or chili powder. Mix in onions or any other veggies you would like in your dish.
- Want to add a little extra pizzazz to your meat? Season it using salt and pepper.
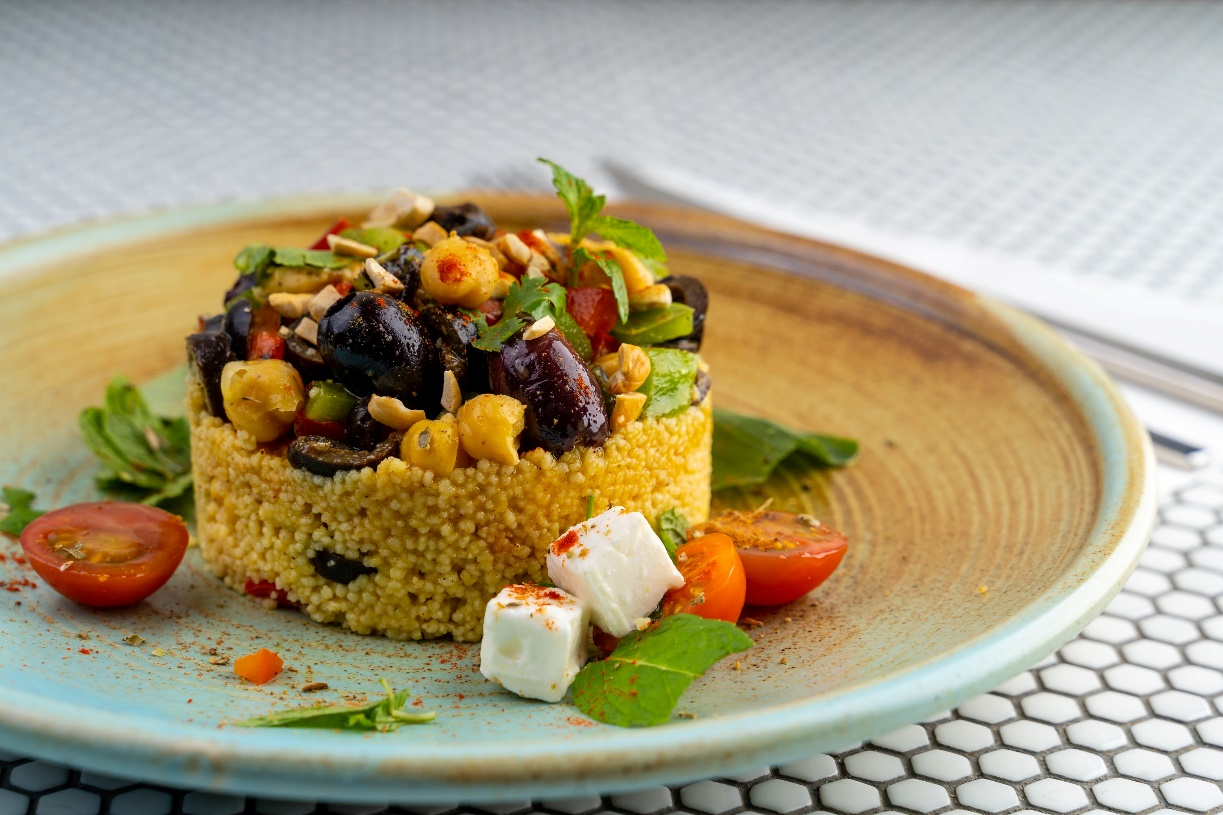
- You can substitute Rice for Couscous.
- Remove the cinnamon stick before serving.
Instant Pot Moroccan Chicken and Rice
If you have an Instant Pot and want another way to cook Moroccan Chicken and Rice, try this recipe from Food Network. The recipe is similar and uses a lot of the same ingredients, however, this version doesn’t use Anise and Cardamom, which I think, takes away from the boldness of the Moroccan Flavors. It takes about the same amount of time and energy to make. However, if you want a genuinely delectable Moroccan dish, make your Chicken and Rice the authentic way.
How to Serve Chicken and Rice
Try Moroccan Chicken and Rice with a salad, side vegetables, or alone. You can also top it with your favorite sauces or salsas. A green garnish will help draw out the bold aroma, and it will also add vibrancy. There are many unique ways to serve chicken over rice, experiment for yourself, and discover your favorite way to enjoy Moroccan Chicken and Rice. If you’re looking for an adult beverage to pair with your dish try a glass of white wine, it’s a compliment to the aromatic flavors in the dish.
Let me know how you serve your chicken and rice; if it’s different from what I’ve mentioned above, post your pictures! I would love to see them!
Serve hot and enjoy!