A Hearty Hug in a Bowl- Welcome back Palette Pioneers!
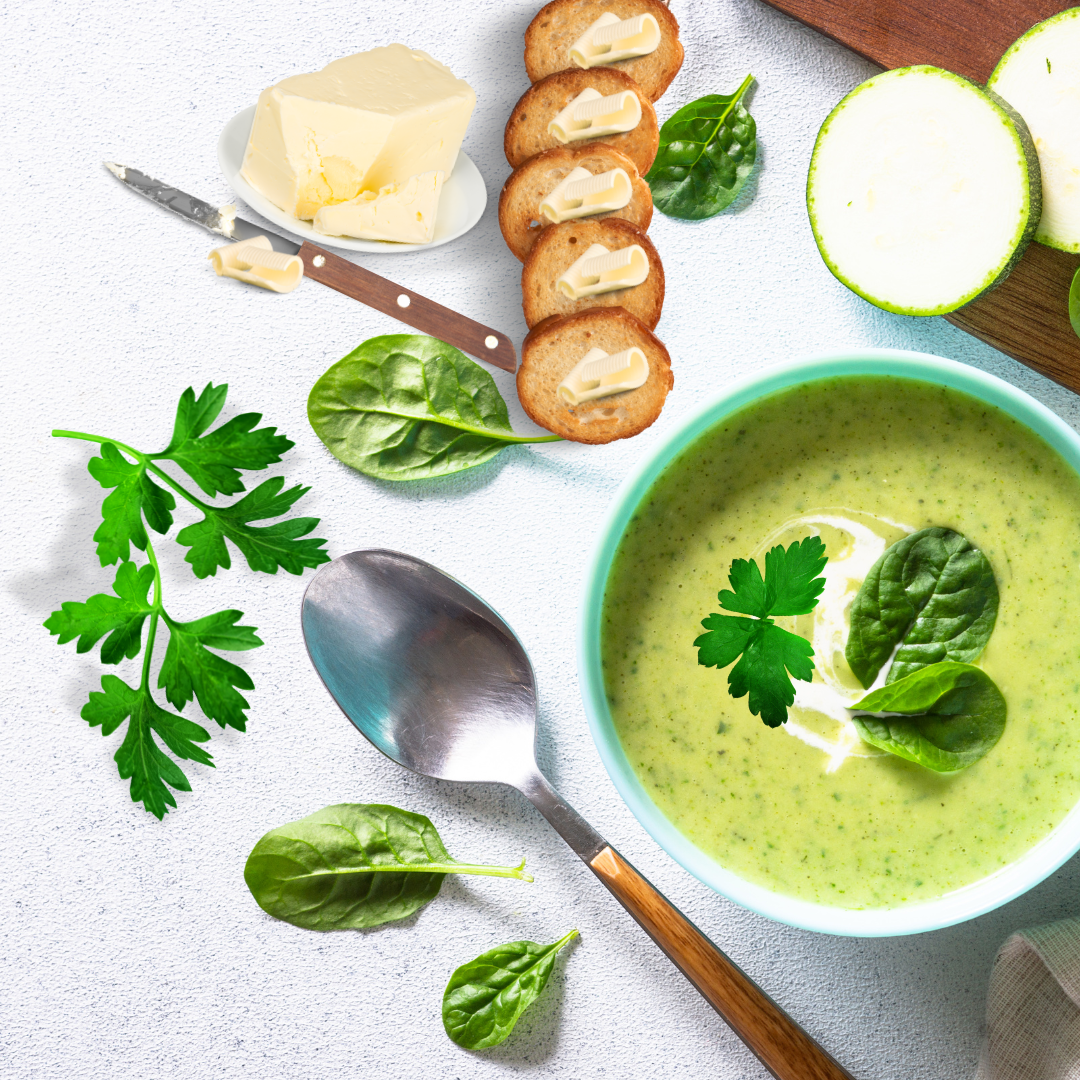
Imagine coming home from a long day, your stomach growling, and the aroma of a warm, hearty soup greeting you at the door. This isn’t just any soup; it’s a flavorful, nutritious, and comforting split pea soup inspired by my mom’s winter cooking. Perfect for foodies, health enthusiasts, and home cooks alike, this easy split pea soup recipe will not only warm your soul but also fit seamlessly into your gluten-free lifestyle. Whether you’re looking for a satisfying lunch paired with some gluten-free crackers or a standalone dinner, this soup has you covered.
In this blog post, I’ll walk you through how to make an irresistibly delicious and easy split pea soup. We’ll cover everything from ingredient selection to cooking tips, ensuring that you end up with a bowl of soup that’s as nourishing as it is tasty.

The Allure of Split Pea Soup
Why Split Peas?
Split peas are often overlooked in the culinary world, yet they pack a punch in both flavor and nutrition. Loaded with fiber, protein, and essential vitamins, these little gems are a fantastic base for a hearty soup. They have a mild, slightly sweet flavor that pairs well with various spices and ingredients, making them a versatile choice for a range of recipes.
Health Benefits
Split pea soup is not only delicious but also incredibly nutritious. It’s high in dietary fiber, which is excellent for digestive health. It’s also a great source of plant-based protein, making it perfect for vegetarians and vegans. Additionally, split peas contain a variety of vitamins and minerals, including iron, magnesium, and folate, contributing to overall wellness.
Comfort Food
There’s something inherently comforting about a bowl of warm soup, especially when it’s made with love and care. For me, split pea soup is a nostalgic dish that brings back memories of winter afternoons spent in my mother’s cozy kitchen. It’s the ultimate comfort food, ideal for those chilly days when you need something to warm you from the inside out.
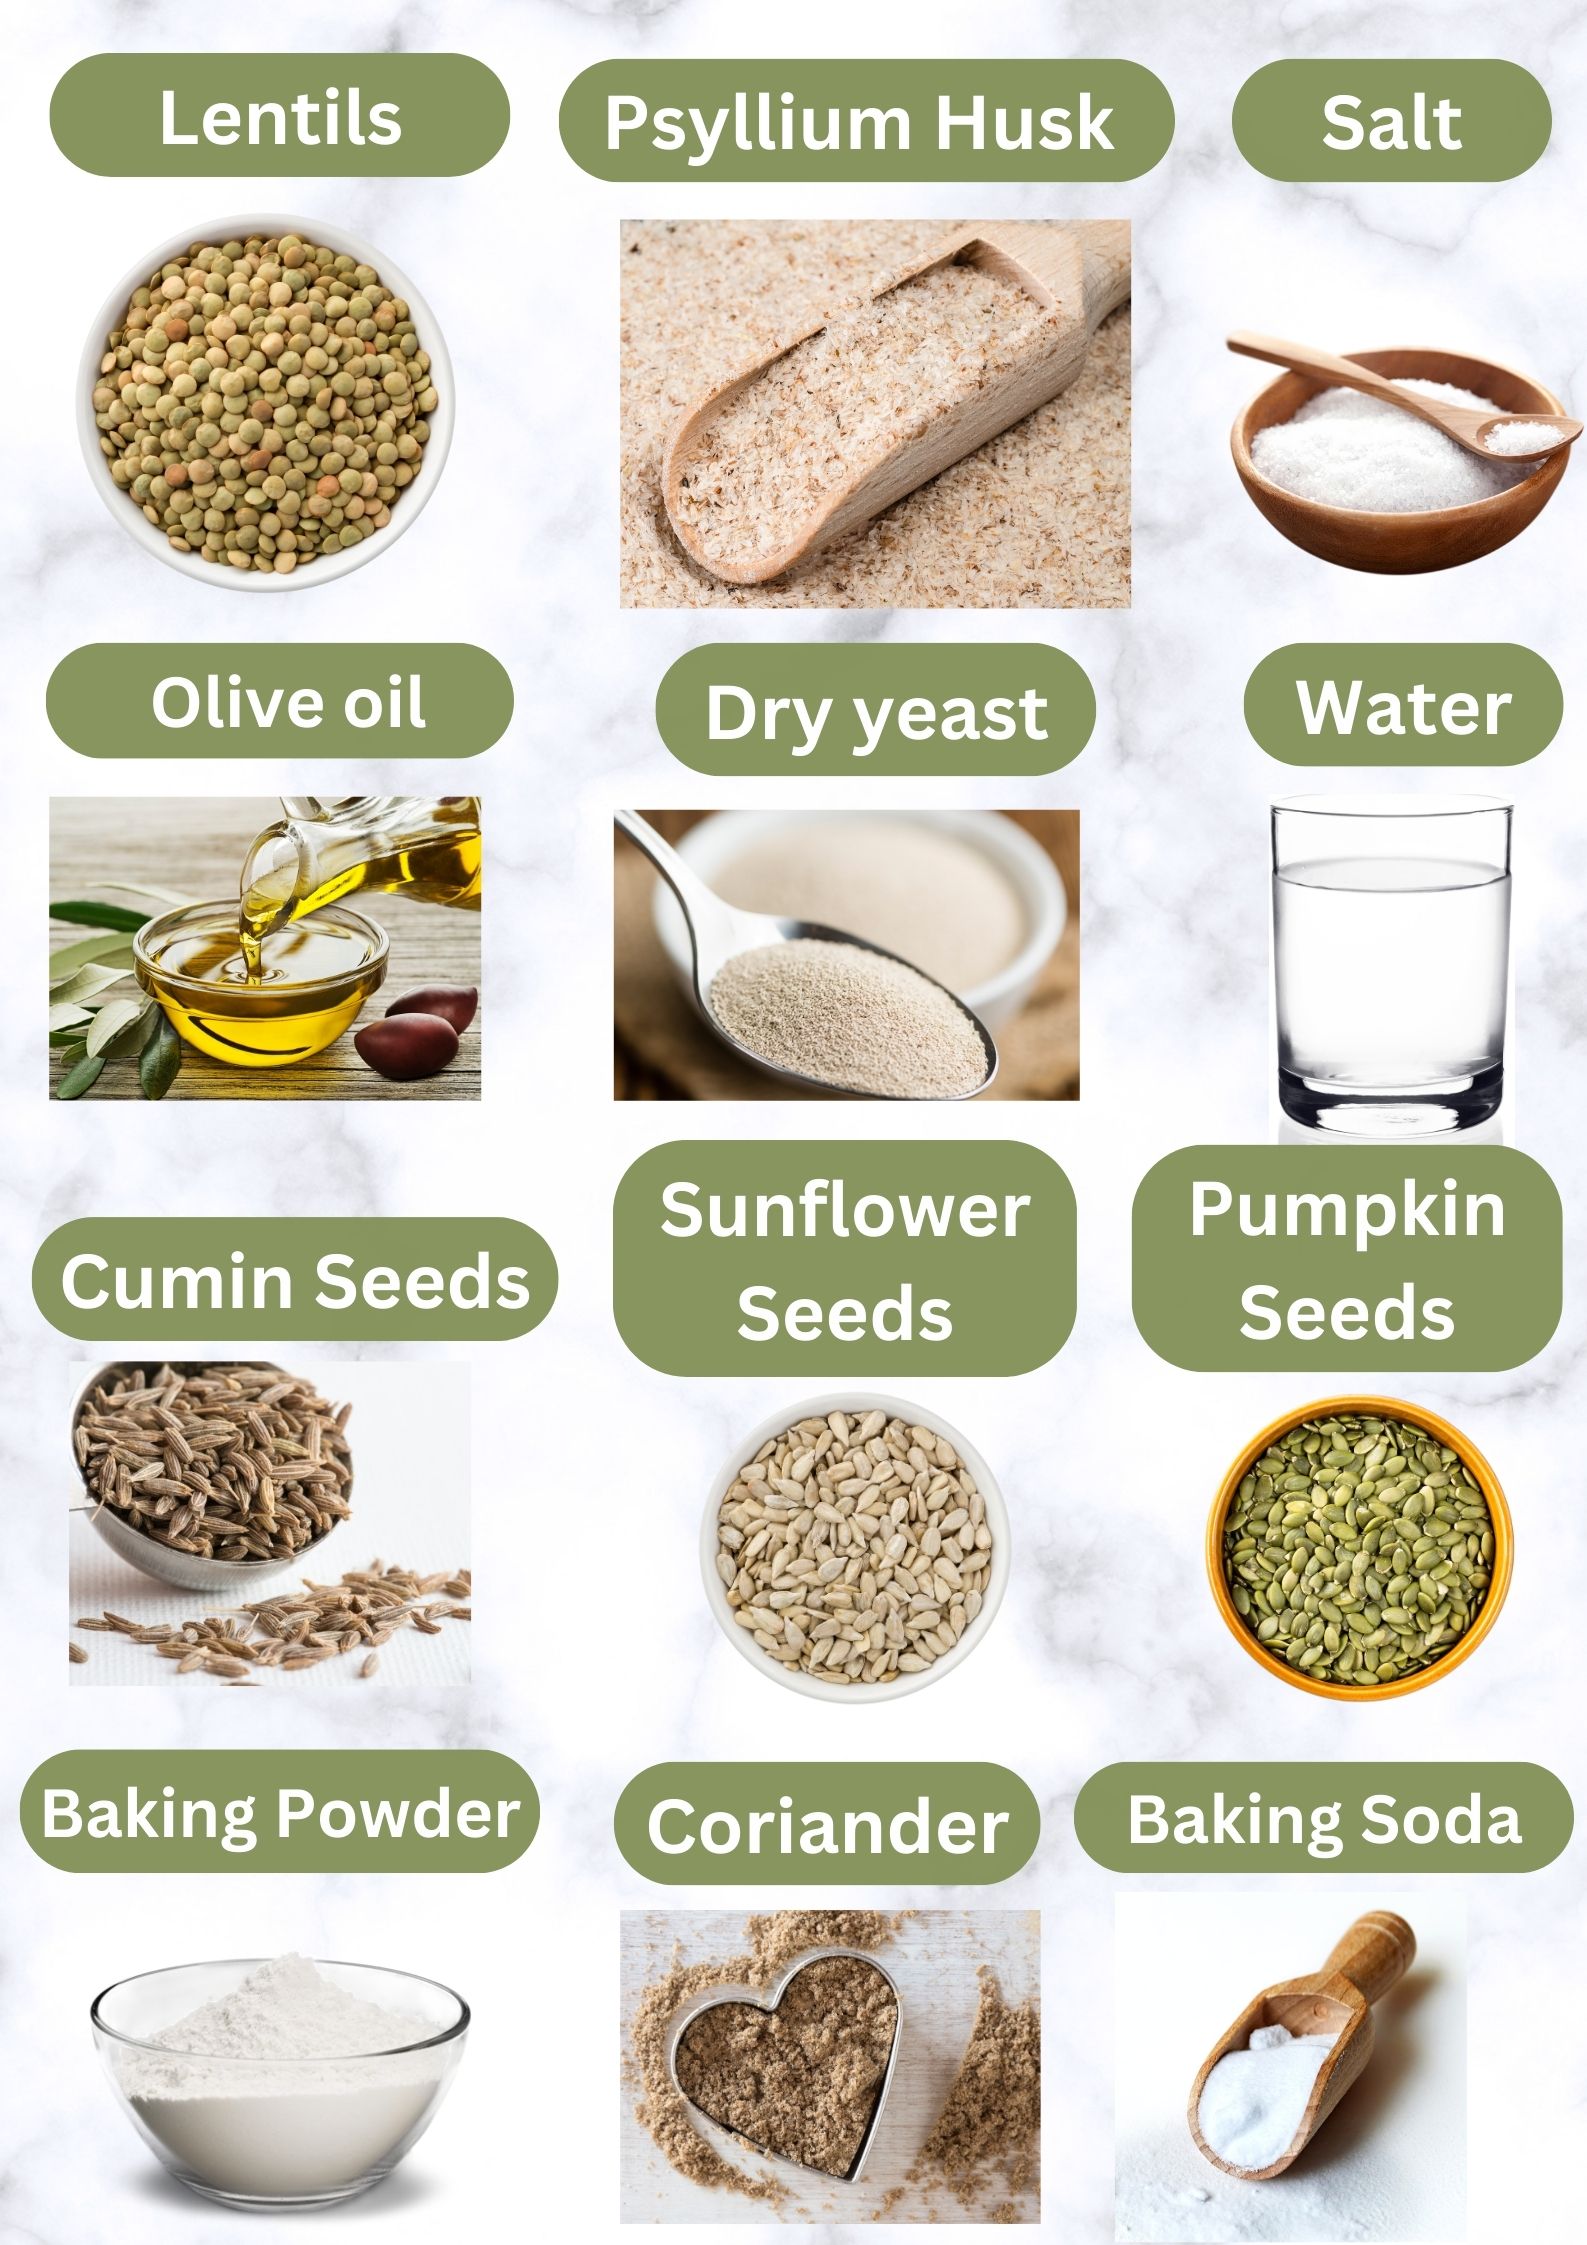
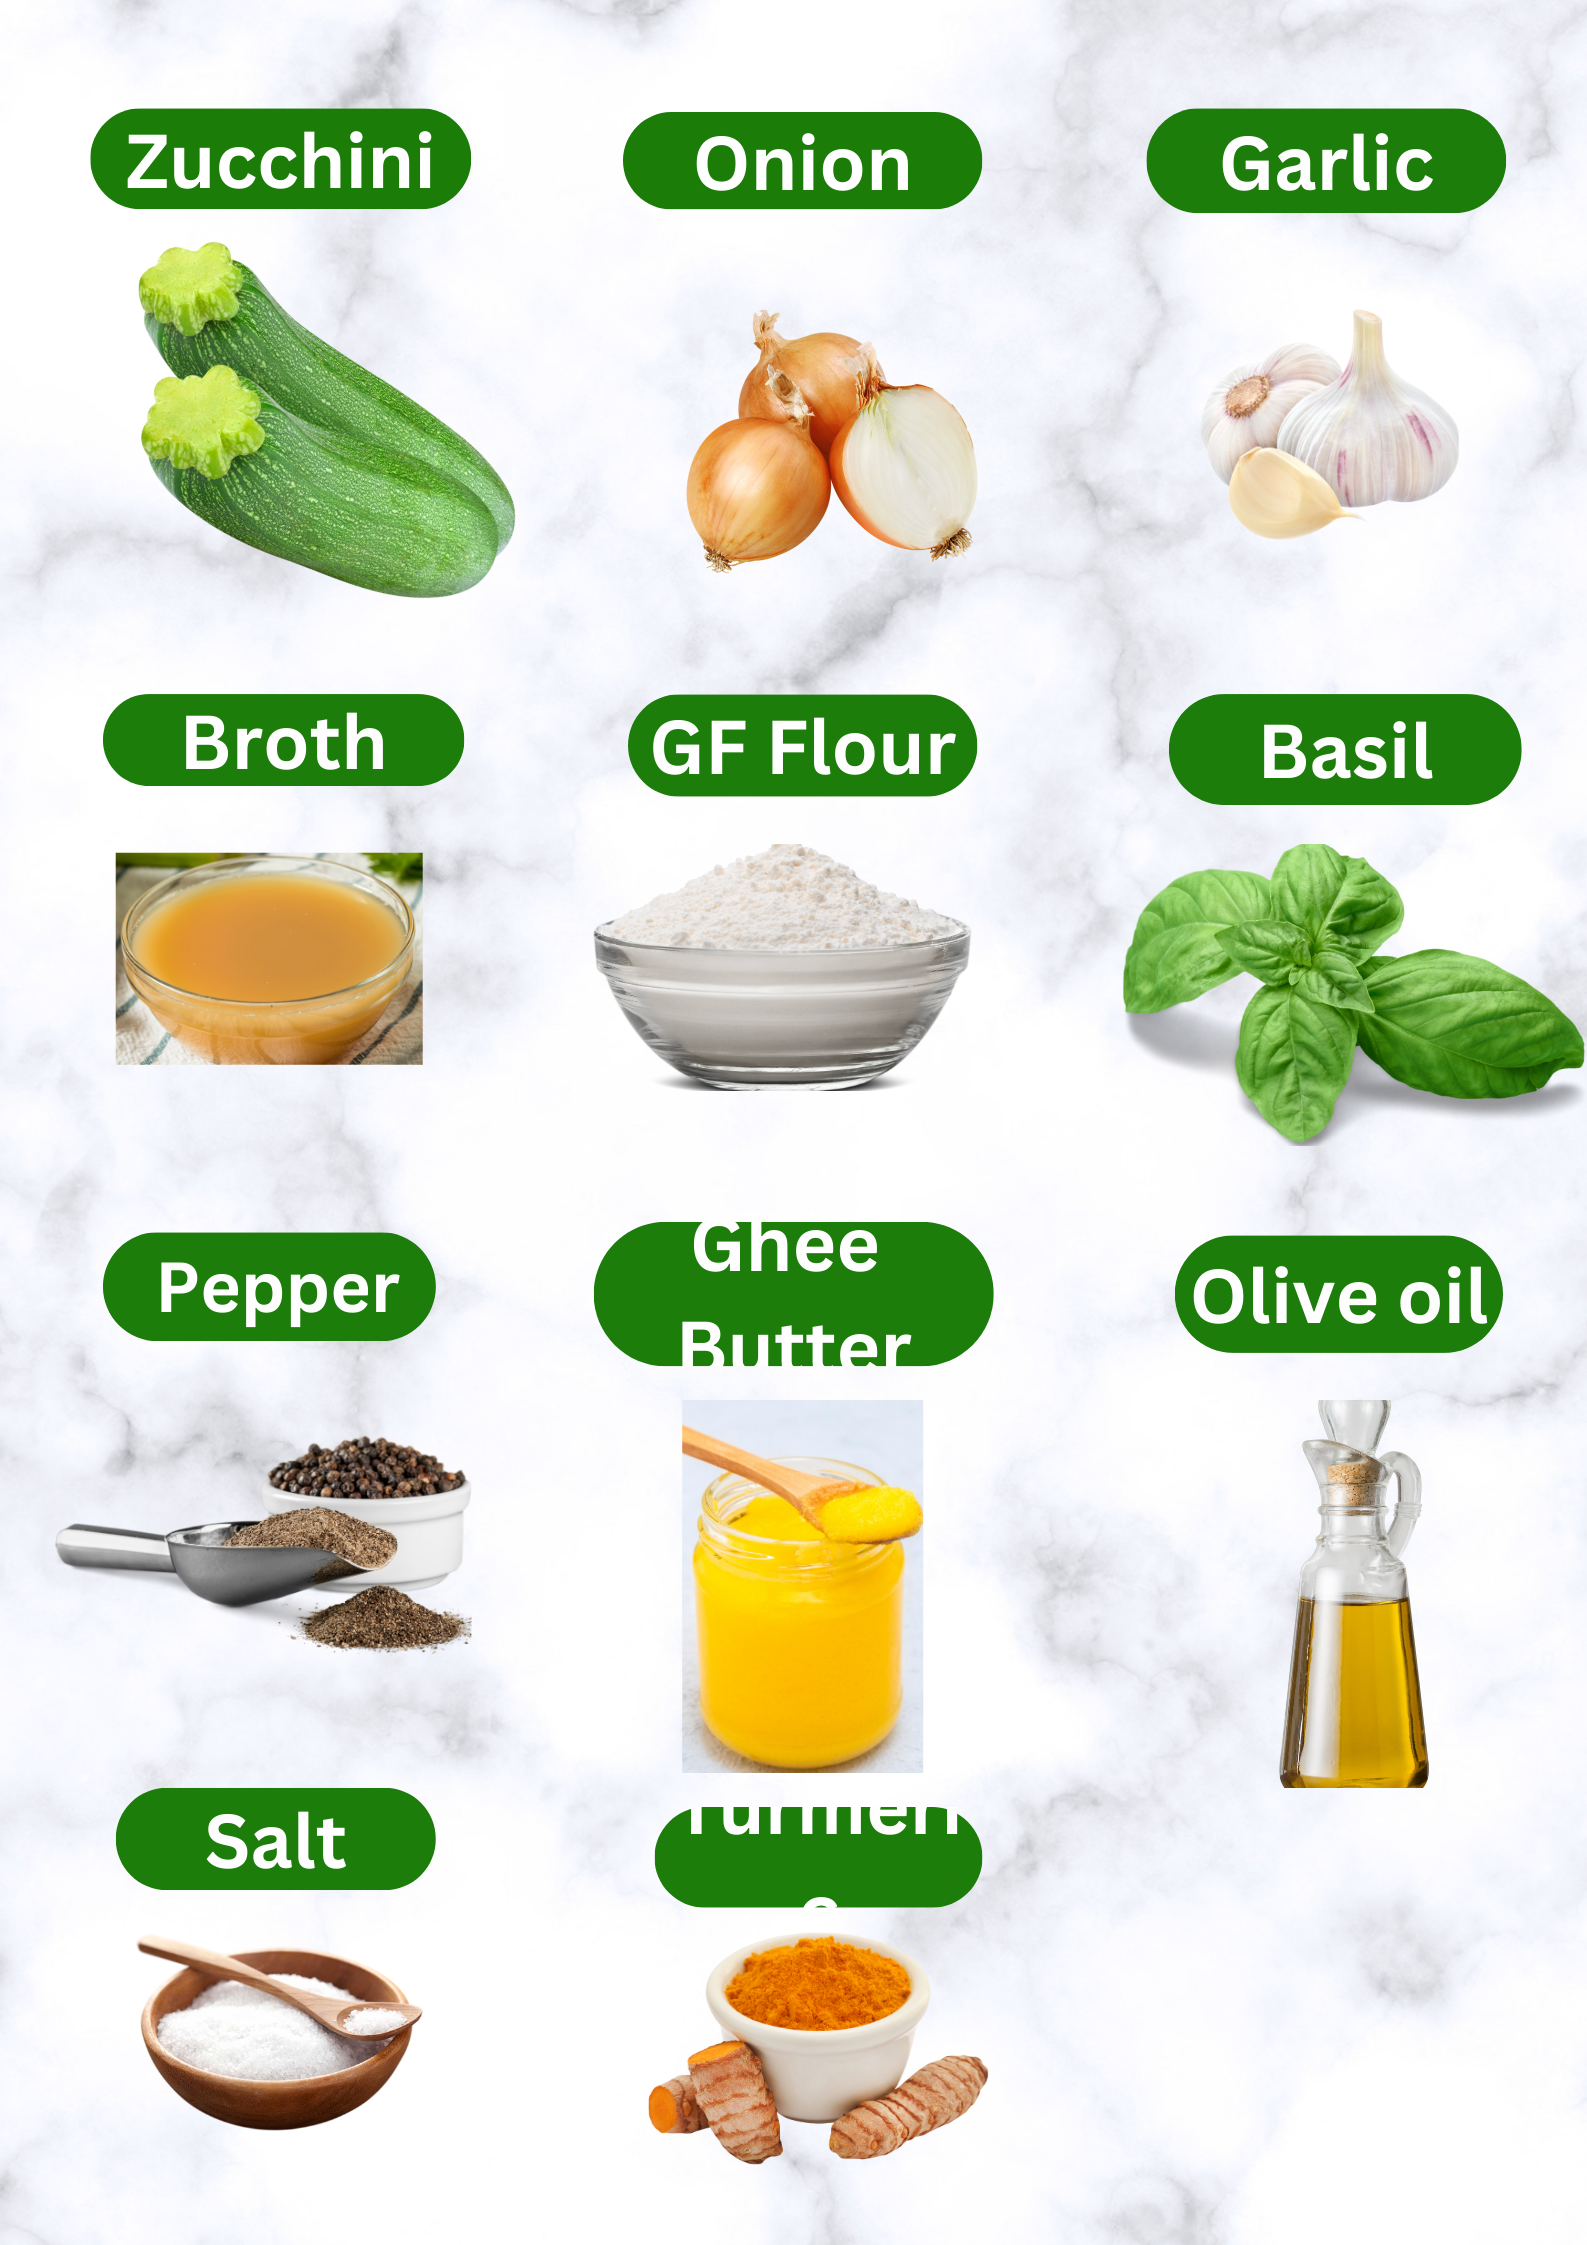
Ingredients You’ll Need
Simple and Accessible
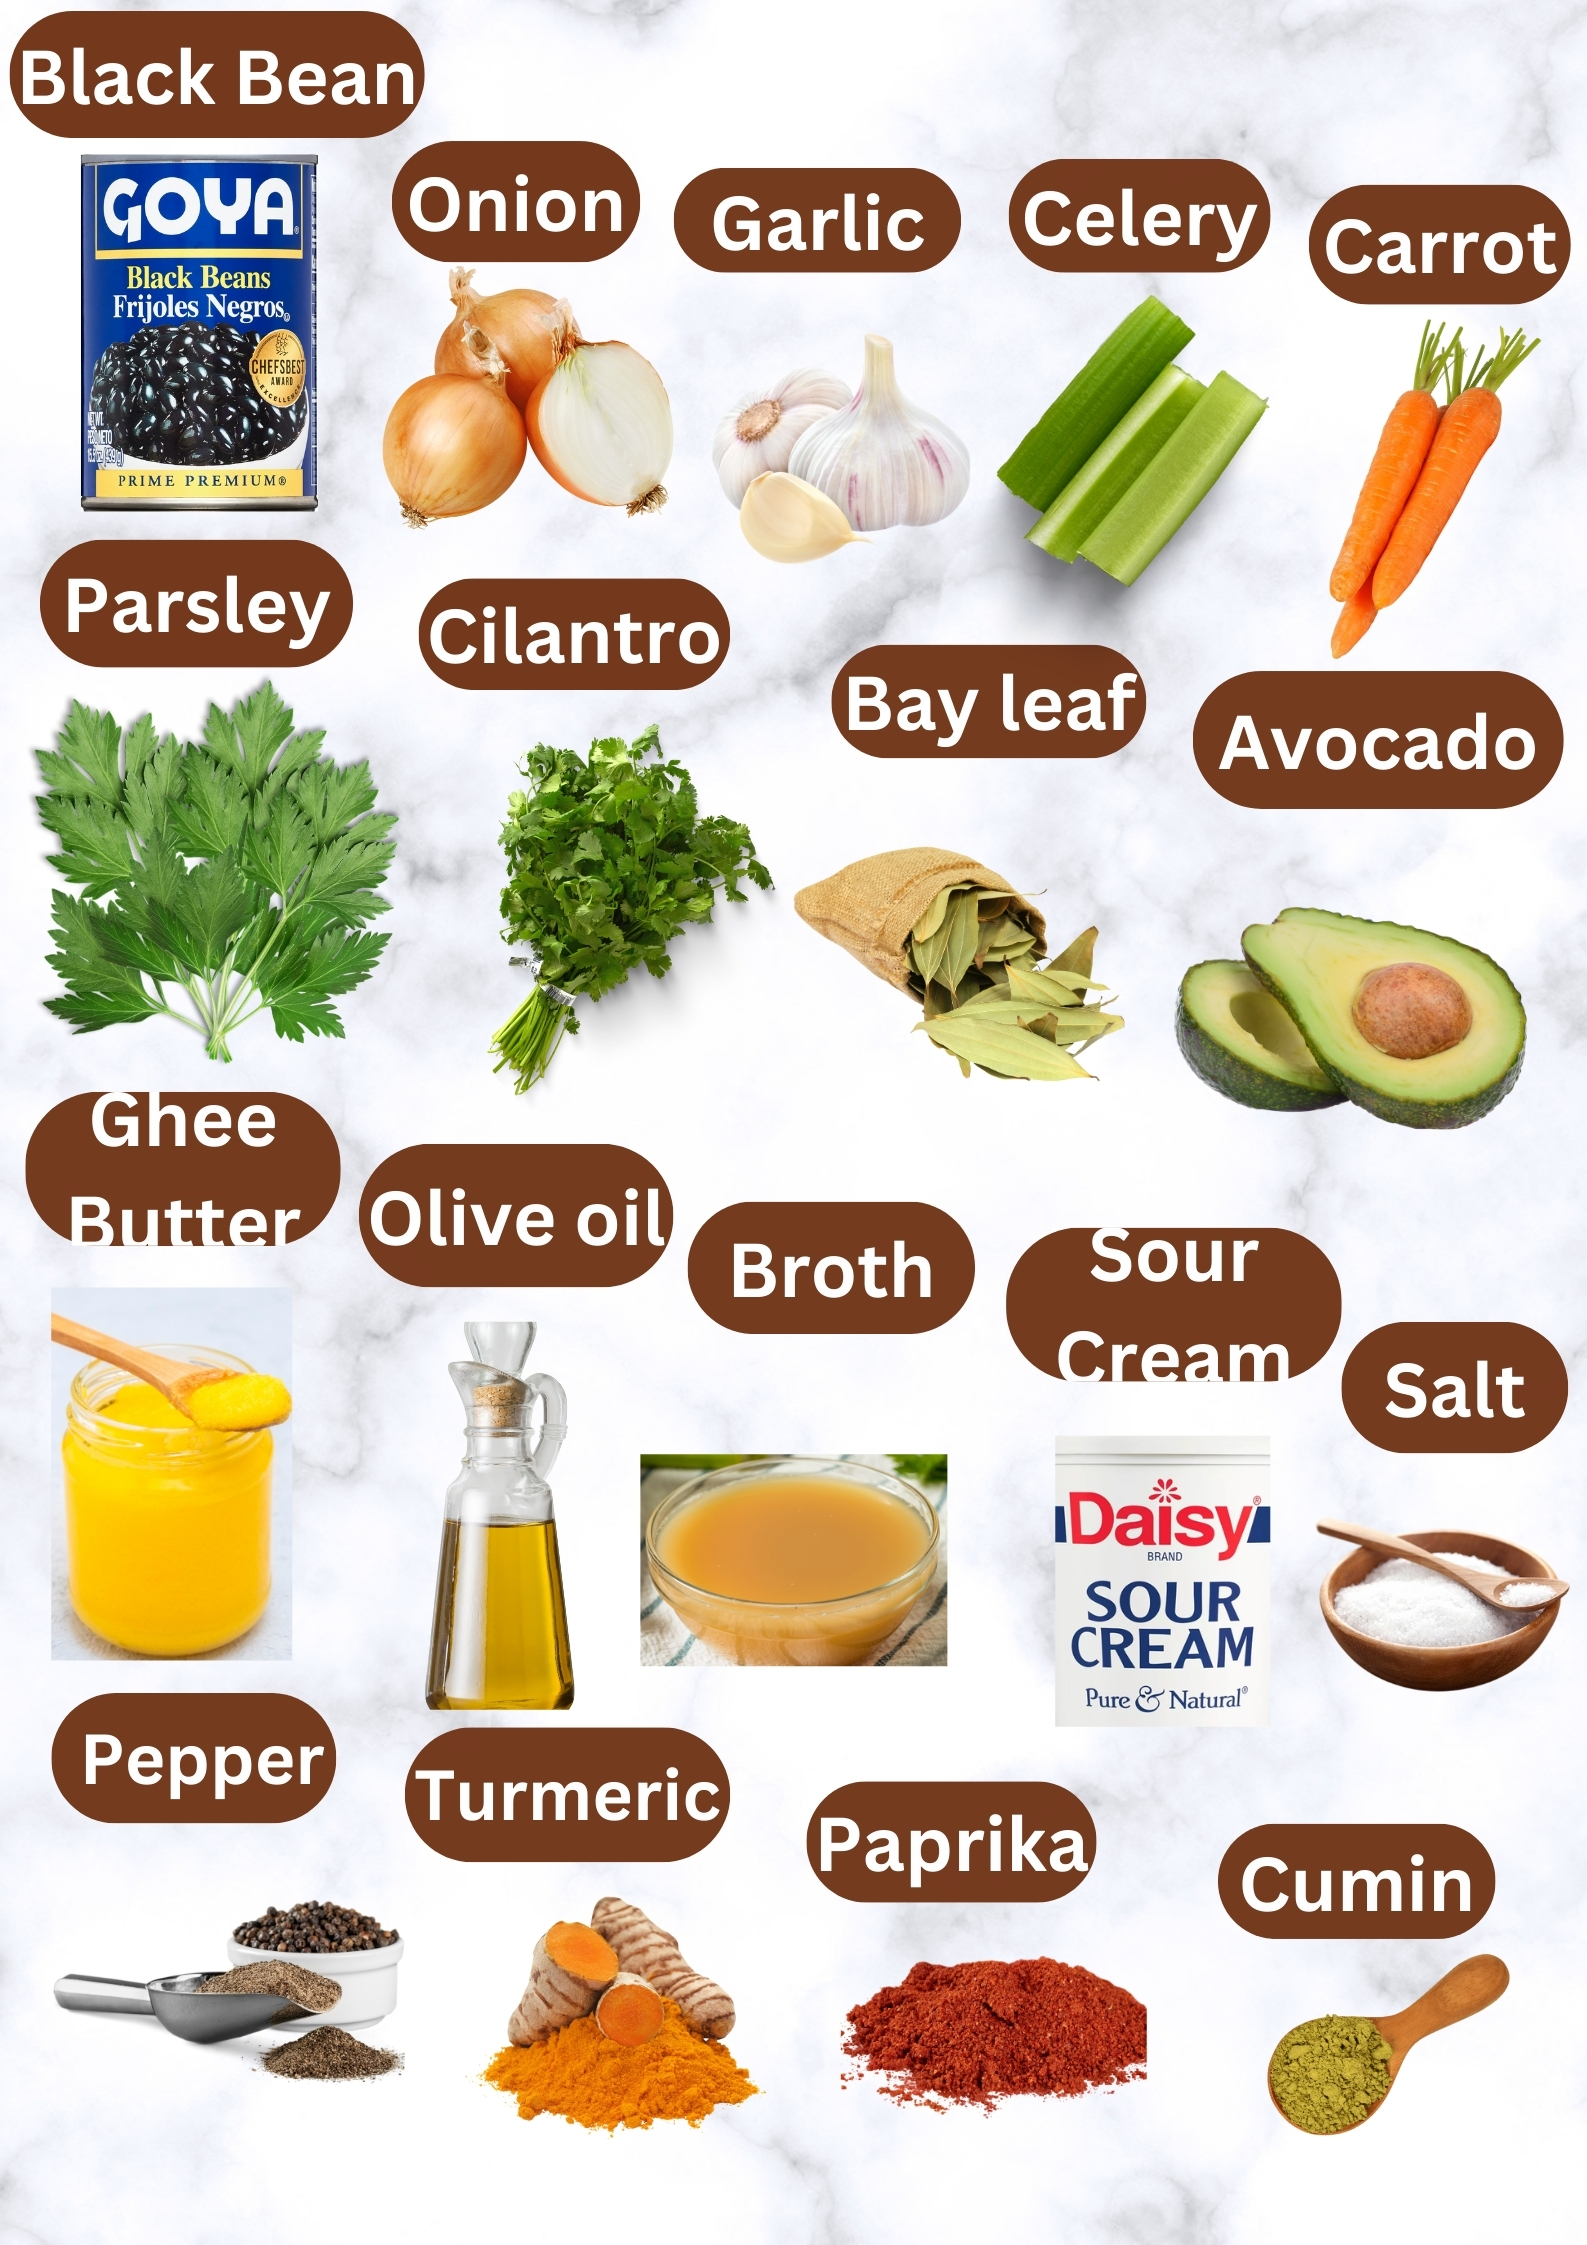
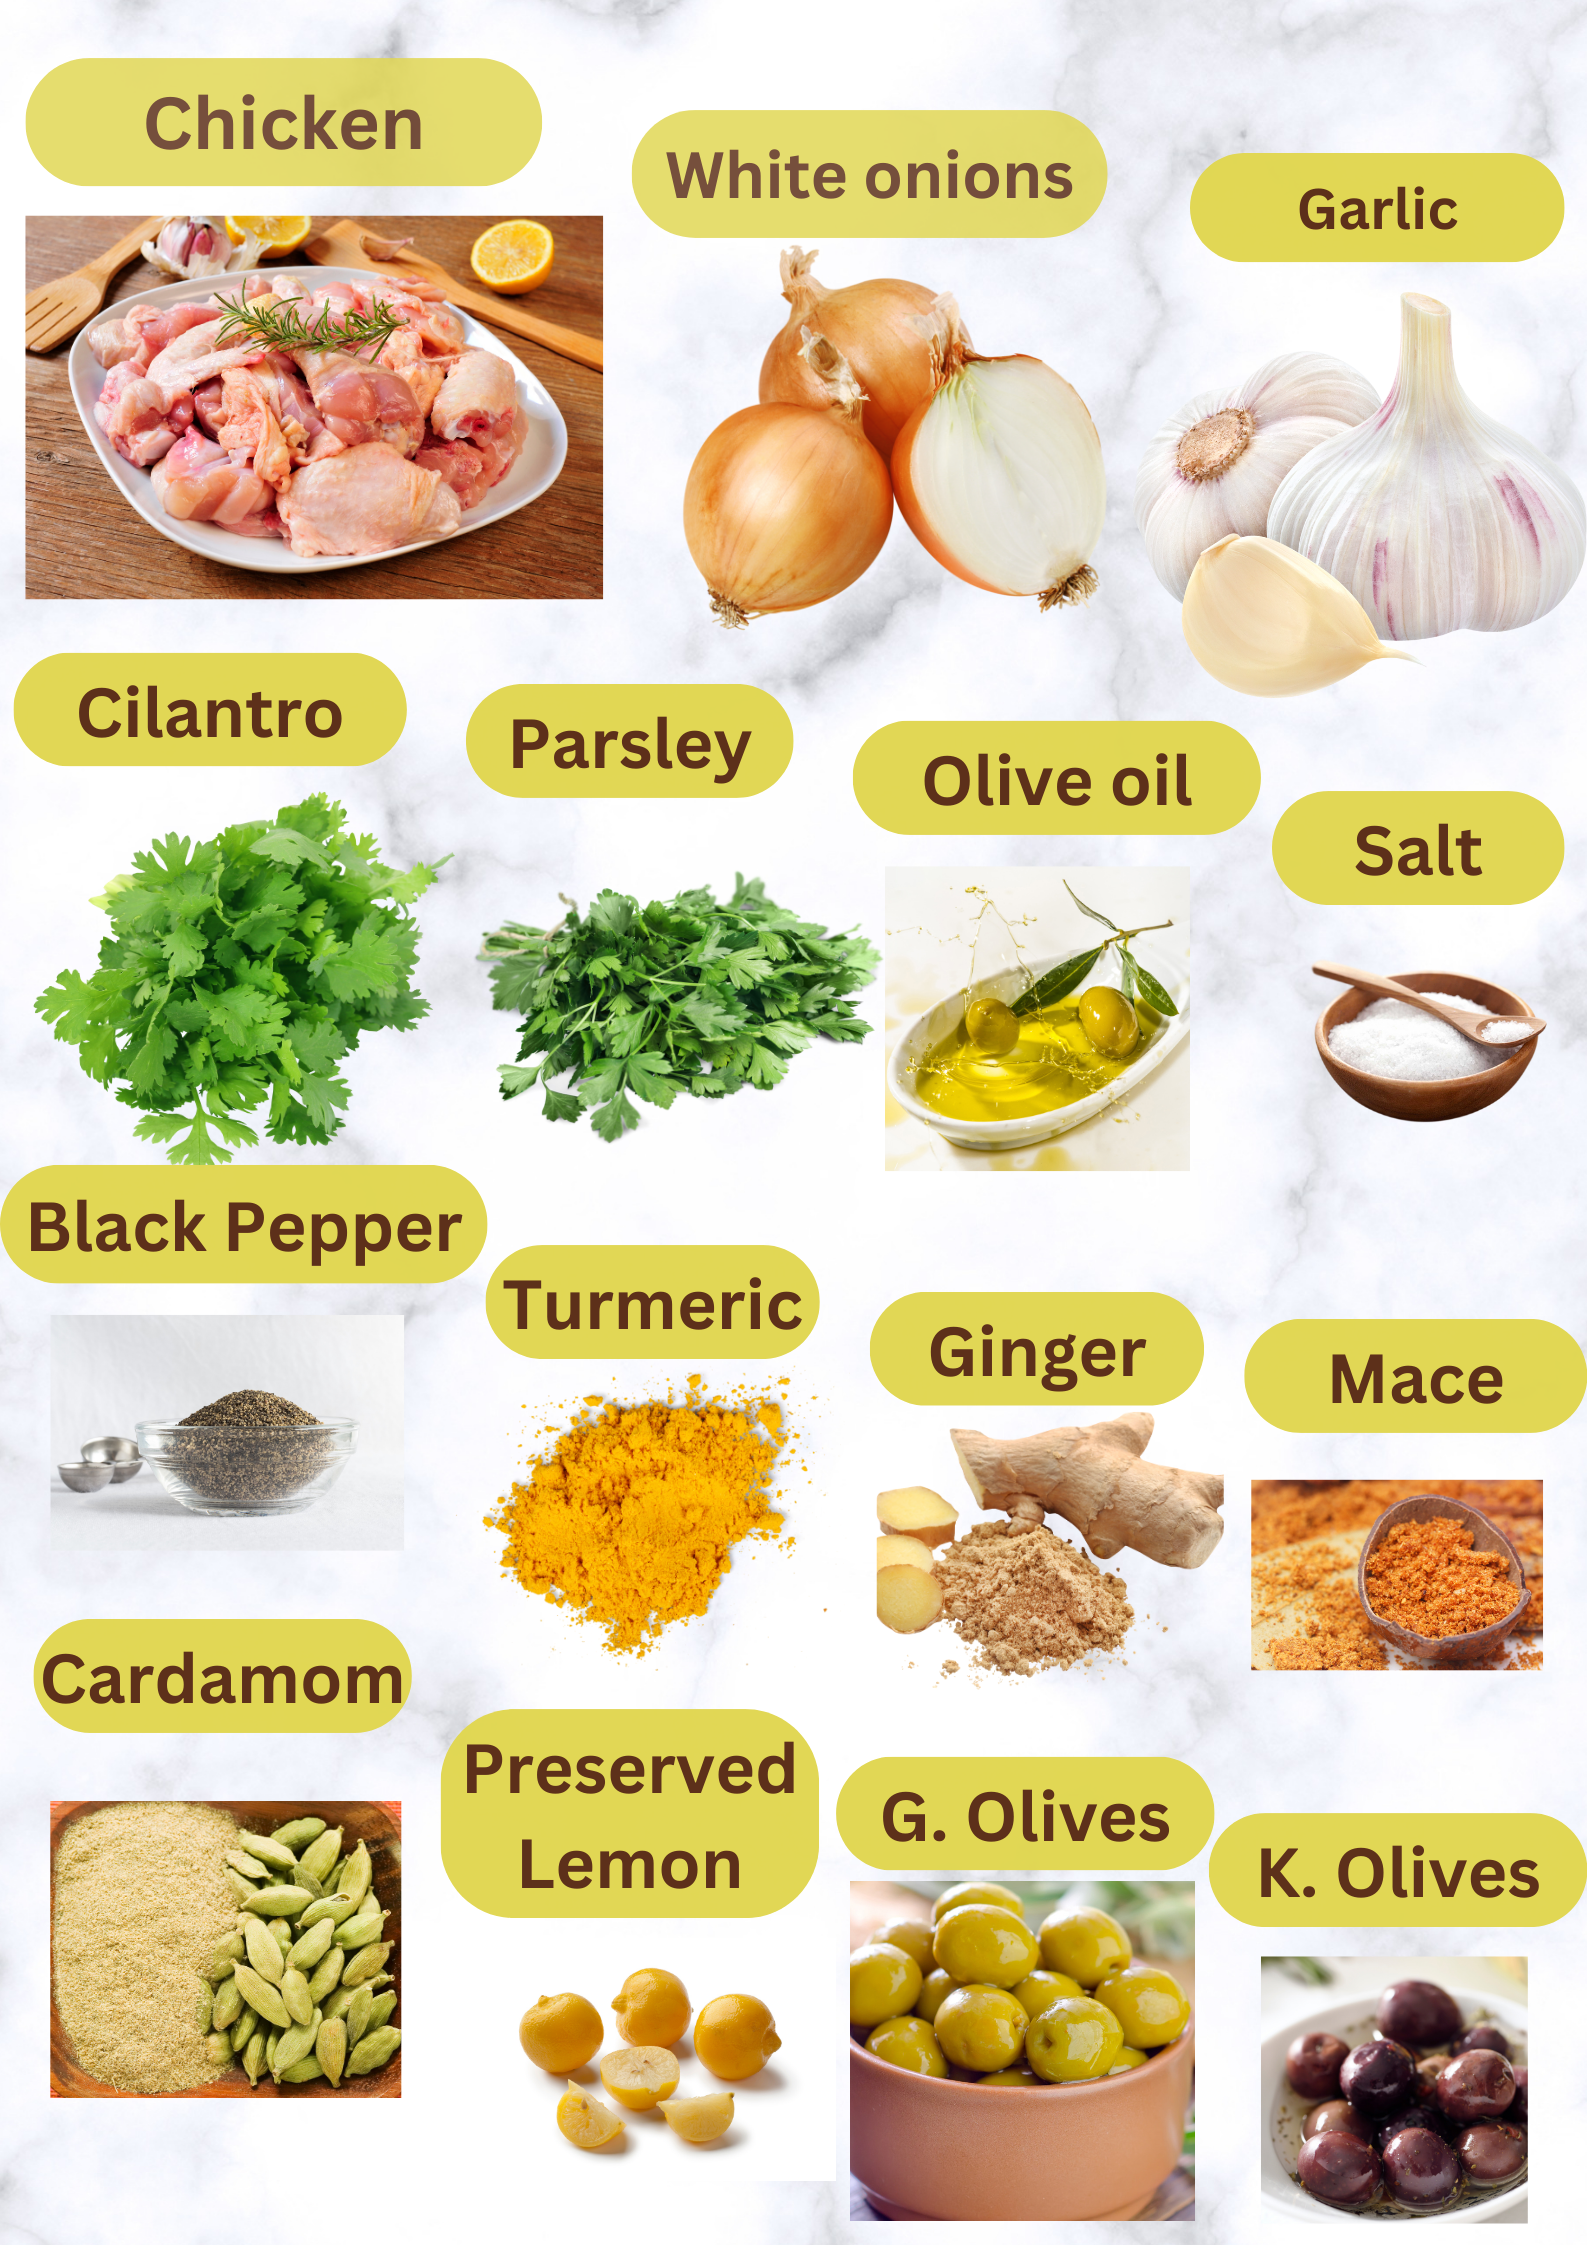
One of the best things about this split pea soup recipe is its simplicity. You don’t need a long list of exotic ingredients to create something extraordinary. Here’s what you’ll need:
Quality Matters
While the ingredient list is short, the quality of each component significantly impacts the final product. Opt for organic split peas if possible, and use fresh garlic for the best flavor. High-quality olive oil will add a rich, smooth texture to your soup, while fresh or high-quality dried spices will enhance the overall taste.
Nutritional Powerhouse
This simple combination of ingredients results in a soup that’s rich in nutrients. Split peas are high in protein and fiber, garlic offers a host of health benefits, including boosting the immune system, and olive oil provides healthy fats that are good for heart health. This soup is not only satisfying but also incredibly good for you.
Cooking Time and Serving Size
Quick and Easy
This recipe is designed to be straightforward and uncomplicated, perfect for busy individuals who still want to enjoy a home-cooked meal. The total cooking time is approximately 45 minutes, with minimal prep work required.
Serves Four
The quantities listed will yield enough soup to serve four people. It’s ideal for a small family dinner or for meal-prepping lunches for the week. You can easily adjust the quantities if you’re cooking for more or fewer people.
Nutritional Information
Based on the listed ingredients, this split pea soup is low in calories but high in nutrients. Each serving is packed with protein, fiber, vitamins, and minerals, making it a well-rounded meal option.
Step-by-Step Cooking Instructions
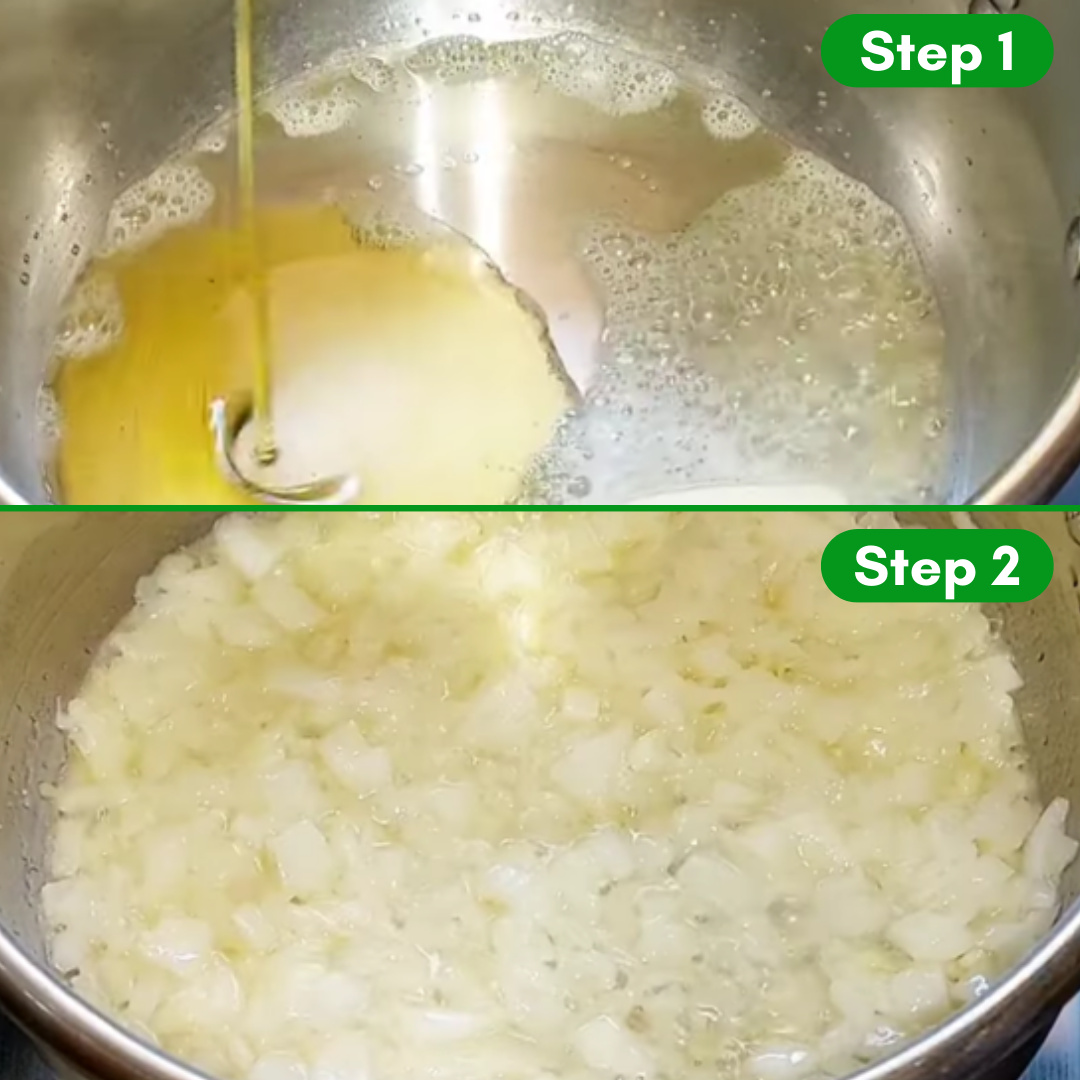
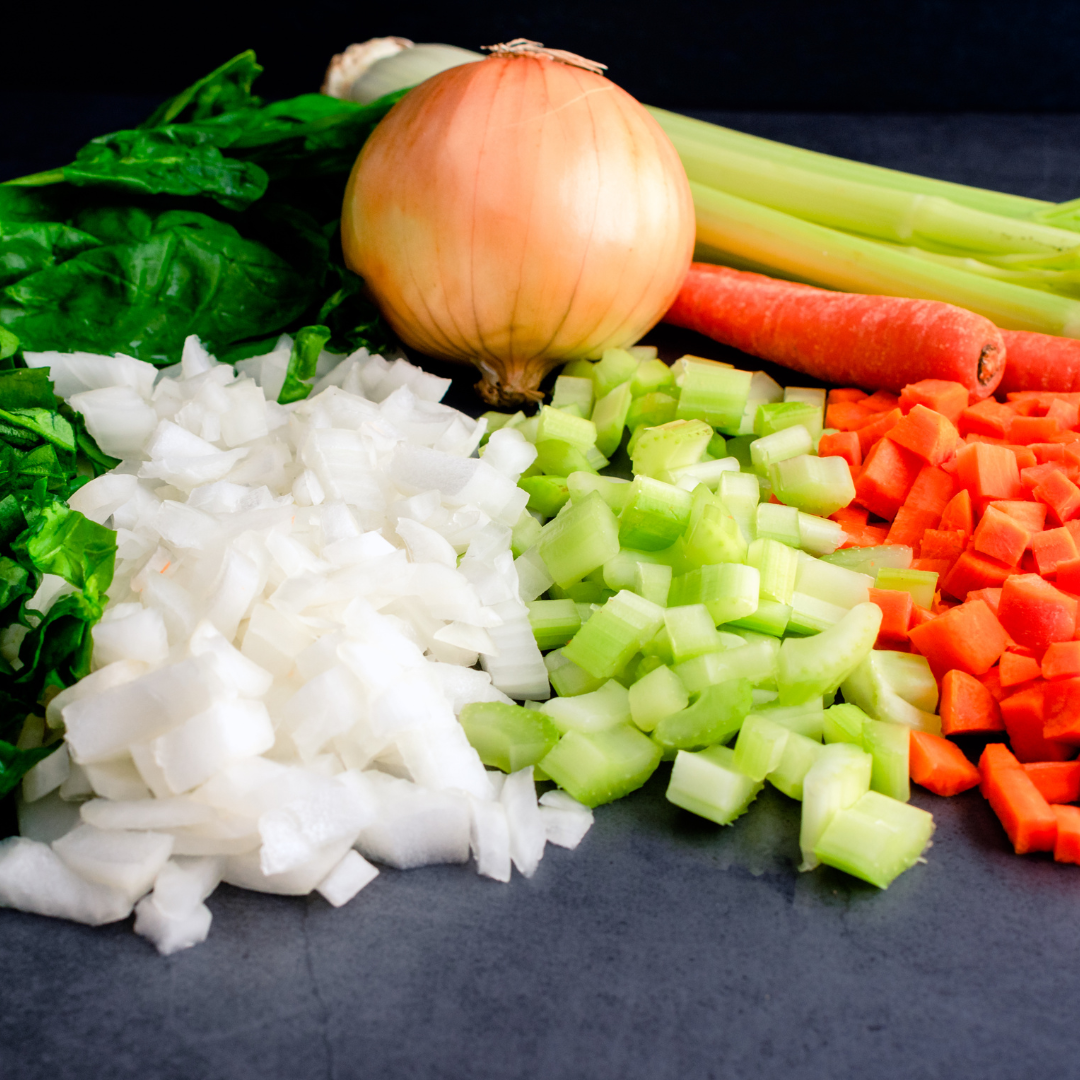
Step 1: Prepare Your Ingredients
Start by rinsing the dried split peas under cold water until the water runs clear. Peel the garlic cloves and set them aside.
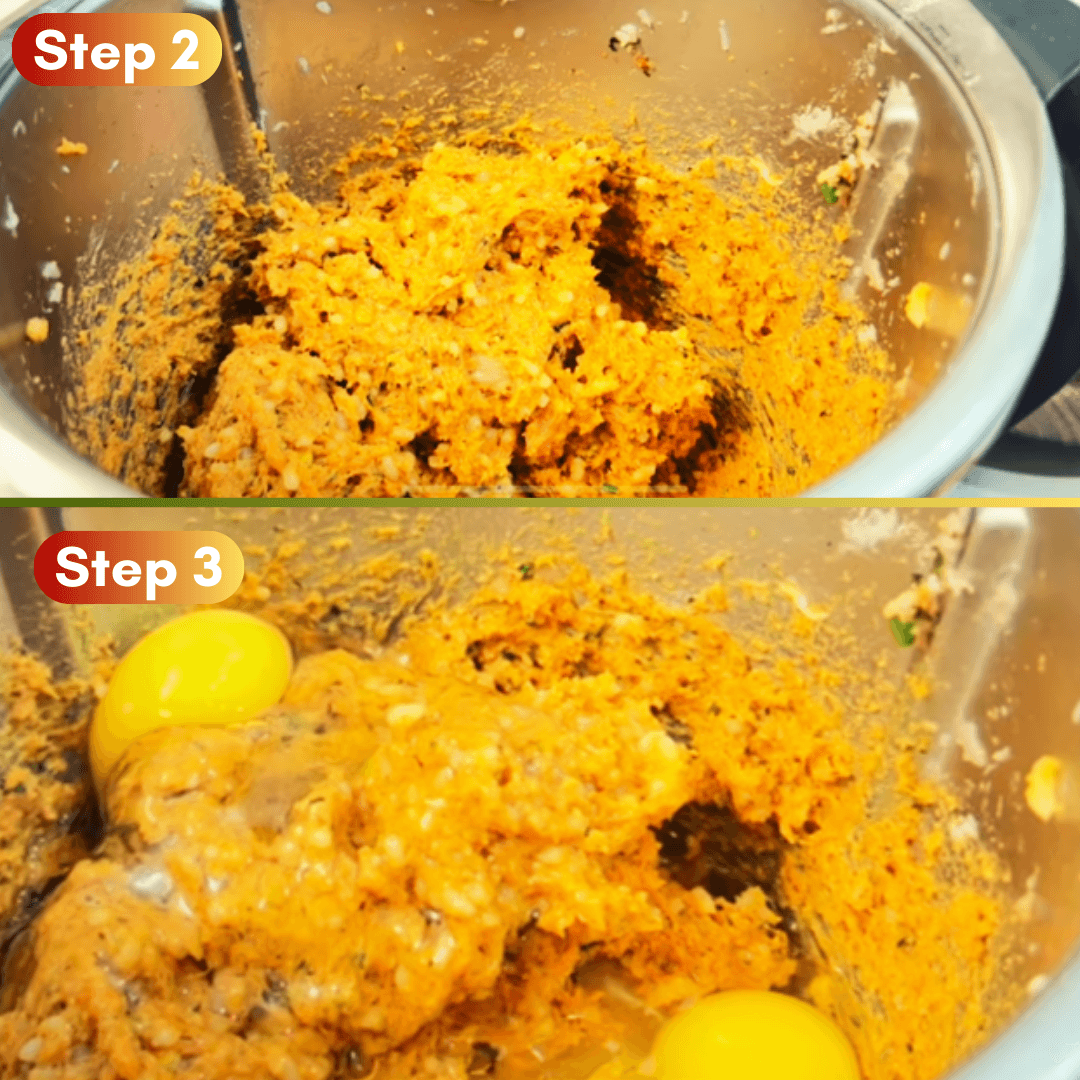
Step 2: Add the Split Peas
In a large instant pot, add the rinsed split peas first. all spices, and gently crush and rub Thyme inside your fist until it becomes fragrant.

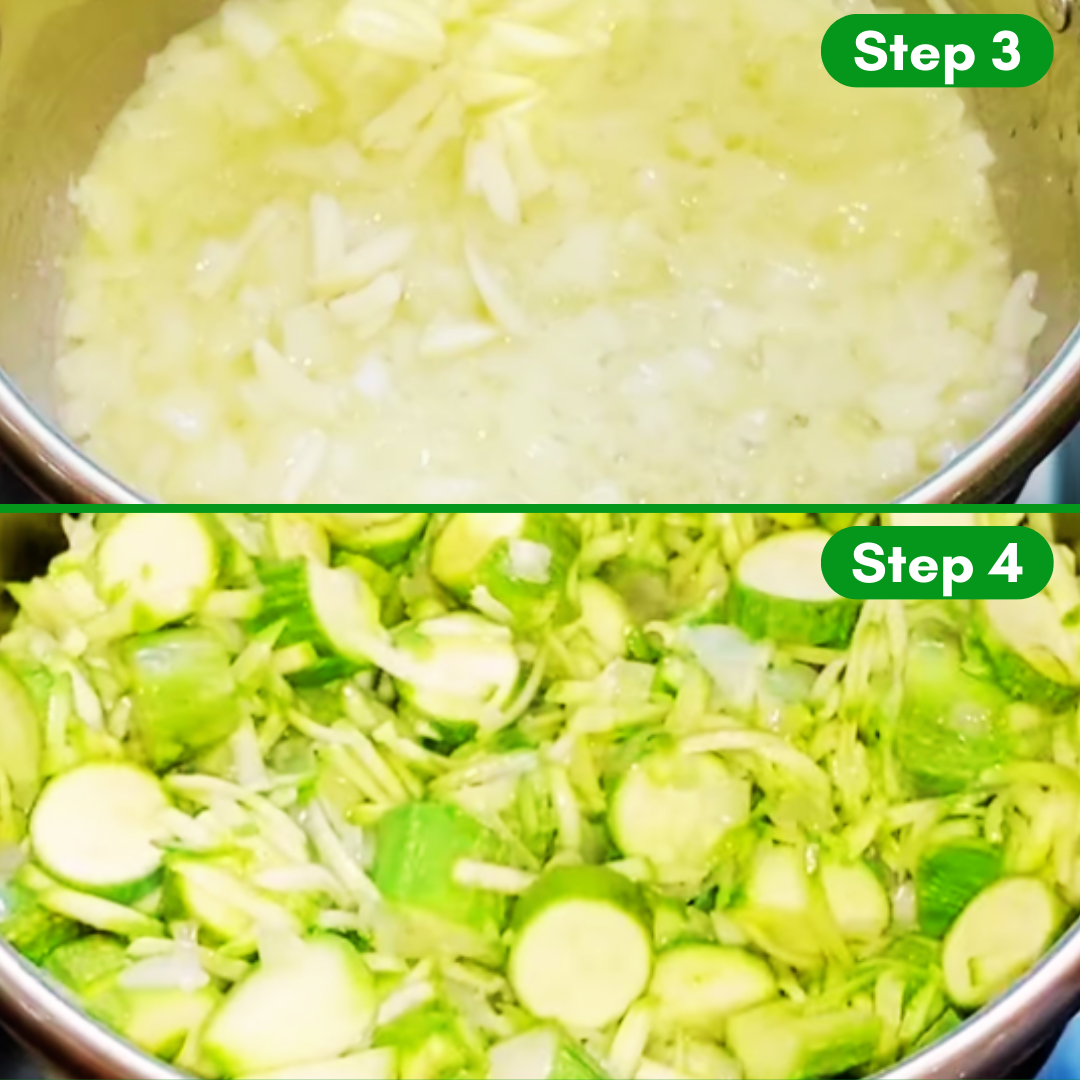
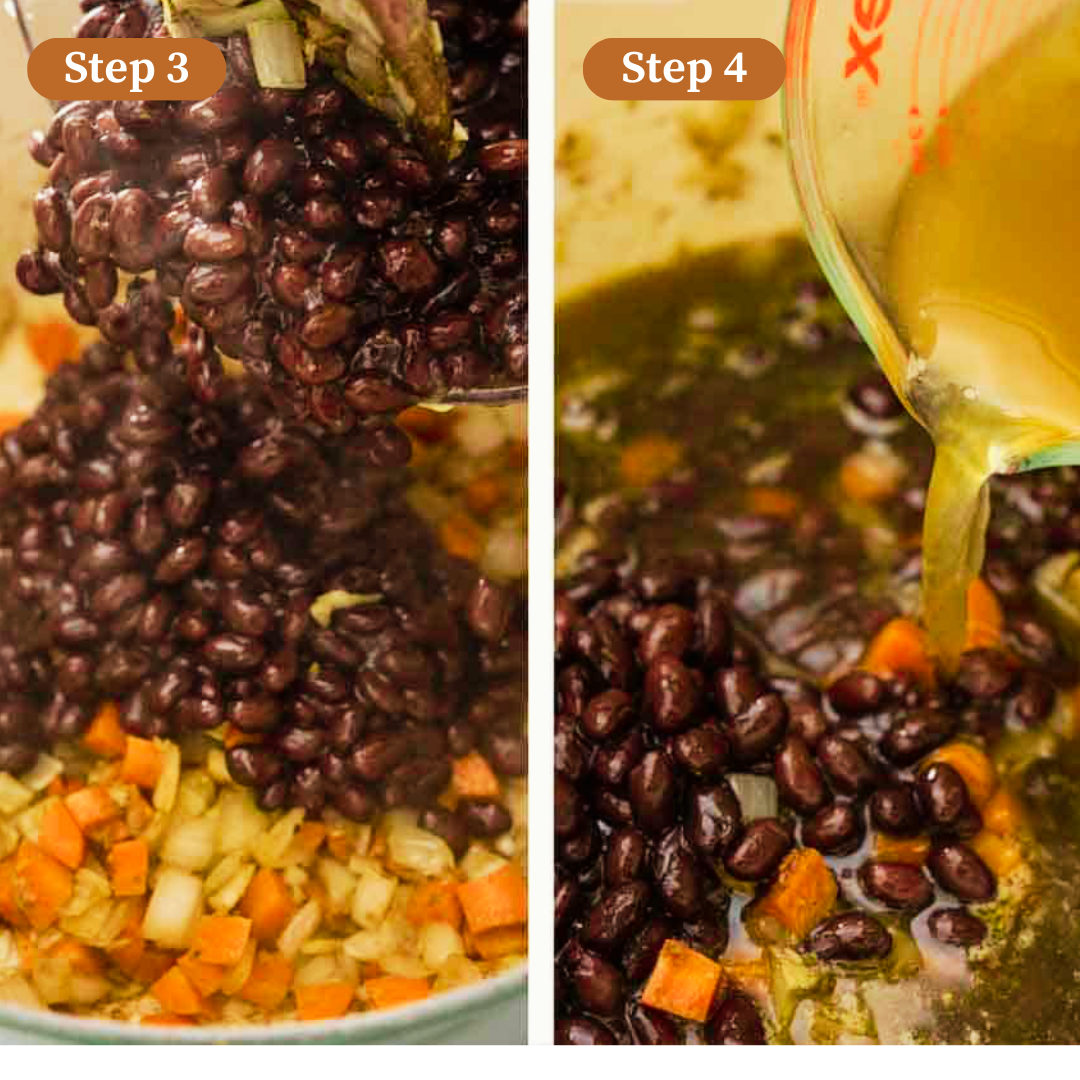
Step 3: Add the Spices
Add salt, cumin, cayenne pepper, and gently crush and rub Thyme inside your fist until it becomes fragrant.
Step 4: Add Water
Pour in enough water to cover the split peas by about an inch. This usually requires around 3-4 cups of water.

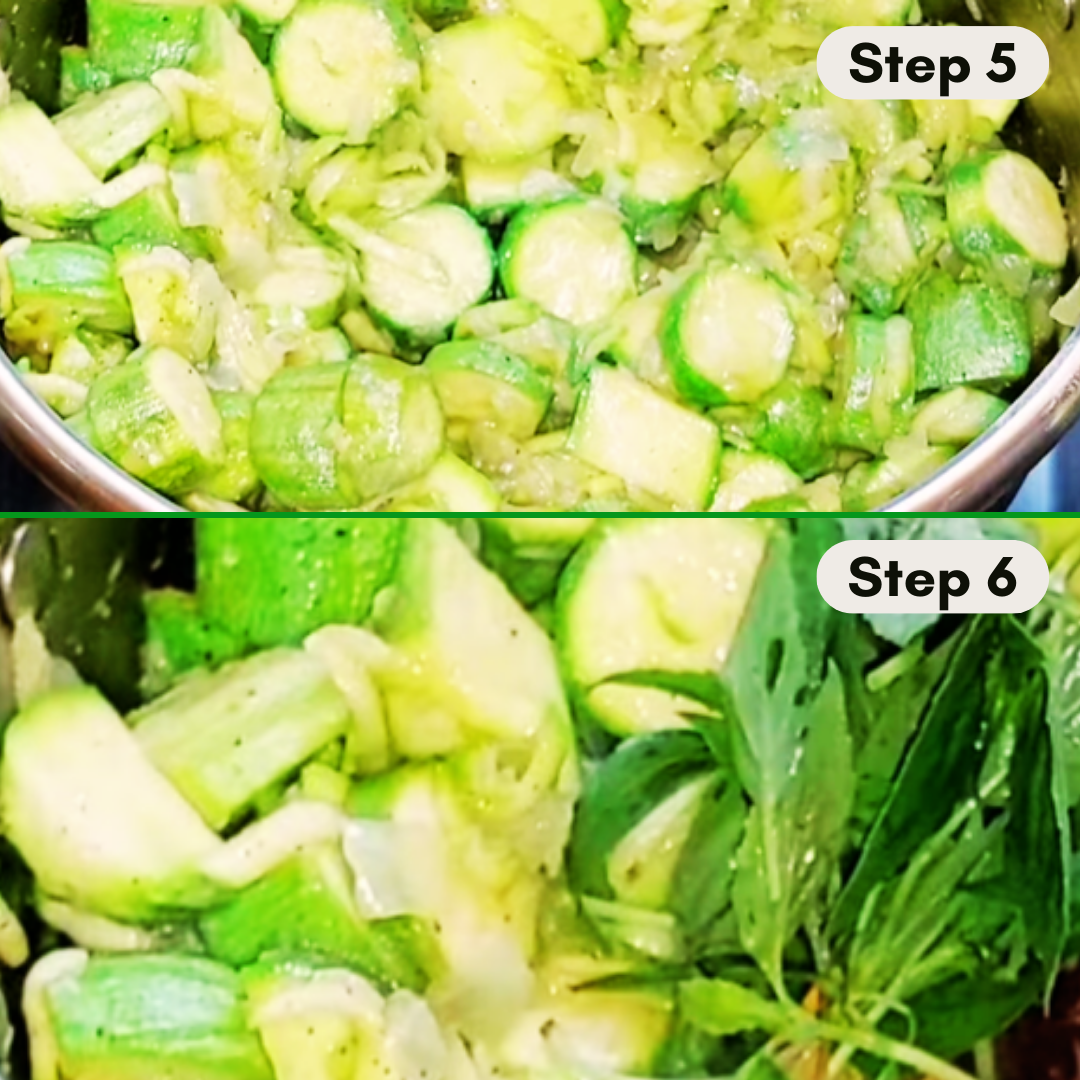
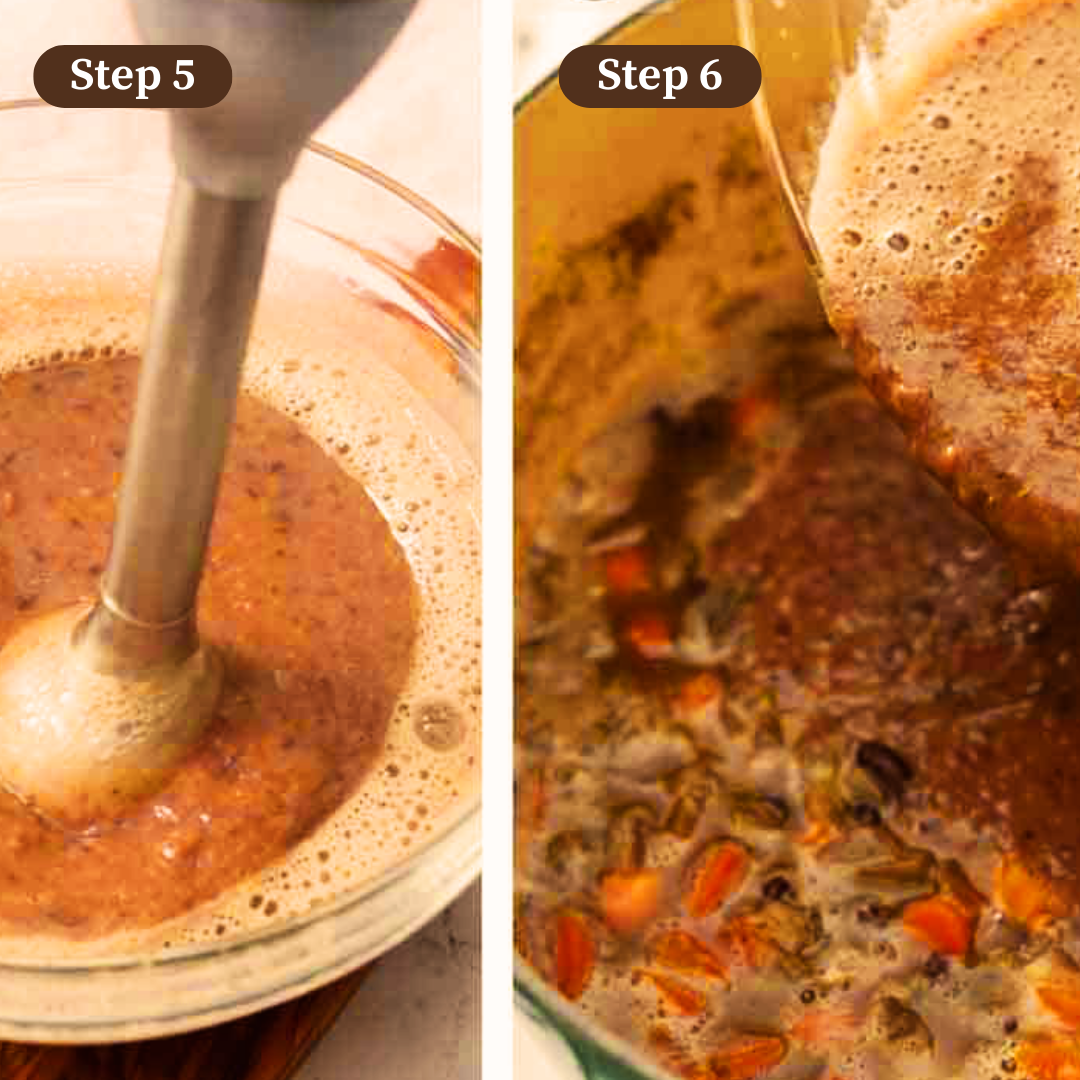
Step 5: Simmer and stir
Bring the mixture to a boil, then reduce the heat to low and simmer.
Step 6: Add Garlic
Add garlic last then cover the pot and set it on high 10 minutes.

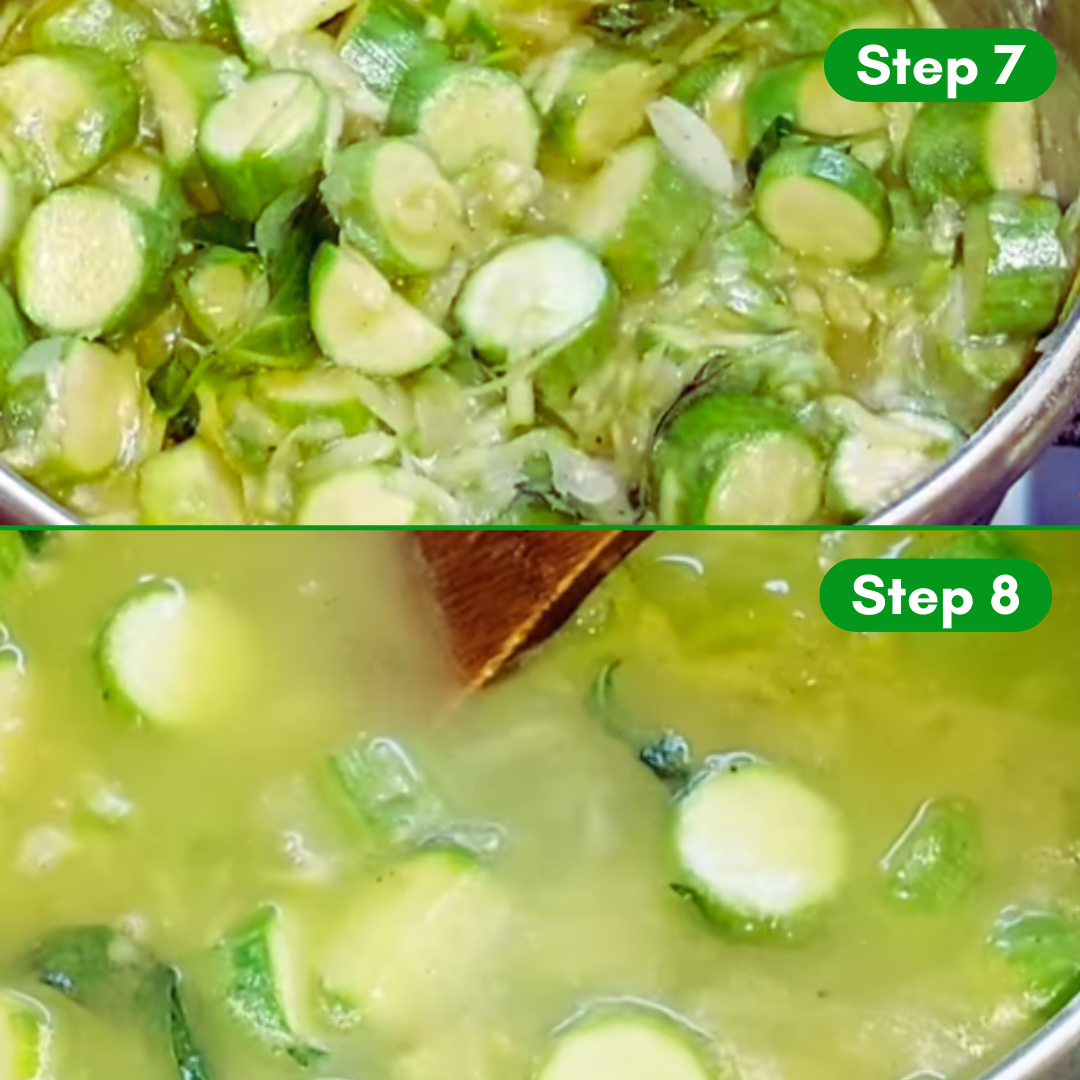
Step 7: Simmer and Stir
Allow the soup to simmer for about 10-15 minutes. The split peas should become tender and begin to break down, creating a thick, hearty consistency.
Step 8: Blend
Using either a food processor or an immersion blender, pour the soup and blend until creamy.
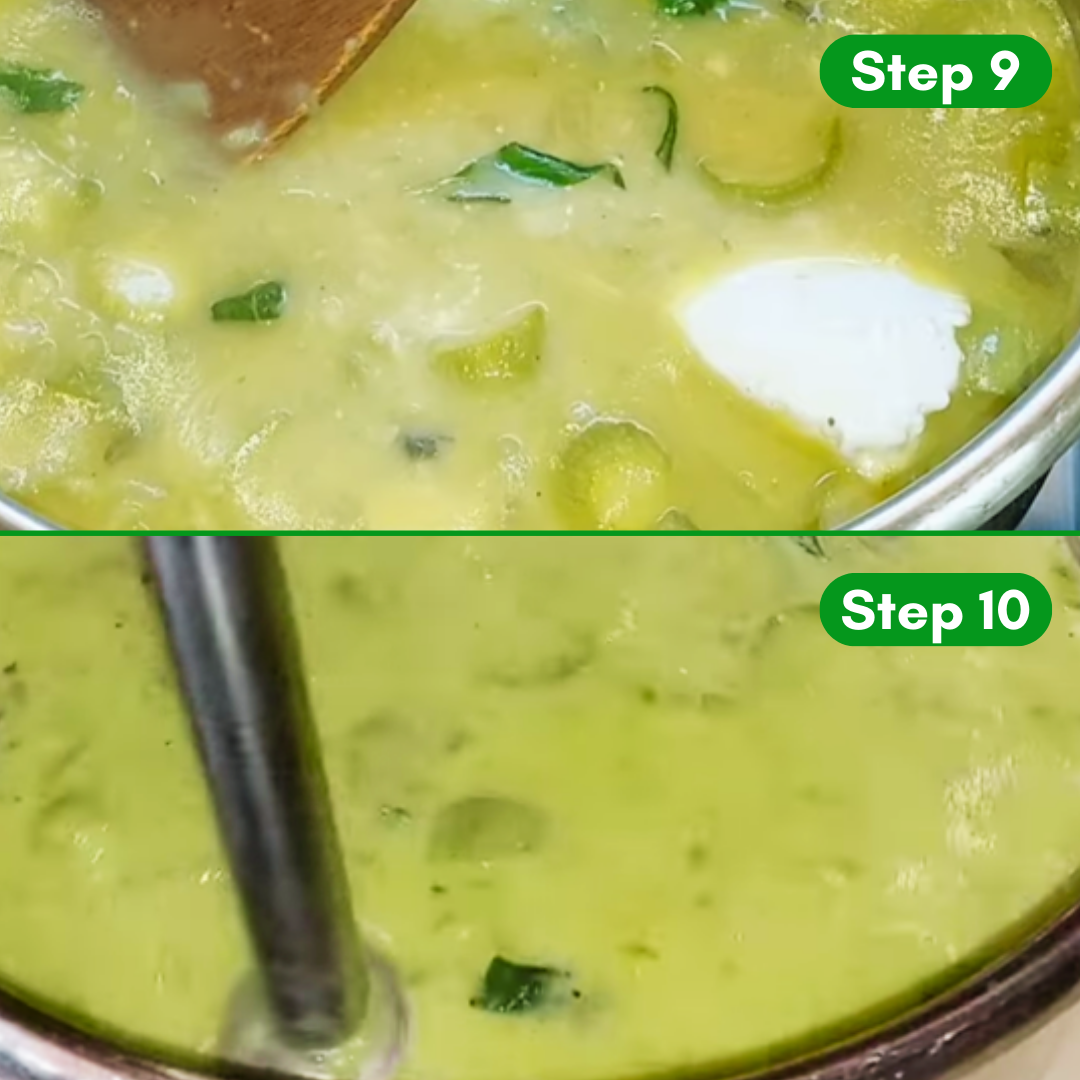
Step 9: Return to the pot
Return the blended soup to the pot, taste the soup and adjust the seasoning if necessary. You might want to add a pinch of salt or a dash more cayenne pepper, depending on your preference. Once the soup reaches your desired consistency and flavor, it’s ready to serve.
Tasting Notes and Pairings
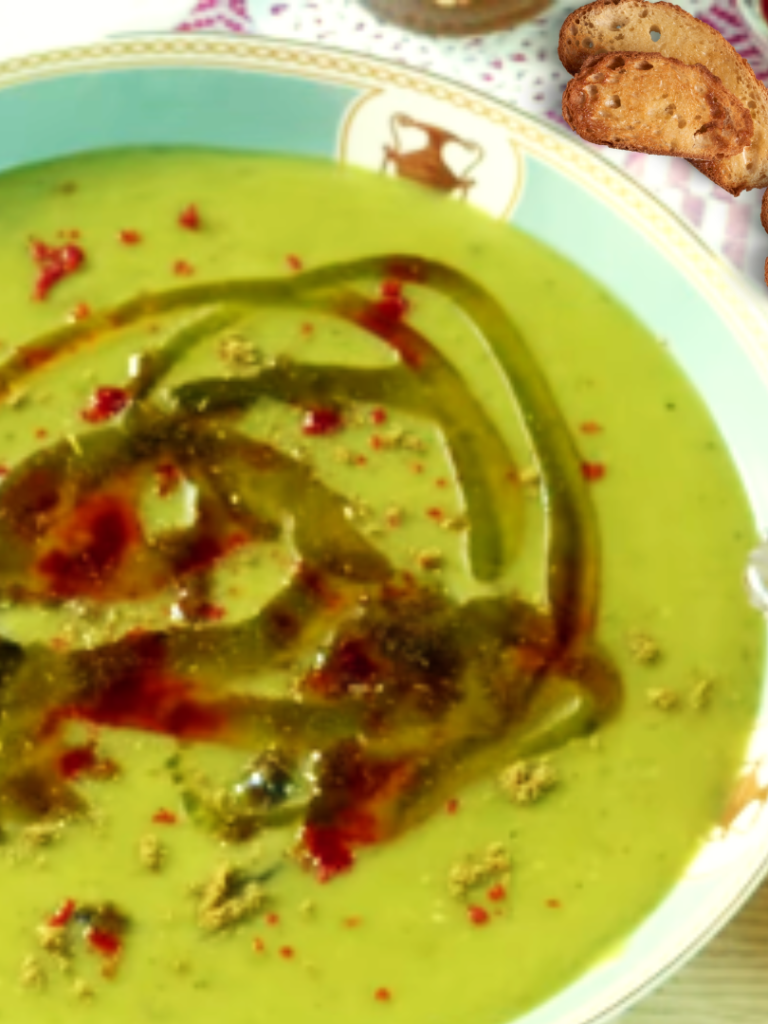
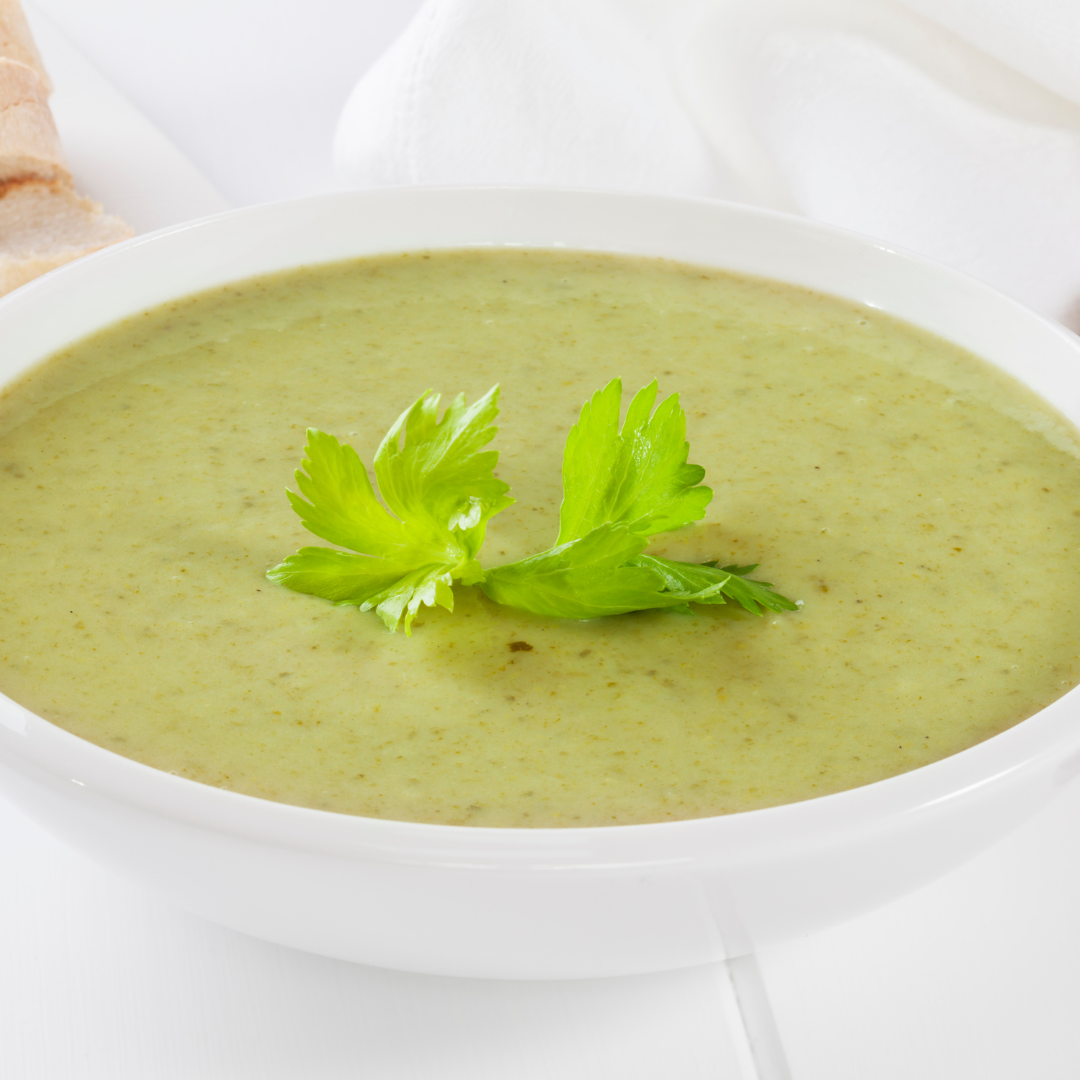
Flavor Profile
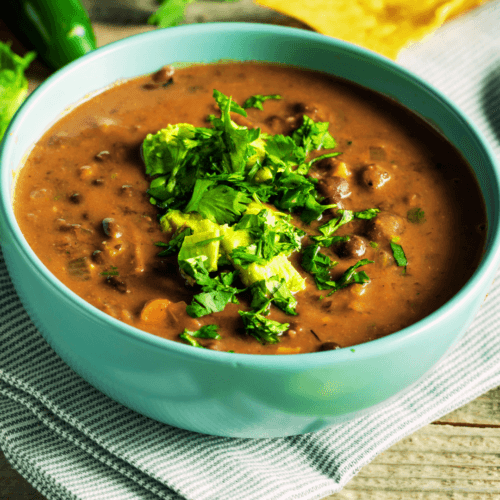
This split pea soup offers a delightful blend of flavors. The earthiness of the split peas is complemented by the warmth of the cumin and the subtle heat from the cayenne pepper. The garlic adds depth, while the olive oil gives the soup a smooth, rich texture.
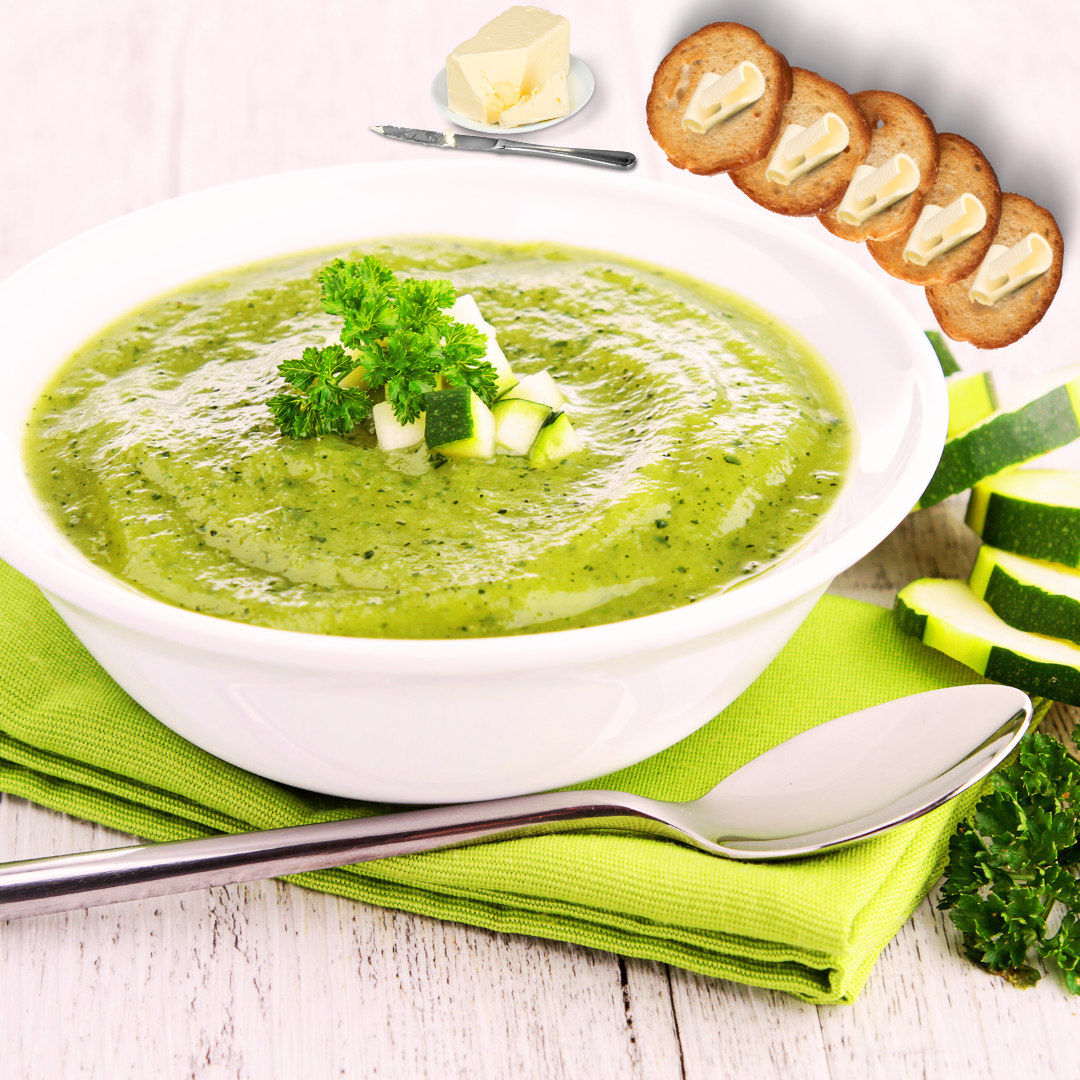
Perfect Pairings
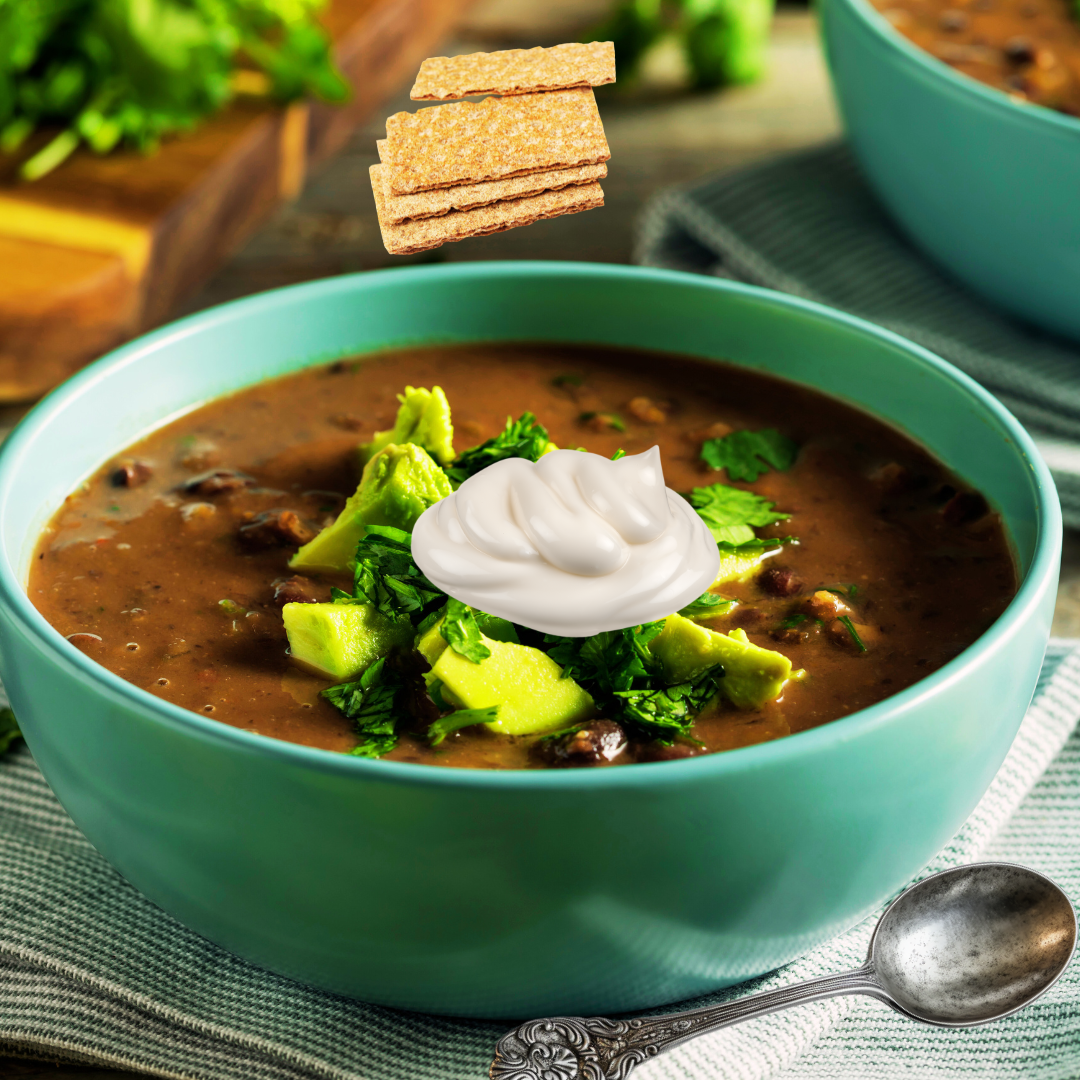
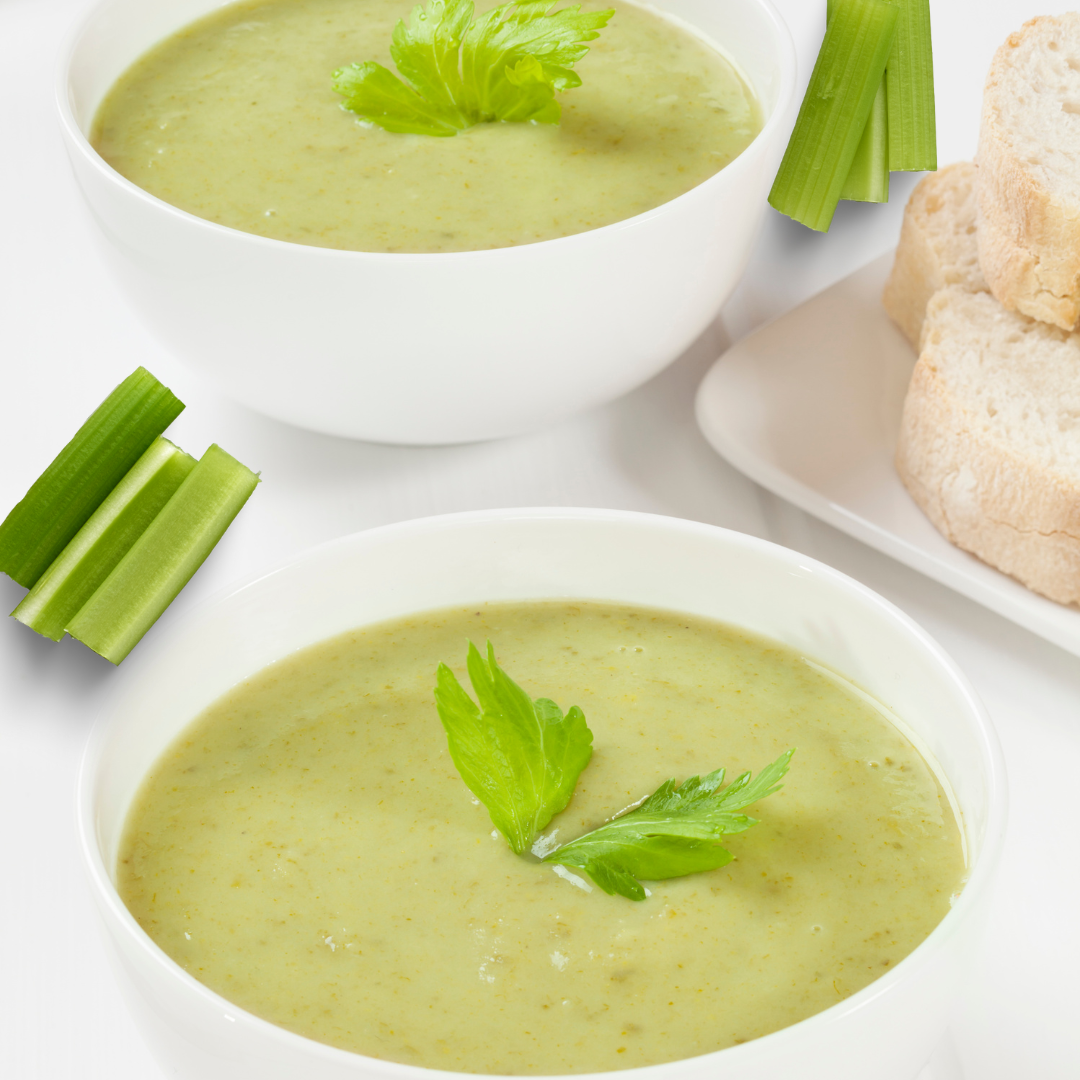
For a complete meal, pair this soup with gluten-free crackers or a warm slice of gluten-free naan. The mild flavors of the bread or crackers will complement the robust taste of the soup without overwhelming it.
Serving Suggestions
Garnish your soup with a sprinkle of fresh herbs, such as parsley or cilantro, for an added burst of flavor and color. A drizzle of olive oil or a dollop of dairy-free yogurt can also elevate the dish.
The Perfect Year-Round Dish
Winter Warmth
While this soup is a staple in my household during the colder months, it’s versatile enough to be enjoyed year-round. Its hearty nature makes it a perfect winter warmer, providing the comfort and sustenance needed on chilly days.
Spring and Summer
In the warmer months, serve the soup slightly cooler with a fresh side salad. The lighter, vibrant flavors of the salad can balance the rich, creamy texture of the soup, making it a refreshing yet satisfying meal.
Autumn Evenings
As the leaves begin to change and the evenings grow cooler, this soup can transition effortlessly into your autumn meal rotation. Pair it with roasted vegetables or a simple grain dish for a well-rounded, seasonal dinner.
Personal Anecdote
A Taste of Home
Lunch at home was a daily highlight for me growing up. My mom’s cooking always felt like a hug in a bowl, and her split pea soup held a special place in my heart. The first time I tried it was during my freshman year of college when I was feeling under the weather. One bowl of this warm, nourishing soup was all it took to lift my spirits and comfort me.
College Comfort
Away from home and adjusting to a new life, this soup became my go-to remedy for homesickness and colds alike. The familiar flavors and simple preparation made it a staple in my tiny dorm kitchen, keeping me connected to home and well-nourished through late-night study sessions.
Sharing the Love
Now, I’m excited to share this cherished recipe with you. It’s more than just a meal; it’s a piece of my family’s culinary tradition that I hope will bring comfort and joy to your kitchen as well.
Conclusion
Creating an irresistibly delicious split pea soup is easier than you might think. With simple ingredients and straightforward steps, you can enjoy a hearty, nutritious meal that’s perfect for any season. Whether you’re a seasoned home cook or new to the kitchen, this recipe is sure to become a favorite.
Don’t just take my word for it—try it yourself and experience the magic of homemade split pea soup. If you’re looking to explore more gluten-free soup ideas or want personalized cooking tips, consider booking a session with one of our expert chefs. Happy cooking!
How to make an irresistibly delicious Split Pea
Description
Looking for a quick and easy dinner idea? Our irresistibly delicious split pea soup is perfect for busy nights! Ready in no time, this hearty and flavorful dish will have everyone asking for seconds. Try it now!
Instructions
- Start by rinsing the dried split peas under cold water until the water runs clear. Peel the garlic cloves and set them aside.
- In a large instant pot, add the rinsed split peas first. all spices, and gently crush and rub Thyme inside your fist until it becomes fragrant.
- Add salt, cumin, cayenne pepper, and gently crush and rub Thyme inside your fist until it becomes fragrant.
- Pour in enough water to cover the split peas by about an inch. This usually requires around 3-4 cups of water.
- Bring the mixture to a boil, then reduce the heat to low and simmer.
- Add garlic last then cover the pot and set it on high 10 minutes.
- Allow the soup to simmer for about 10-15 minutes. The split peas should become tender and begin to break down, creating a thick, hearty consistency.
Using either a food processor or an immersion blender, pour the soup and blend until creamy.
- Return the blended soup to the pot, taste the soup and adjust the seasoning if necessary. You might want to add a pinch of salt or a dash more cayenne pepper, depending on your preference. Once the soup reaches your desired consistency and flavor, it’s ready to serve.
Keywords:Vegan soup recipes, Split pea soup recipes ideas, hearty soups, easy soups recipes, delicious soups recipes, quick soups recipes, Instant pot soups recipes
Nutrition Facts
Serving Size1bowl
Servings4
Amount Per Serving
Calories521
% Daily Value *
Total Carbohydrate42.6g
15%

 Cali
Cali


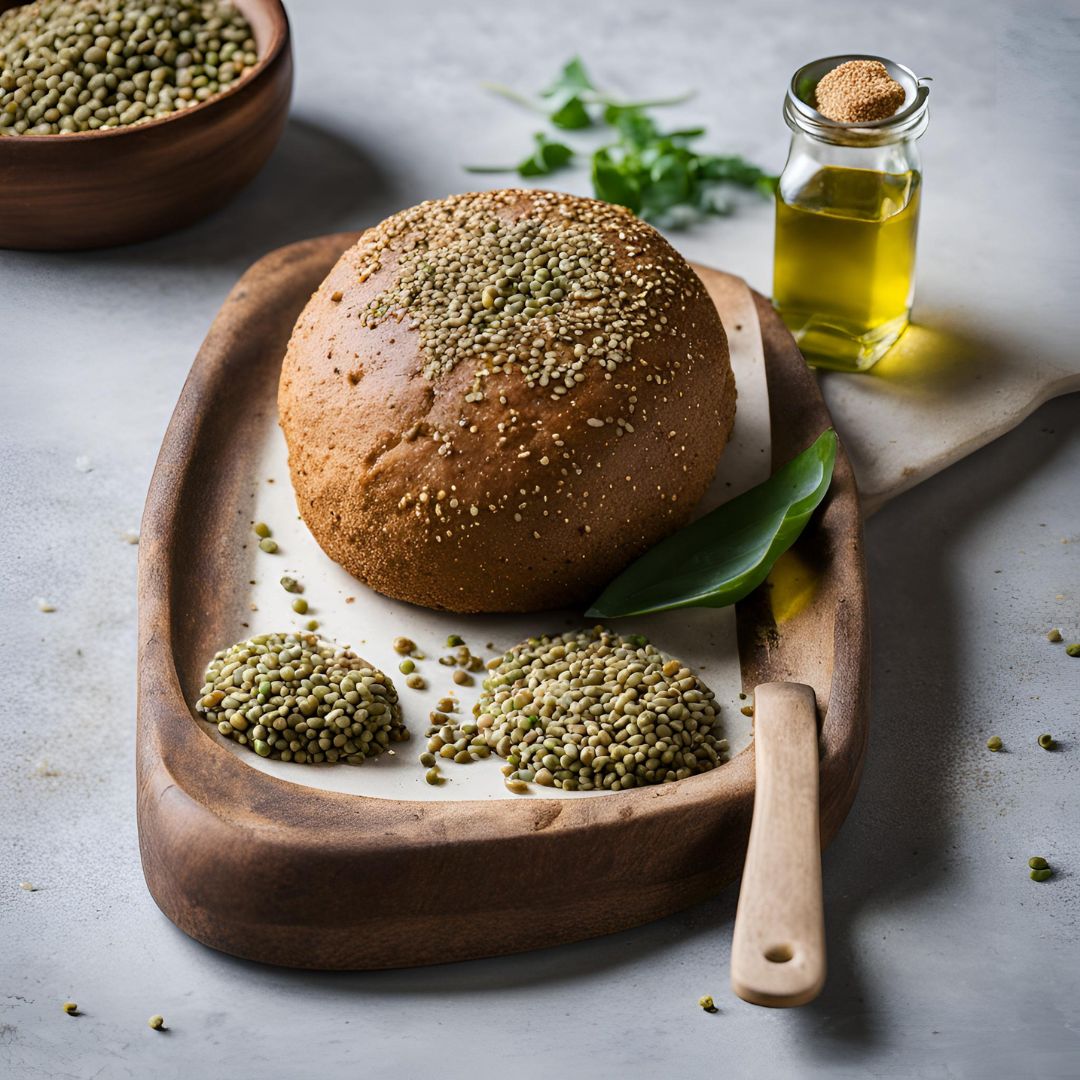


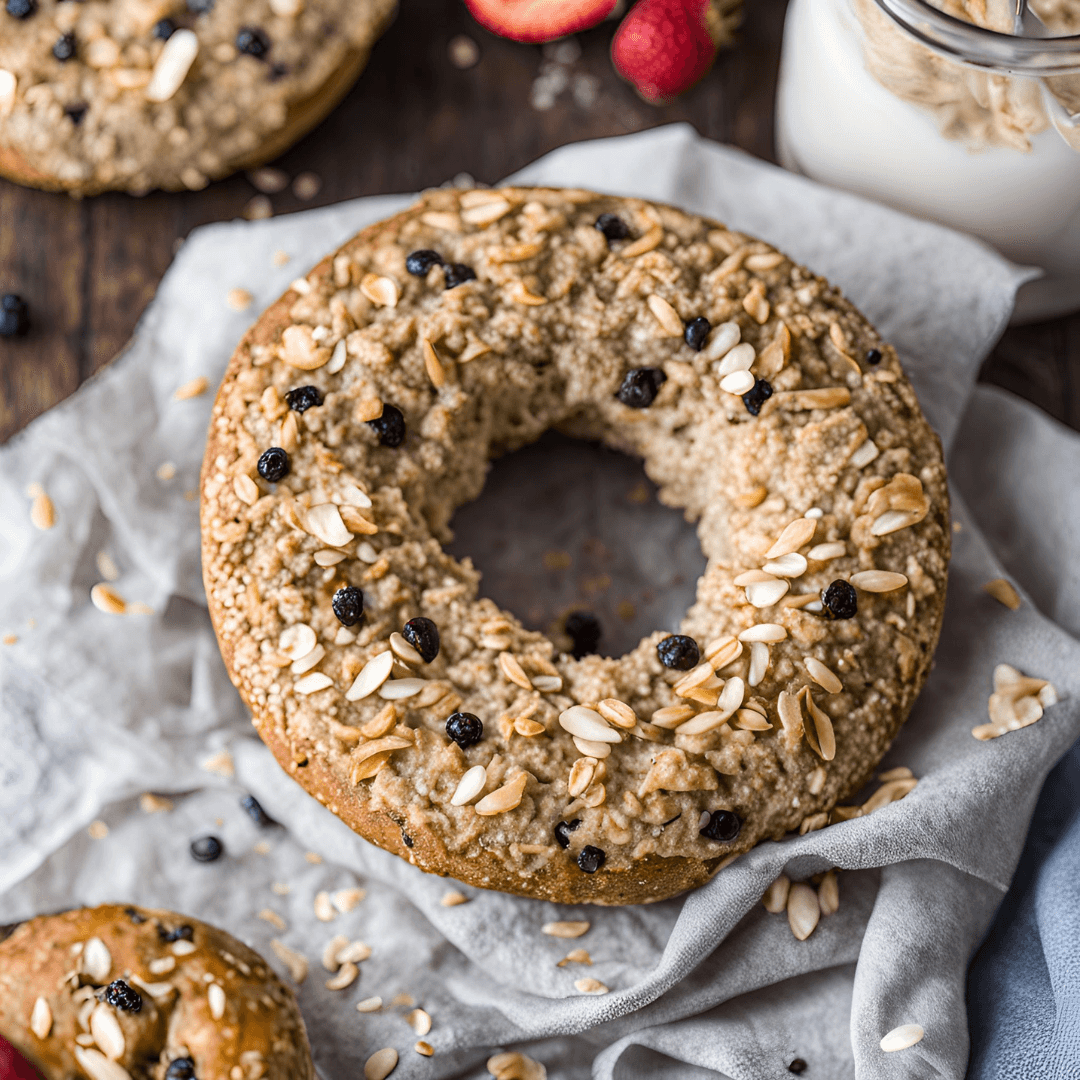
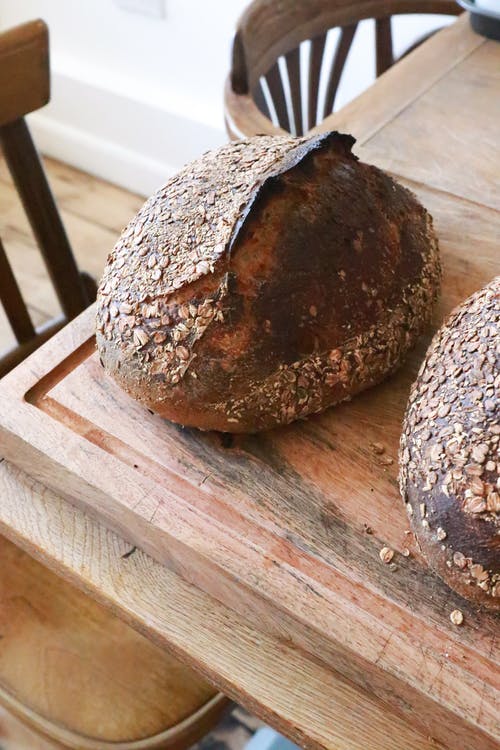 Dinner Rolls are a staple side dish in nearly every home. No matter where in the world you live, adding some type of grain to your meal is a hearty compliment to breakfast, lunch, or dinner.