


Is there any food that says Morocco more than chicken and rice? The recipe comes from North Africa and was
Dinner Rolls are a staple side dish in nearly every home. No matter where in the world you live, adding
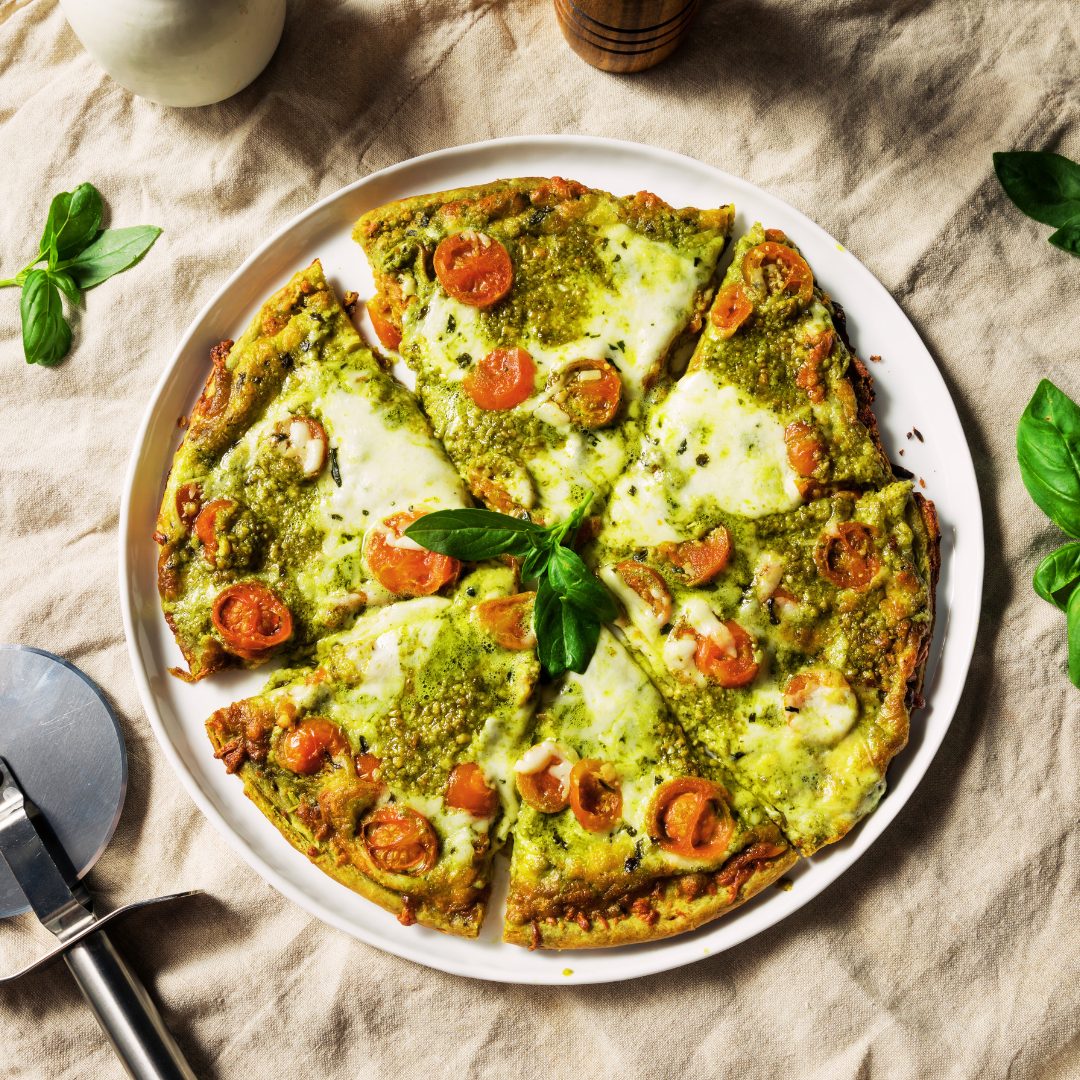
Tired of Cauliflower? Try This Keto GF Tahini Pizza Crust Recipe Instead Are you new to the gluten free lifestyle?
A lot of Keto Gluten-Free cheese bread calls for the use of cream cheese, but that’s not the only
I’ve got a great recipe for an easy-to-make banana cream pie. The truth is I love a good pie but
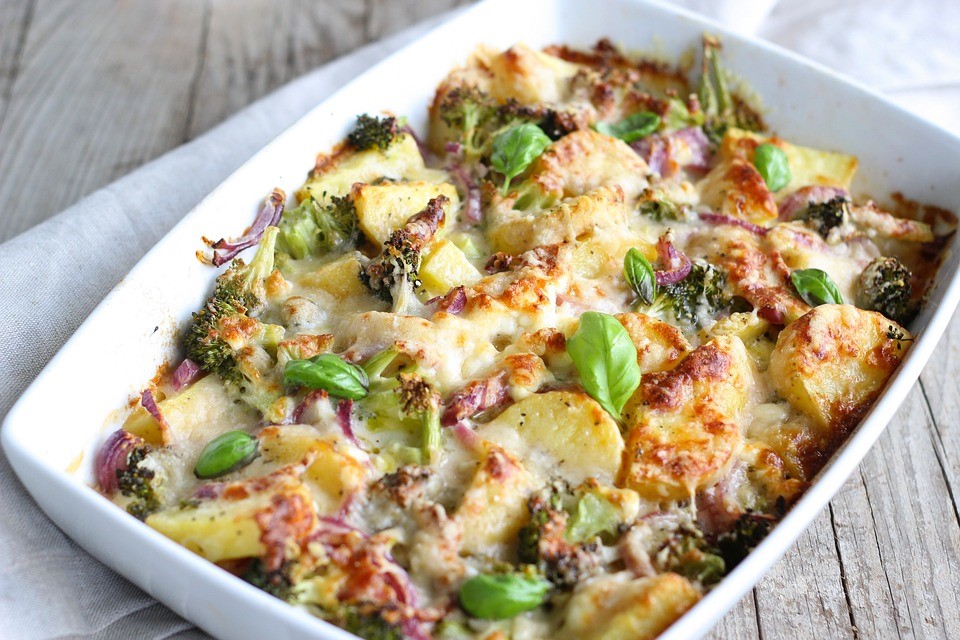
Broccoli is famous worldwide as a superfood. It’s used as the main ingredient in healthy food recipes as it contains
Dinner is a treat for clean eaters when served with mouth-watering cilantro lime rice and freshly cooked salmon fillets. We
Do you crave lasagna but are unable to enjoy the flavorful treat? No worries! We bring you a simple and
When we think about comfort food, potatoes and chicken are some of the first ingredients that come to mind. Potatoes
Chicken tagine – a rich and fragrant chicken stew is laden with complex flavors and zesty spices that might make
Couscous is a North African delicacy that has become popular in many areas across the globe due to its neutral
If you search for gluten-friendly desserts, you will find a majority of the suggestions are chocolate. That’s great for the
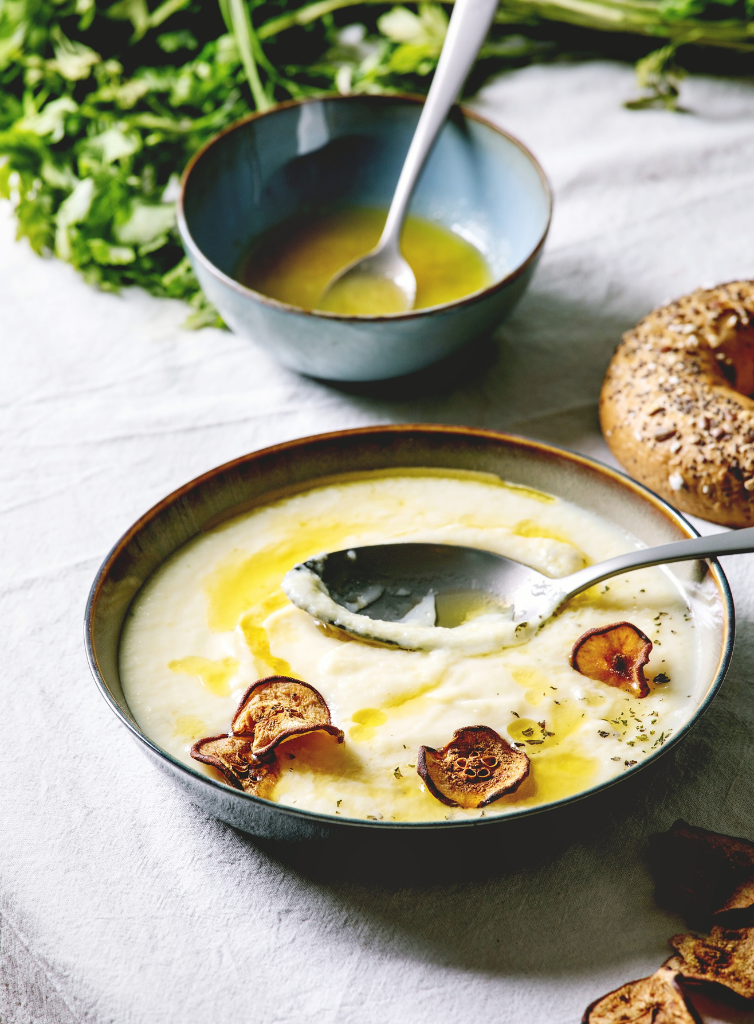
There’s something magical about a bowl of creamy soup on a chilly day . This Parsnip & Celery Root Bisque
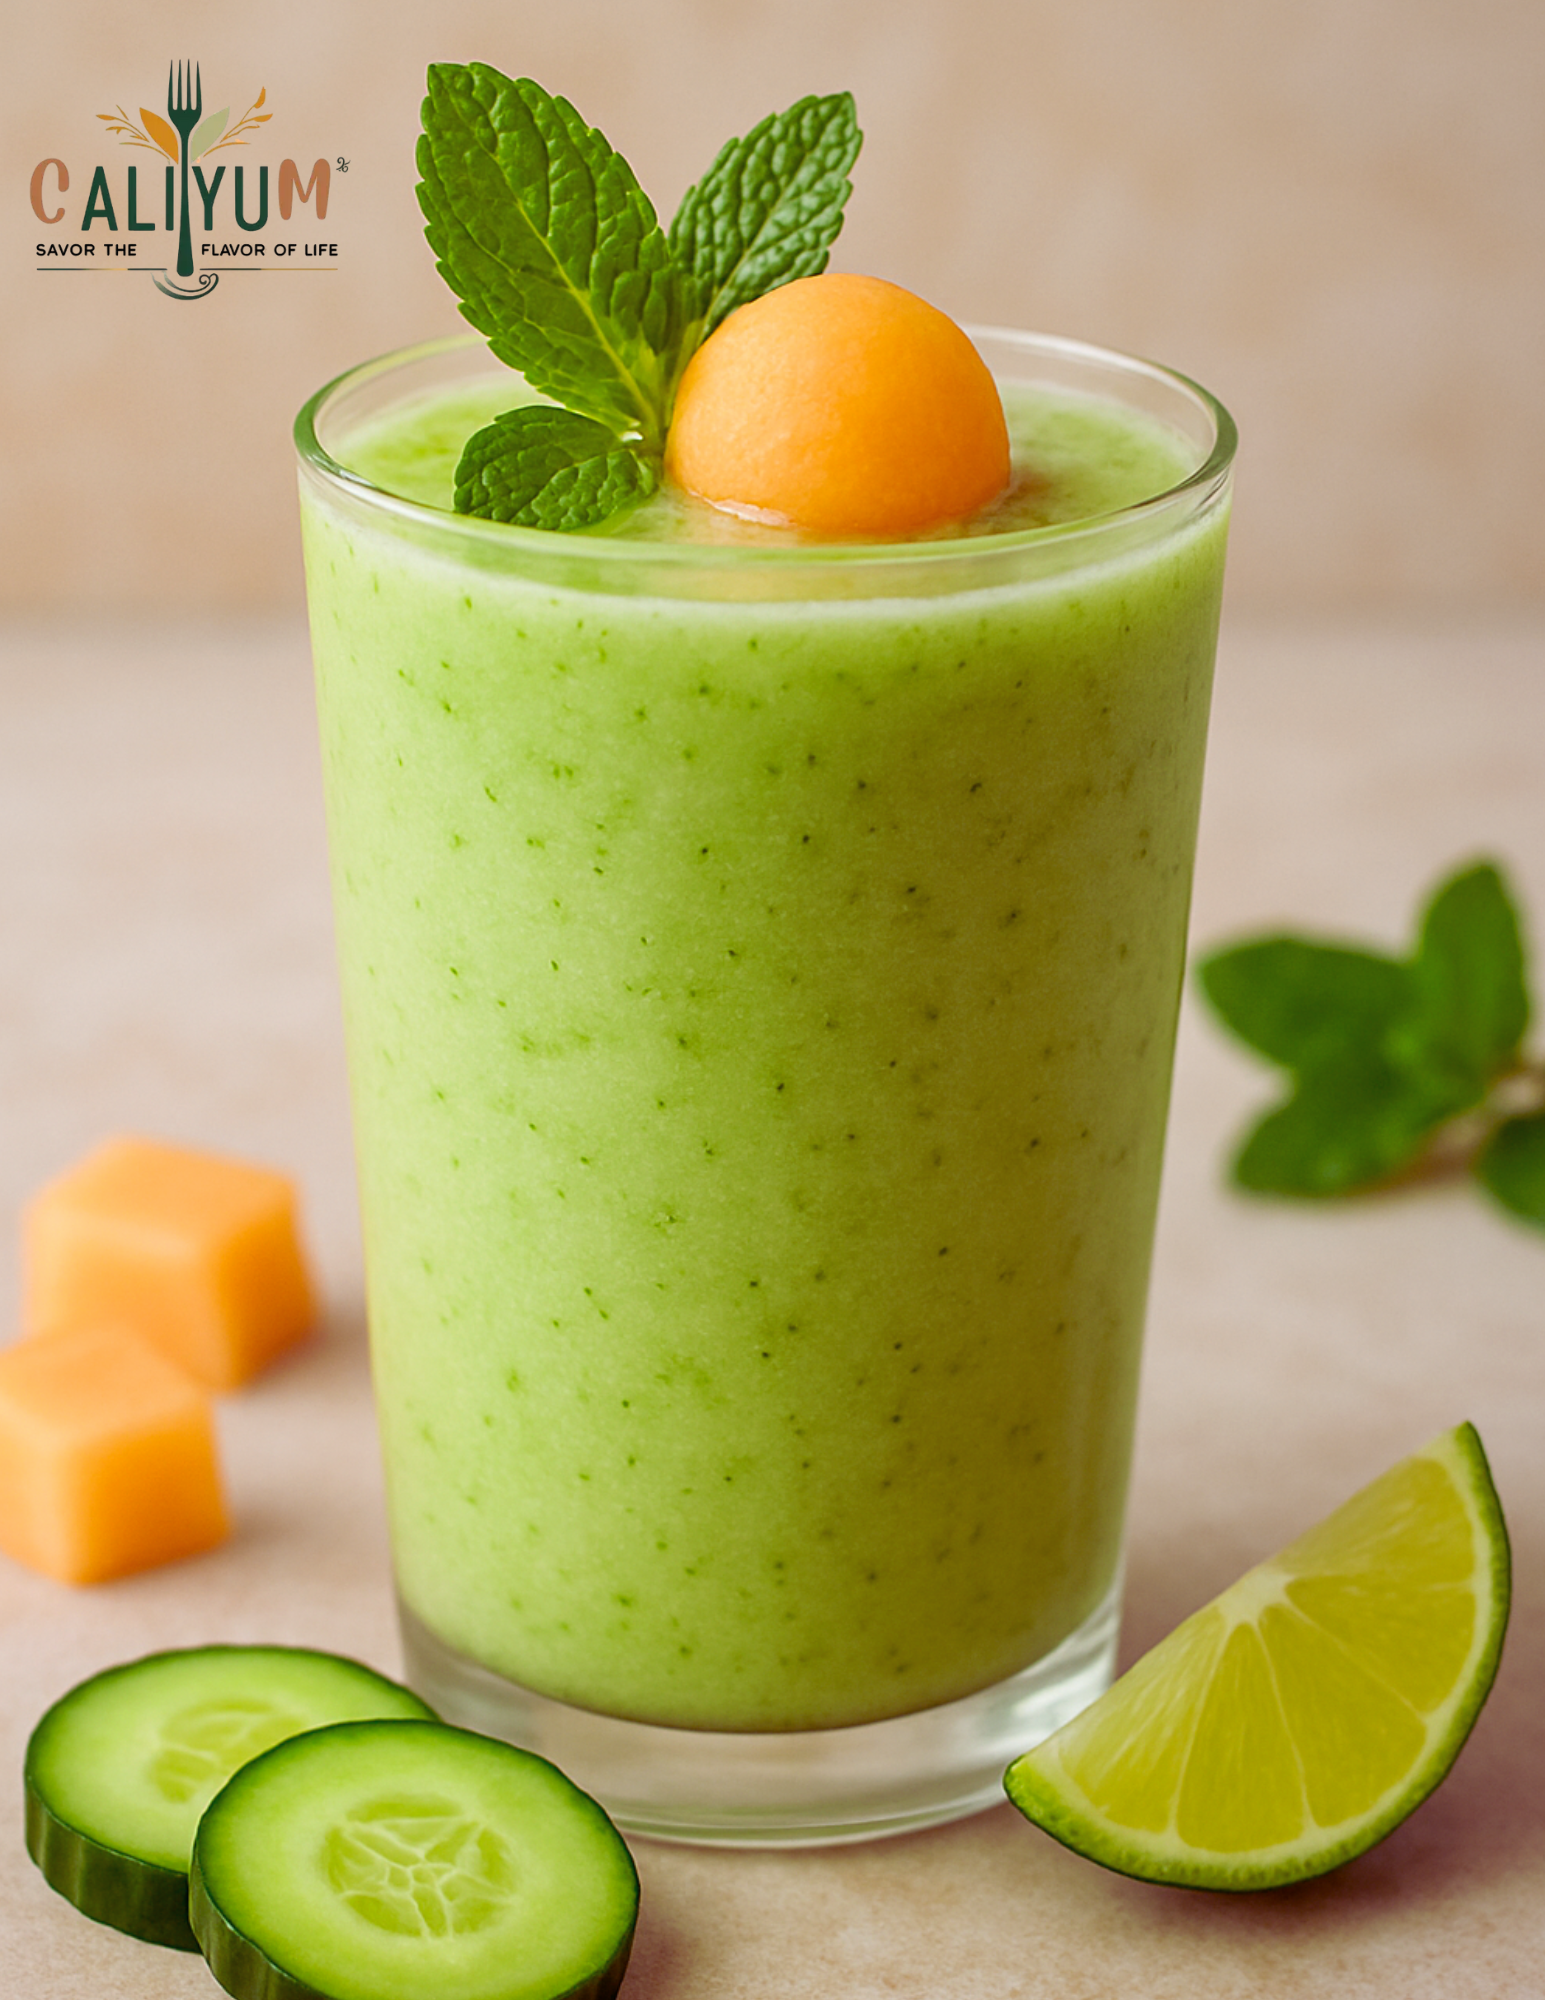
Cool down with this refreshing Cucumber Melon Mint Smoothie — a healthy, hydrating blend that’s light, summery, and naturally gluten-free!
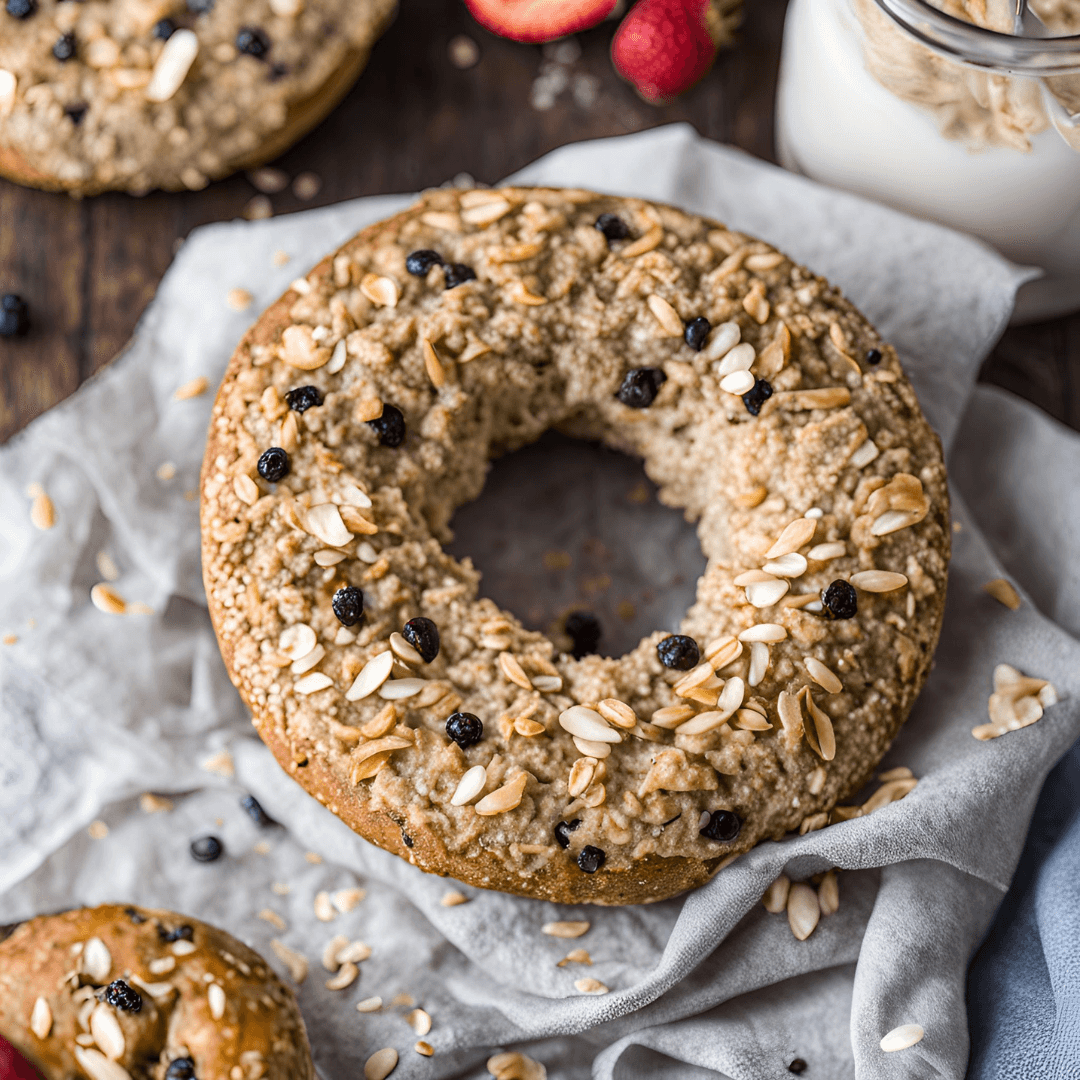
Hey, food lovers! Today, I’m sharing a game-changer recipe: Gluten-Free High-Protein Bagels made with Greek yogurt, eggs, and oats! These
Craving Pizza but Want to Keep It Healthy? Try This Low-Carb Cauliflower Pizza Crust! If you’re looking for a way
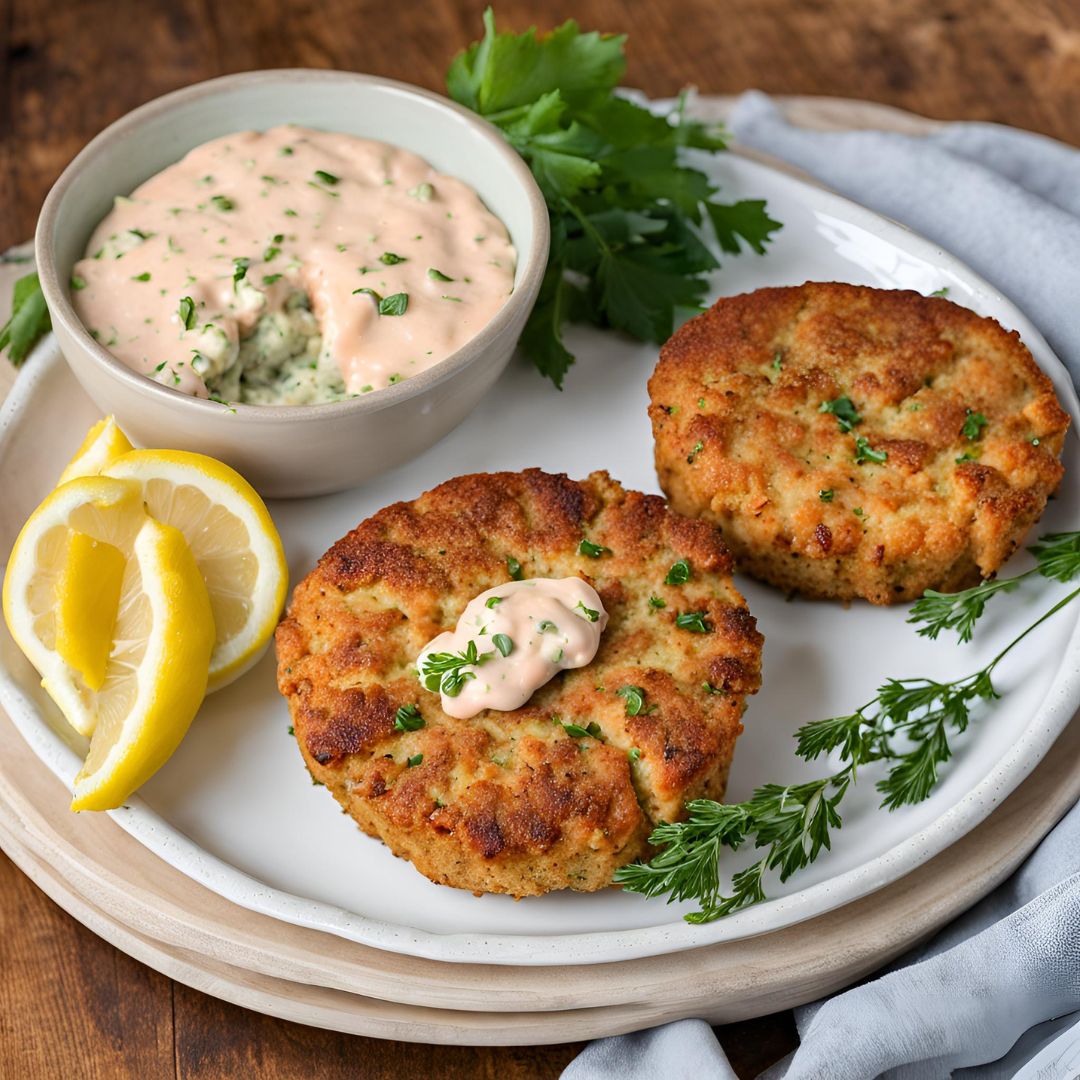
Craving something delicious and easy to make? These crispy, flavorful salmon cakes are the perfect way to elevate your meal!
The Ultimate Healthy Lentil Bread Are you on a quest for the perfect gluten-free bread? Look no further! Our gluten-free