


Is it possible to recreate Bahama Breeze Chicken Tostones, Healthier & Gluten-Free? When I made the switch to gluten-free, I
A simple gluten-free chia toast, perfect for breakfast The gluten free diet has many limitations but toast does not have
This delicious cabbage pizza crust recipe is keto, gluten-free, and easy to make If you’ve been living the keto and
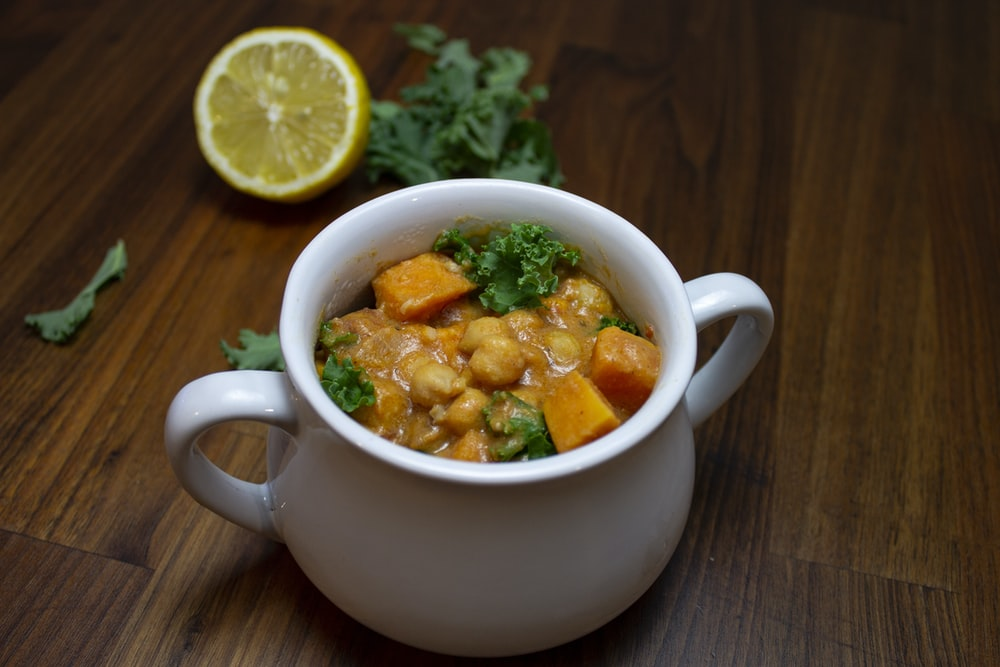
Harira is the perfect blend of a healthy and flavorful dish that can satisfy your tummy and soul! Let’s learn how to make this Moroccan Classic.
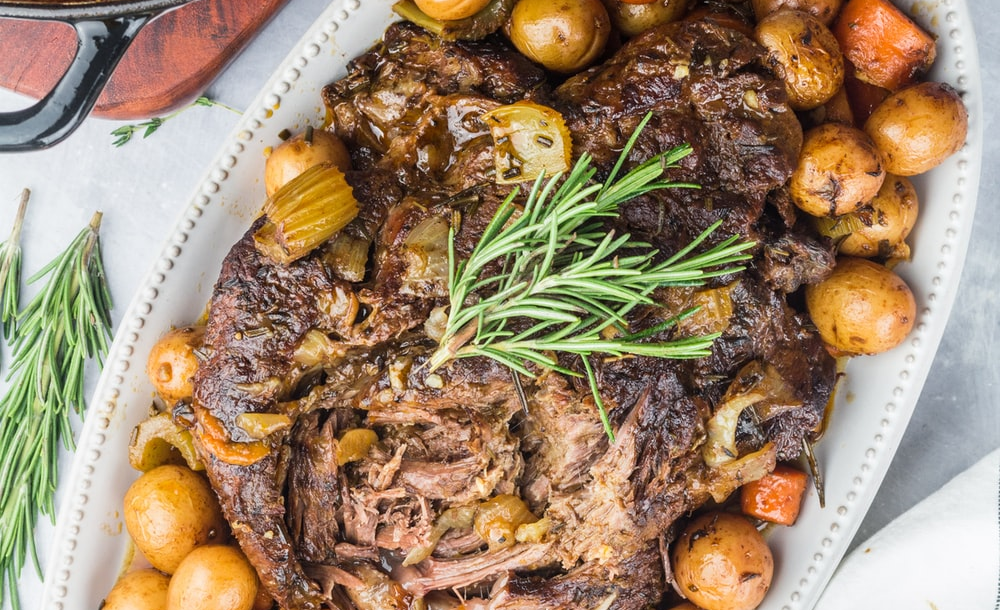
Want to make a classic Sunday pot roast? Check out our favorite recipe.
Find out how you can make delicious Moroccan salads that are different from your every day salads!
Let’s face it, as mothers we’ve all tried to trick our kids into eating their greens or cut down on
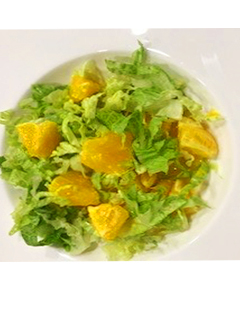
The best afternoon pick me up snack or guilt free dessert! This orange lettuce salad is refreshing, satisfying, energizing, and
Being on a restrictive diet means you have to give up on many of your favorite foods and add a
[wprm-recipe-jump] For most people, the word salad conjures up the image of a bland mix of vegetables that
Filling, hearty and healthy, this butter chicken is easy to make and a much healthier option than what you would
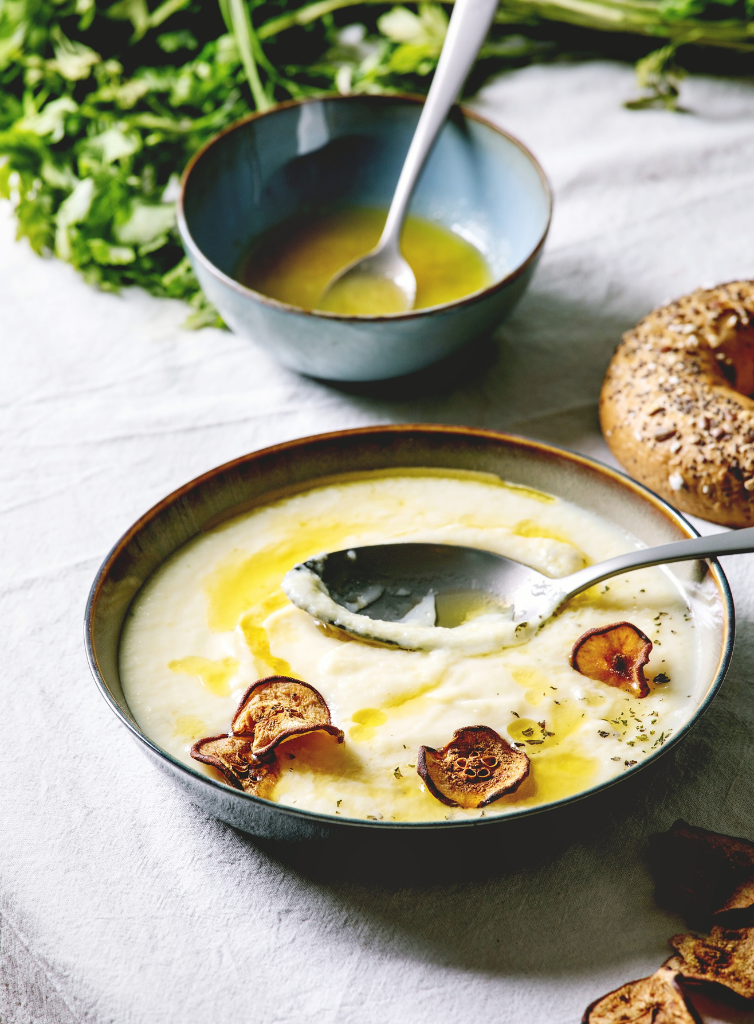
There’s something magical about a bowl of creamy soup on a chilly day . This Parsnip & Celery Root Bisque
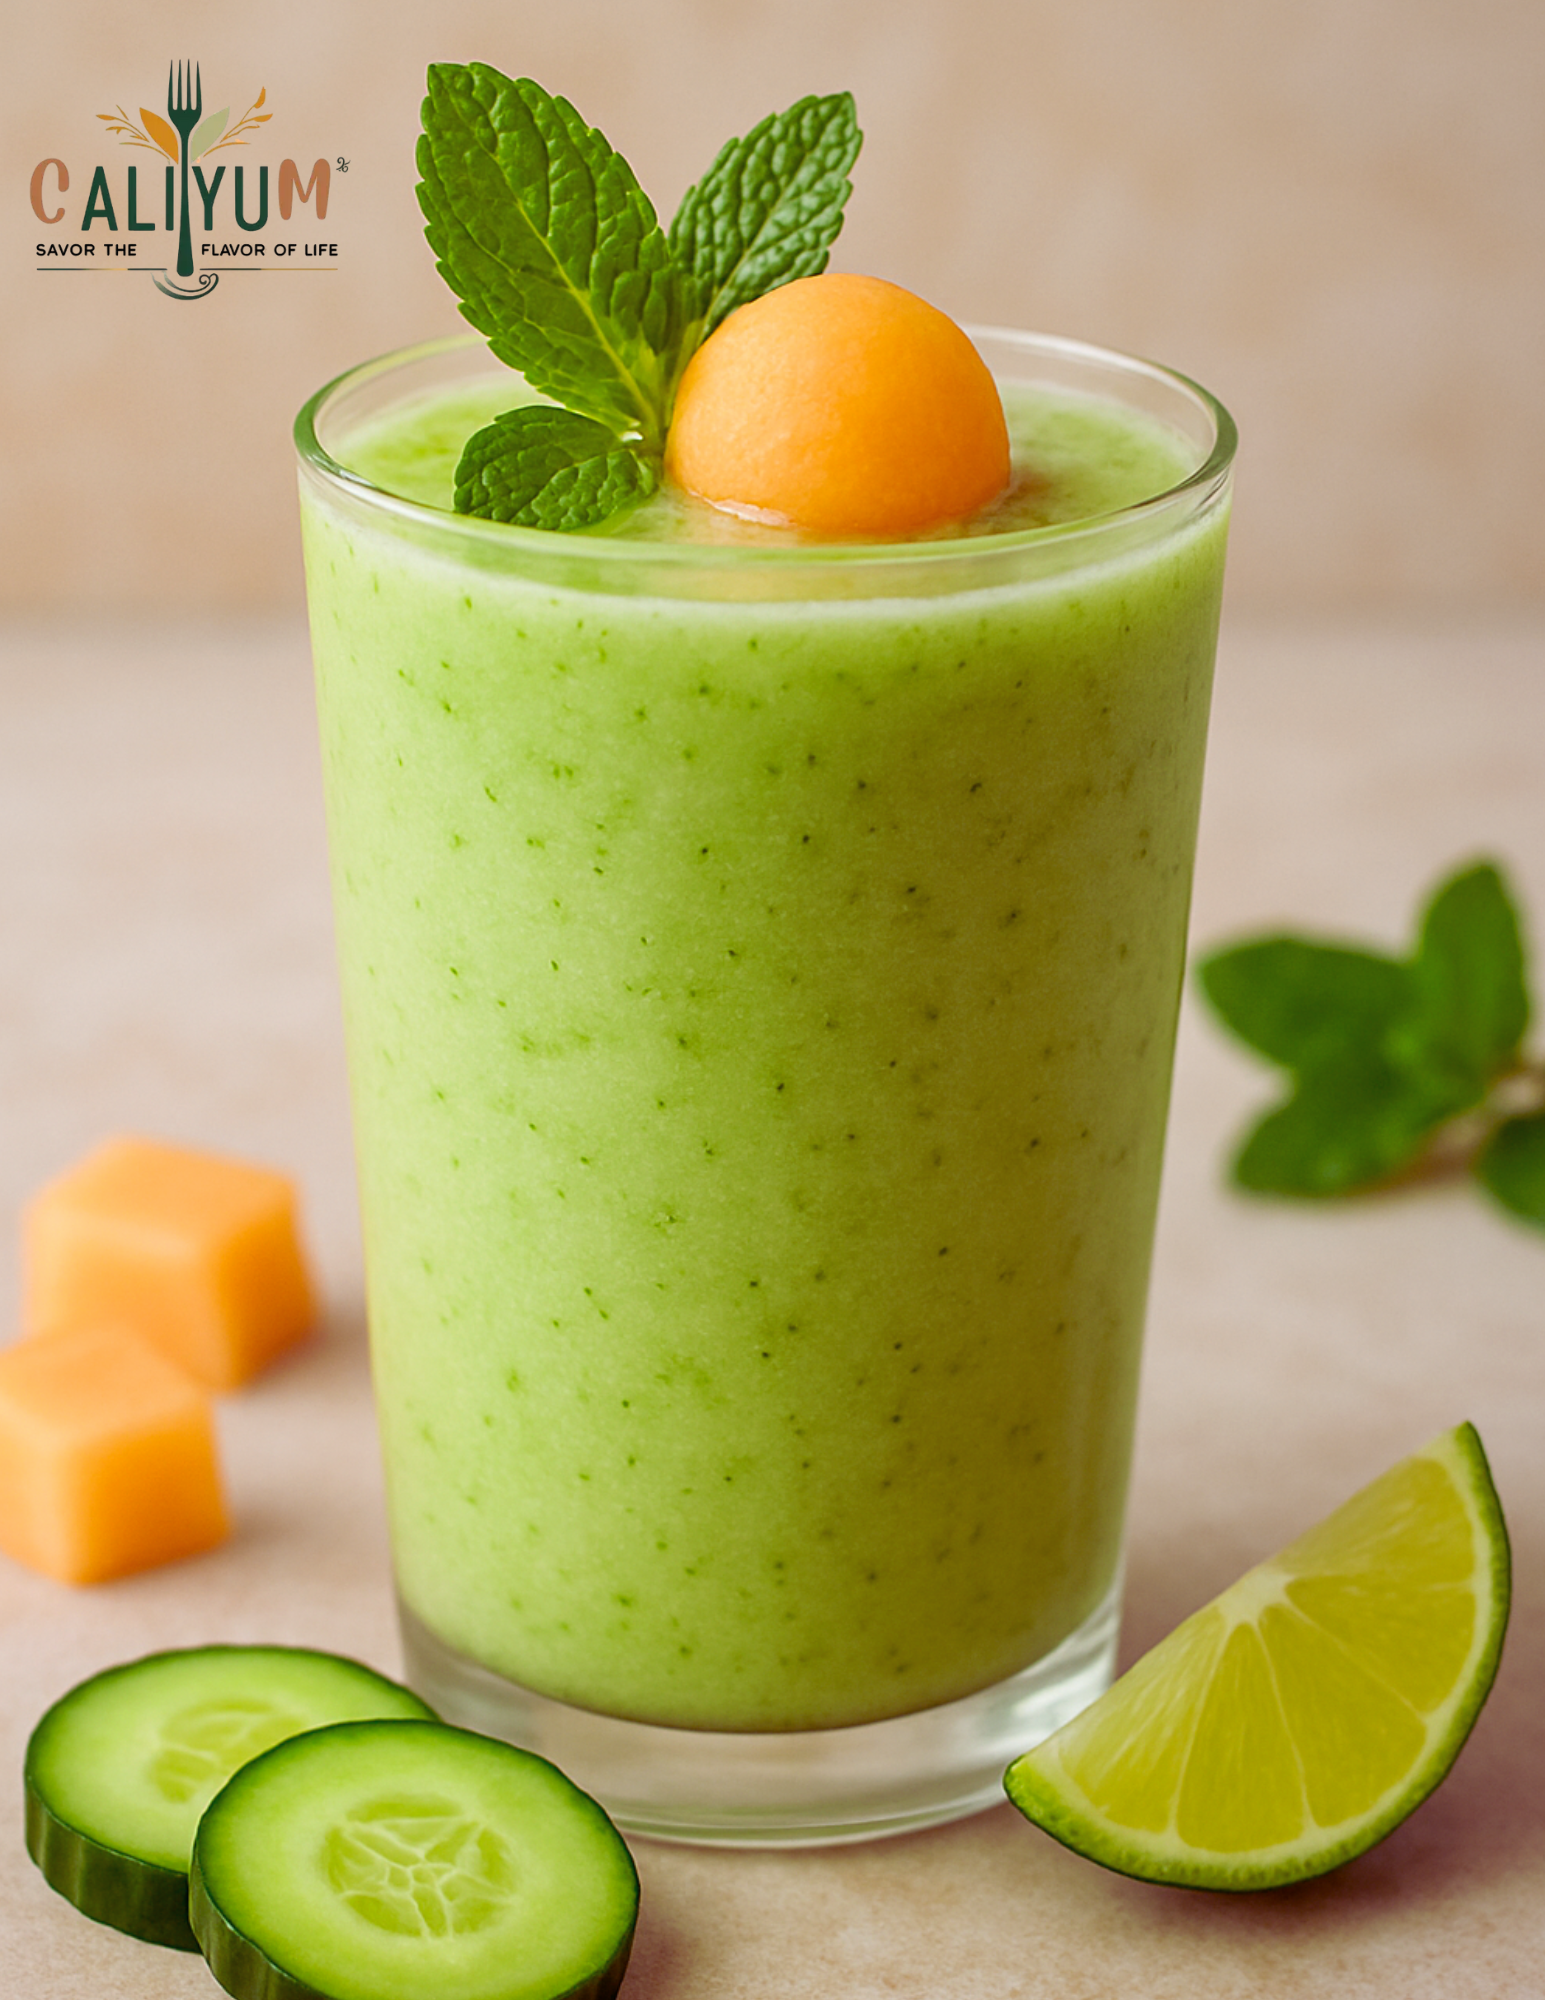
Cool down with this refreshing Cucumber Melon Mint Smoothie — a healthy, hydrating blend that’s light, summery, and naturally gluten-free!
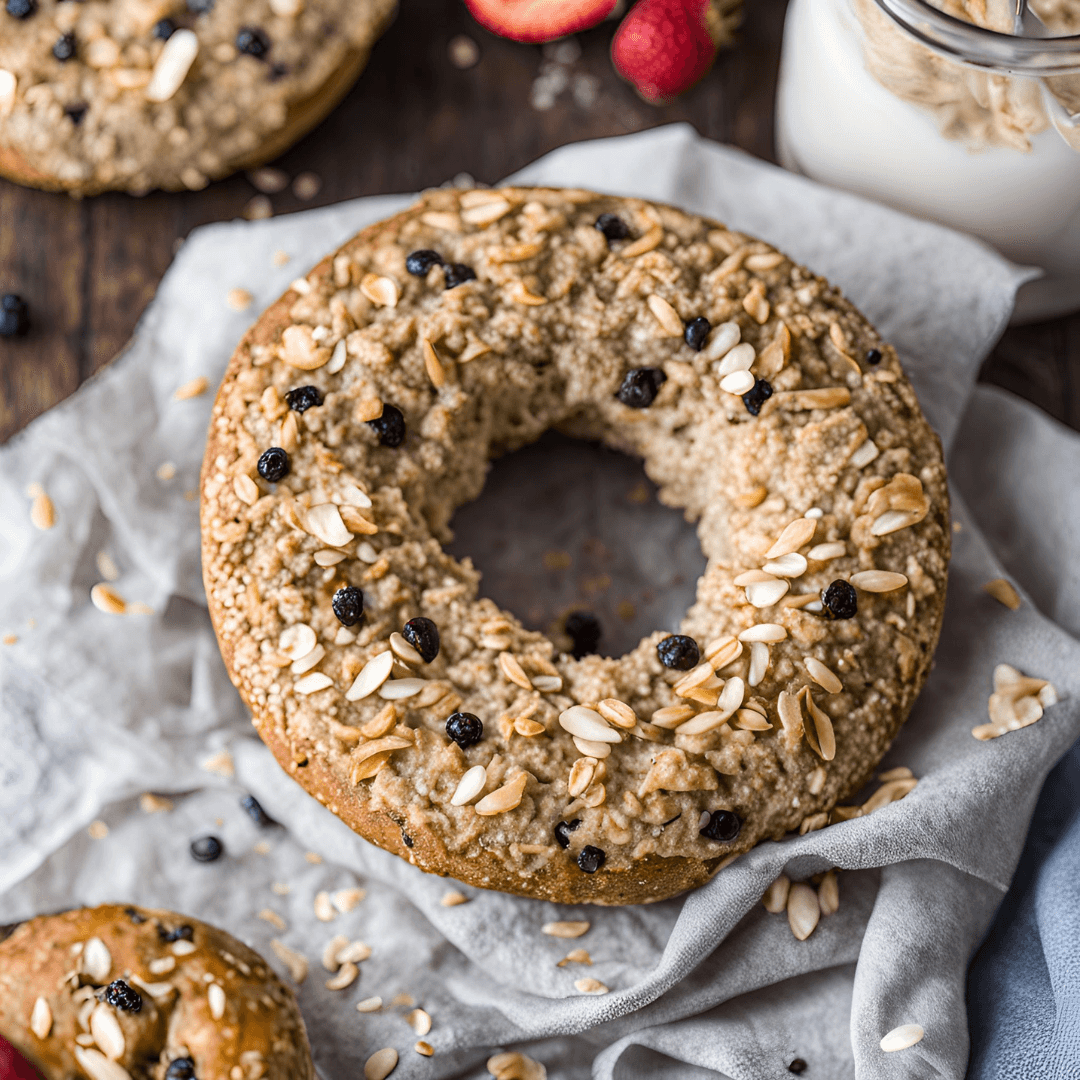
Hey, food lovers! Today, I’m sharing a game-changer recipe: Gluten-Free High-Protein Bagels made with Greek yogurt, eggs, and oats! These
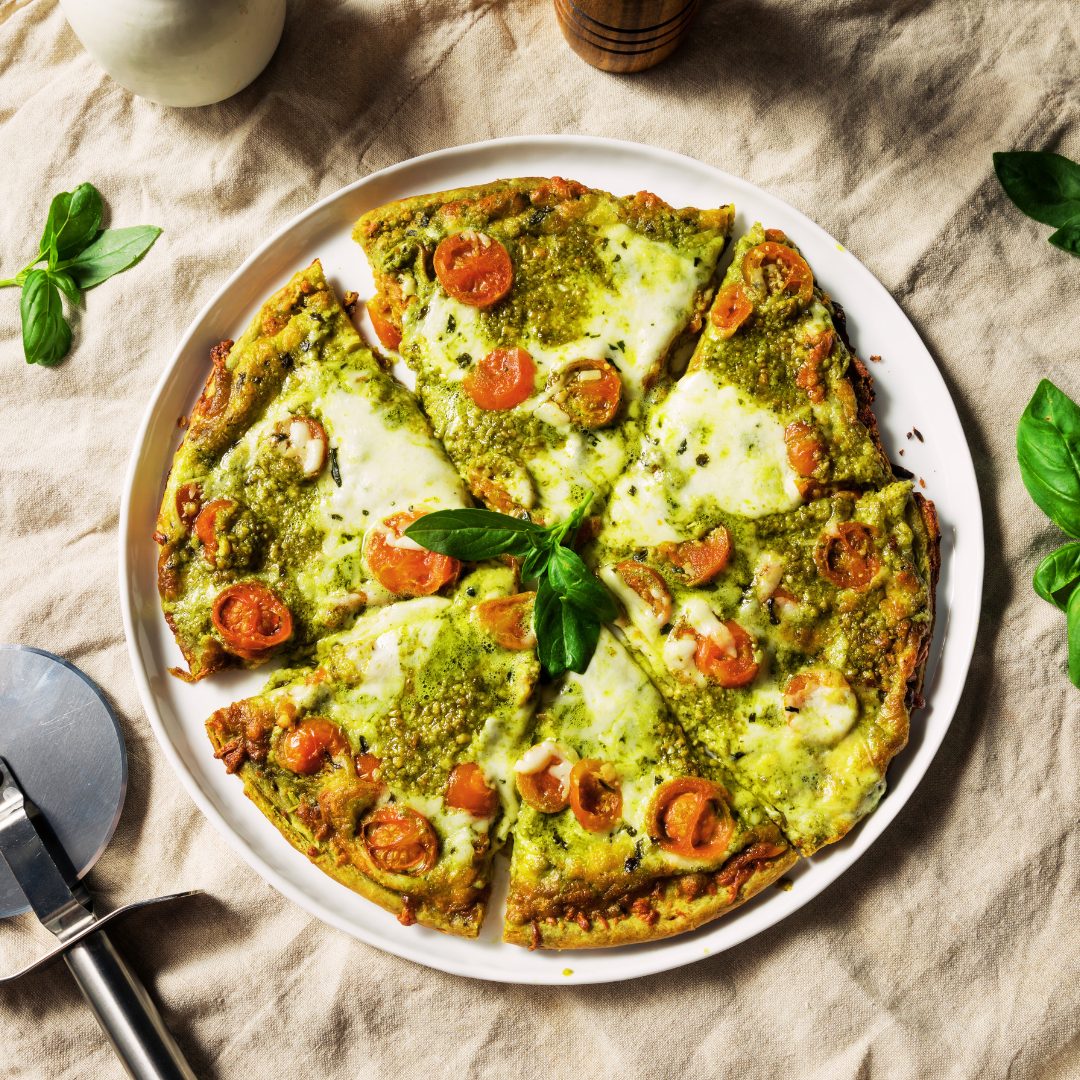
Craving Pizza but Want to Keep It Healthy? Try This Low-Carb Cauliflower Pizza Crust! If you’re looking for a way
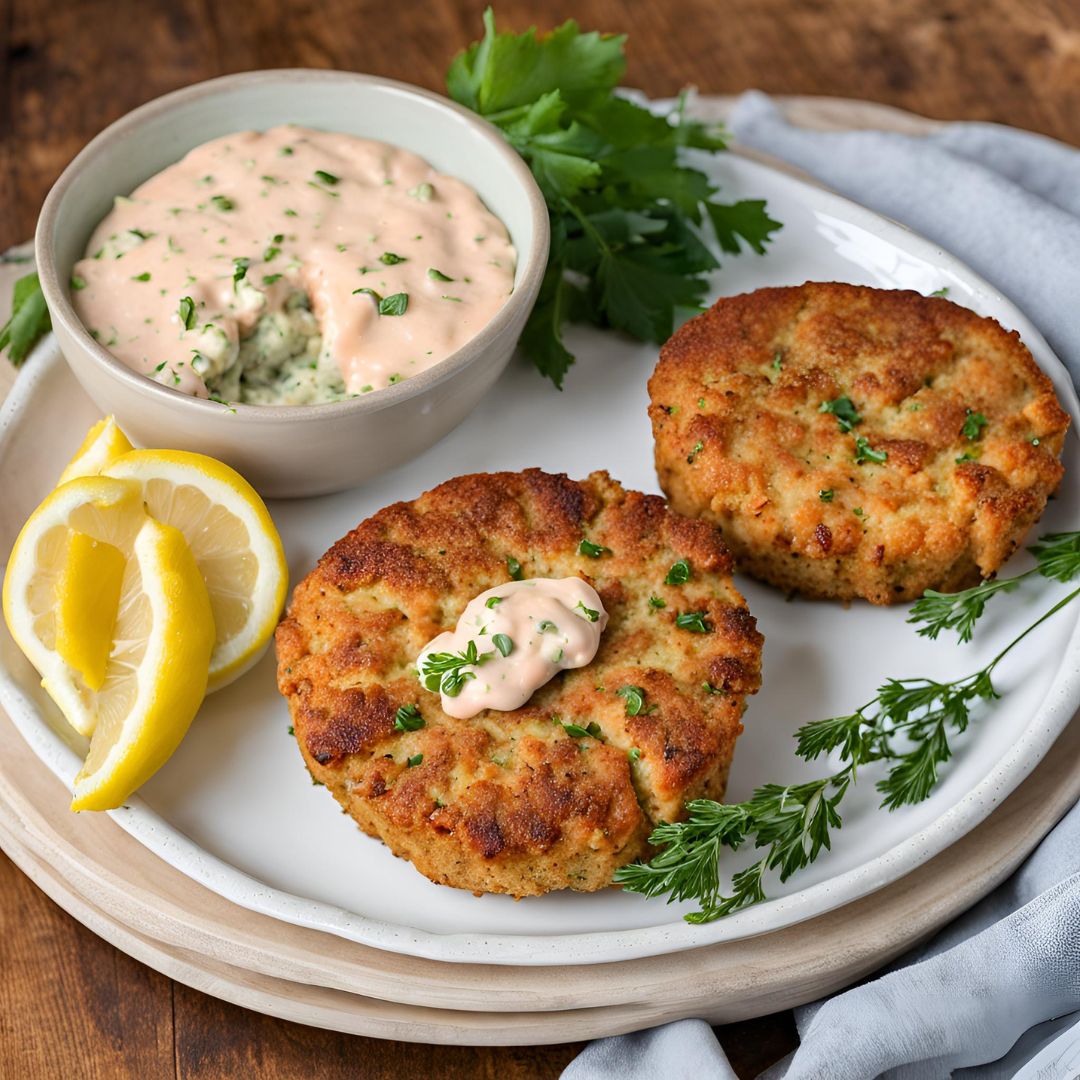
Craving something delicious and easy to make? These crispy, flavorful salmon cakes are the perfect way to elevate your meal!
The Ultimate Healthy Lentil Bread Are you on a quest for the perfect gluten-free bread? Look no further! Our gluten-free