


Looking for a fail-proof recipe for Cream of Broccoli Soup? Look no further! This light and creamy delight boasts an
Moroccan Lemon Chicken, sizzling, succulent and zesty- dish that transcends borders, and will leave you craving more! Moroccan cuisine is
“Irresistibly delicious, moist, tender and full of fall flavor in every bite that will surely please any crowd!”
Indulge in Perfection with Our Gluten-Free Raspberry Muffins! Get ready to elevate your mornings with a burst of flavor courtesy
The combination of tart lemons and sweet strawberries makes this dessert truly unforgettable – Oprah Winfrey would be proud! So go ahead—treat yourself (and others!) to a slice – you won’t regret it! Enjoy!
The Best Ever Gluten-Free Blueberry Muffins “Indulge in the best gluten-free blueberry muffins, bursting with juicy blueberries and a perfect
A nourishing bowl of Celery Soup—wholesome, budget-friendly, and bursting with flavor, all ready in just 35 minutes. It’s the epitome
Spaghetti is a classic comfort food that is loved by people all around the world. But if you’re looking to
Spaghetti is a classic comfort food that is loved by people all around the world. But if you’re looking to
Hey there, muffin lovers! Are you on the hunt for a savory, gluten-free snack that’s as nutritious as it is
Looking for the ultimate summer drink? Something zesty, sweet, and packed with a gingery kick? This Refreshing Ginger Lemonade will
Craving something mouthwatering and full of bold flavors? This Indian whole grilled chicken recipe is a game-changer! Loaded with aromatic
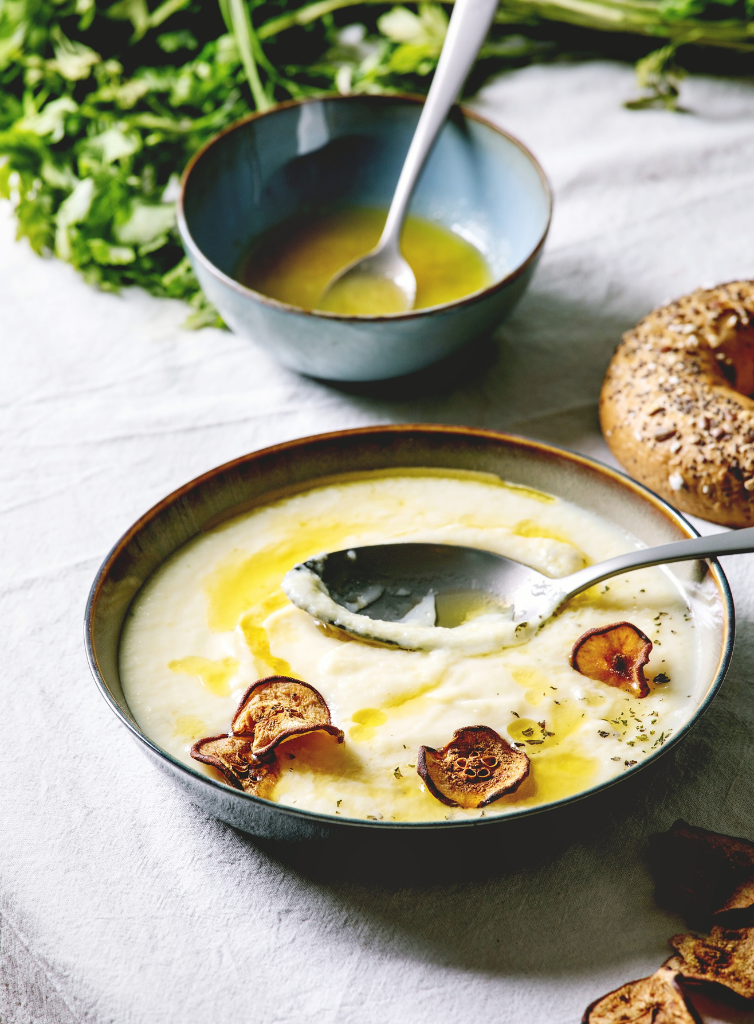
There’s something magical about a bowl of creamy soup on a chilly day . This Parsnip & Celery Root Bisque
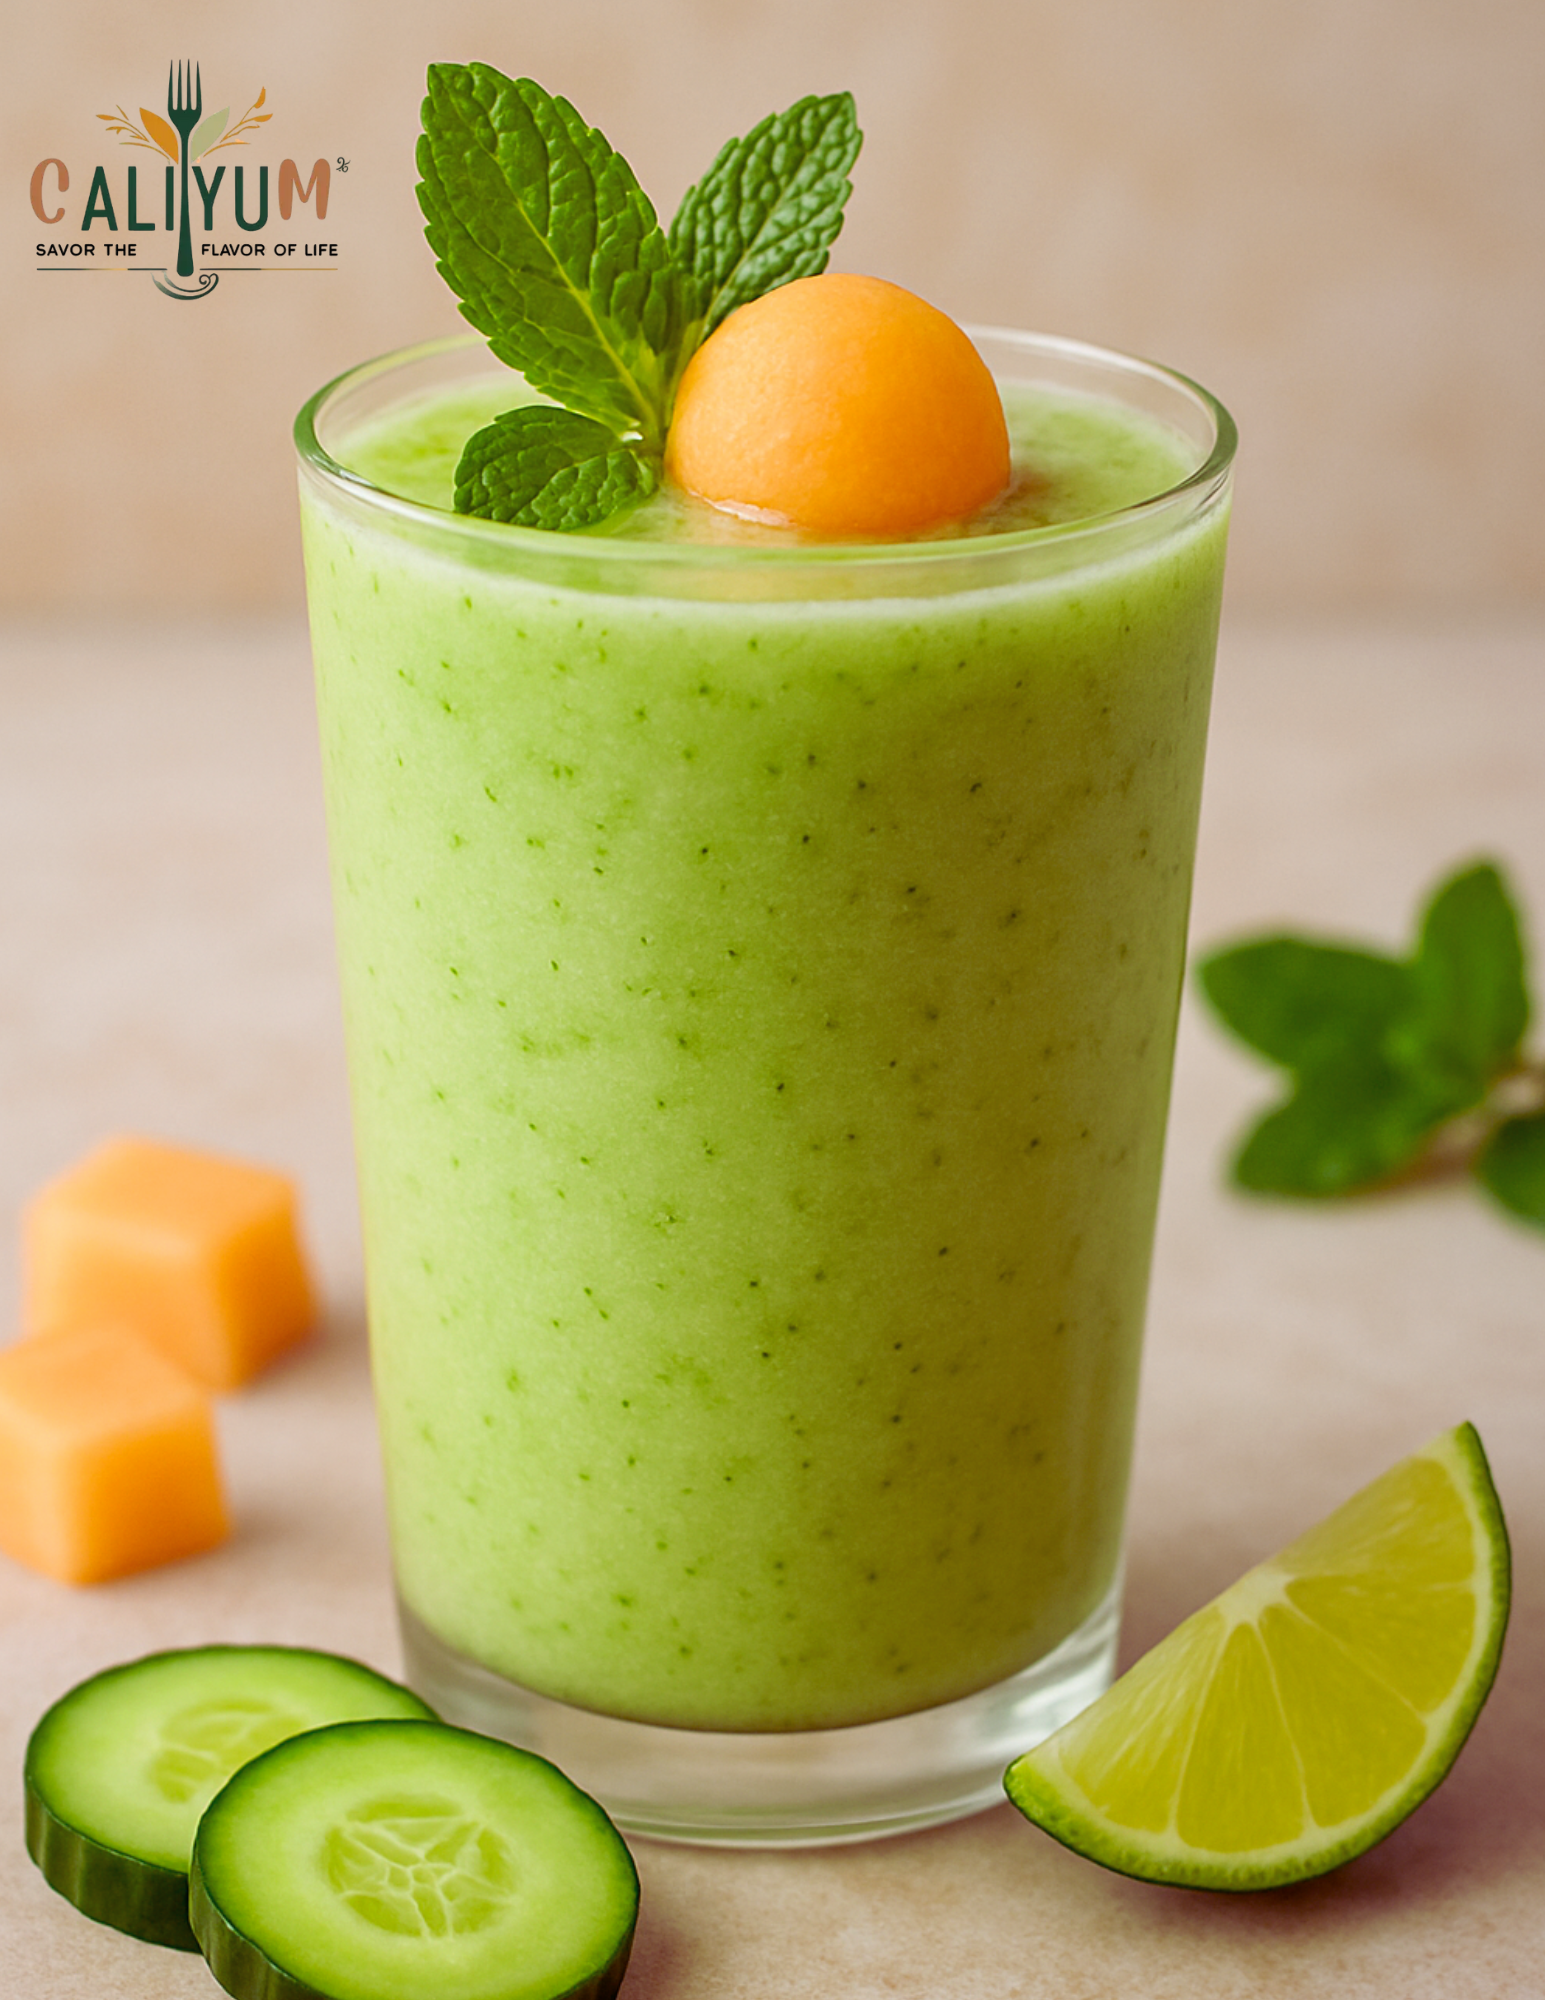
Cool down with this refreshing Cucumber Melon Mint Smoothie — a healthy, hydrating blend that’s light, summery, and naturally gluten-free!
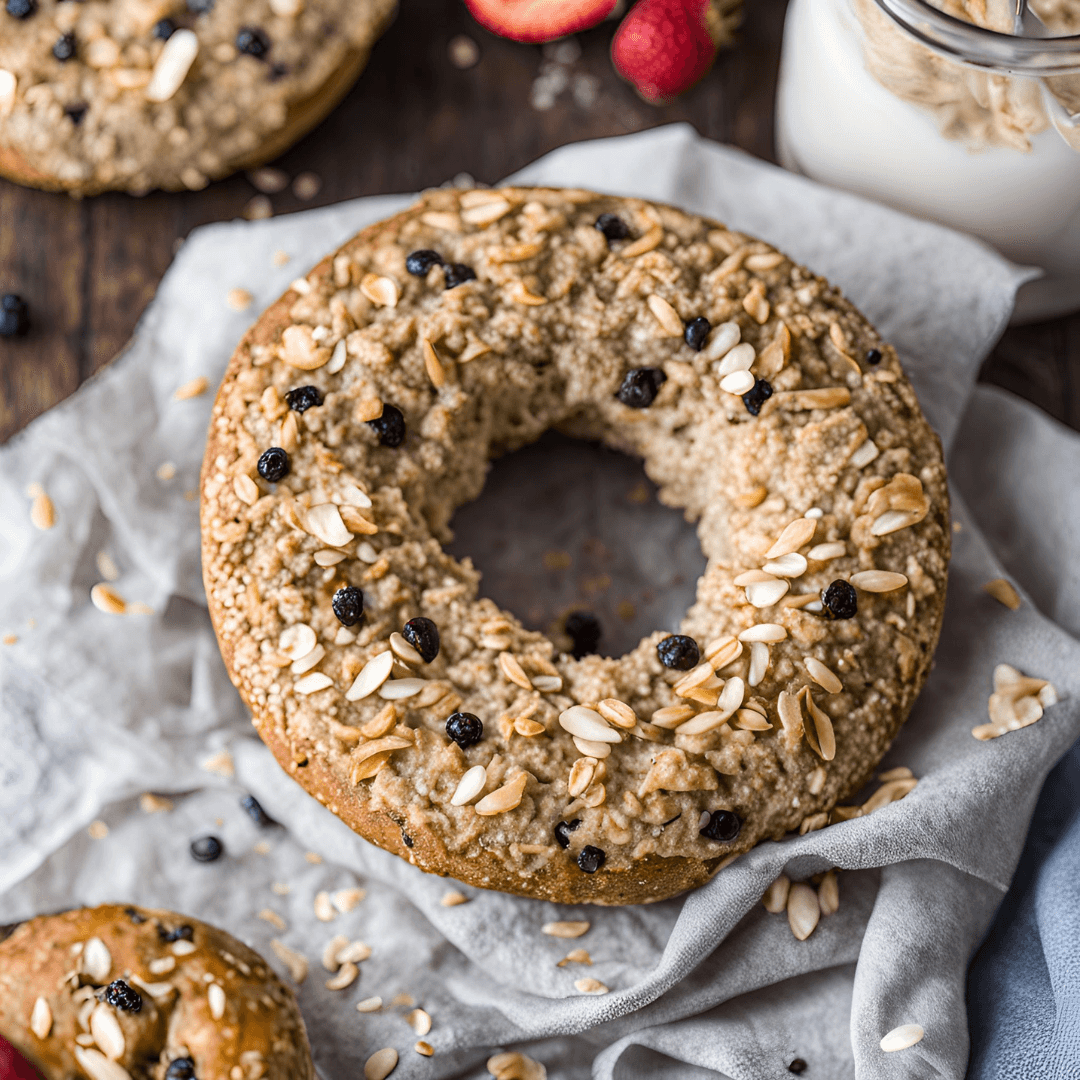
Hey, food lovers! Today, I’m sharing a game-changer recipe: Gluten-Free High-Protein Bagels made with Greek yogurt, eggs, and oats! These
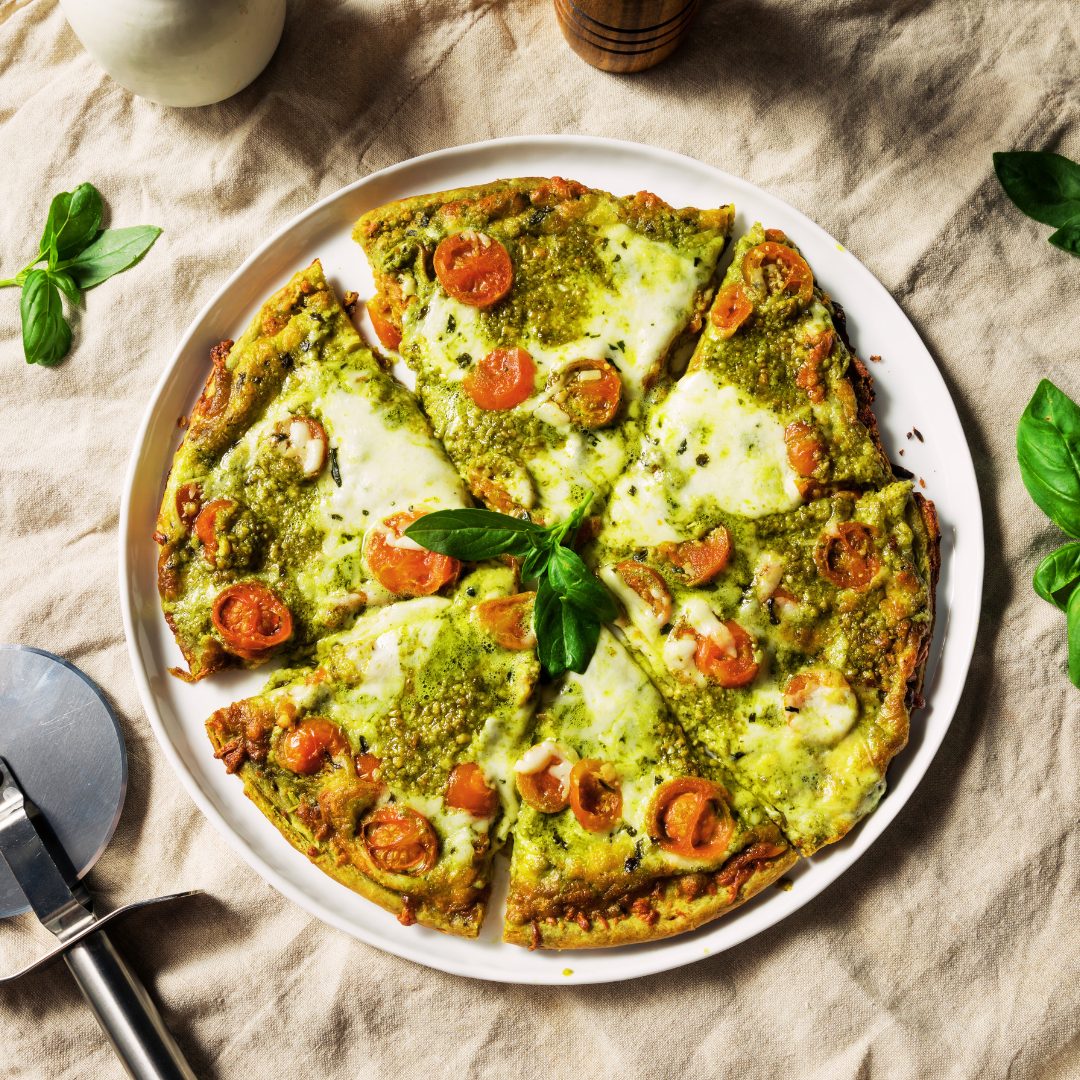
Craving Pizza but Want to Keep It Healthy? Try This Low-Carb Cauliflower Pizza Crust! If you’re looking for a way
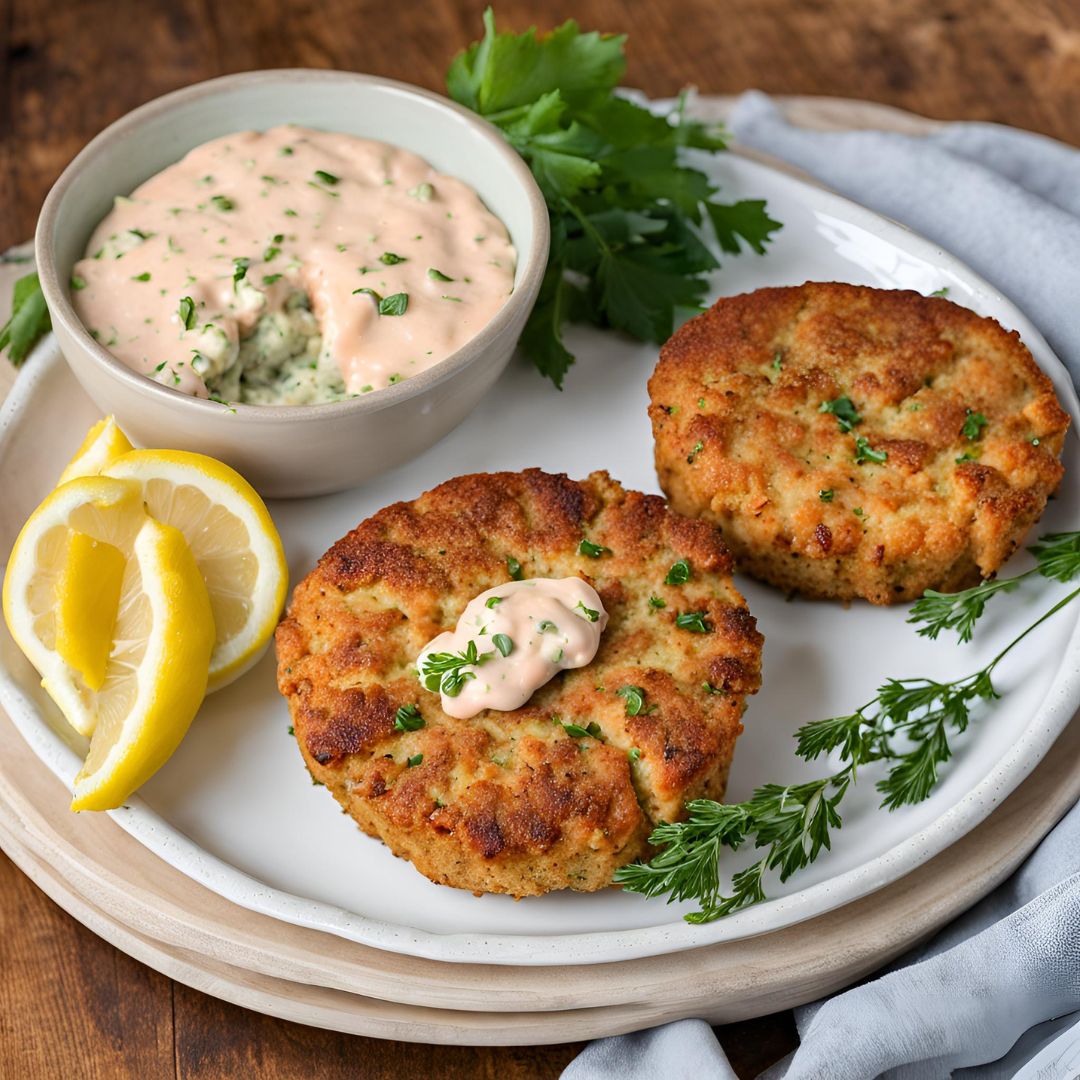
Craving something delicious and easy to make? These crispy, flavorful salmon cakes are the perfect way to elevate your meal!
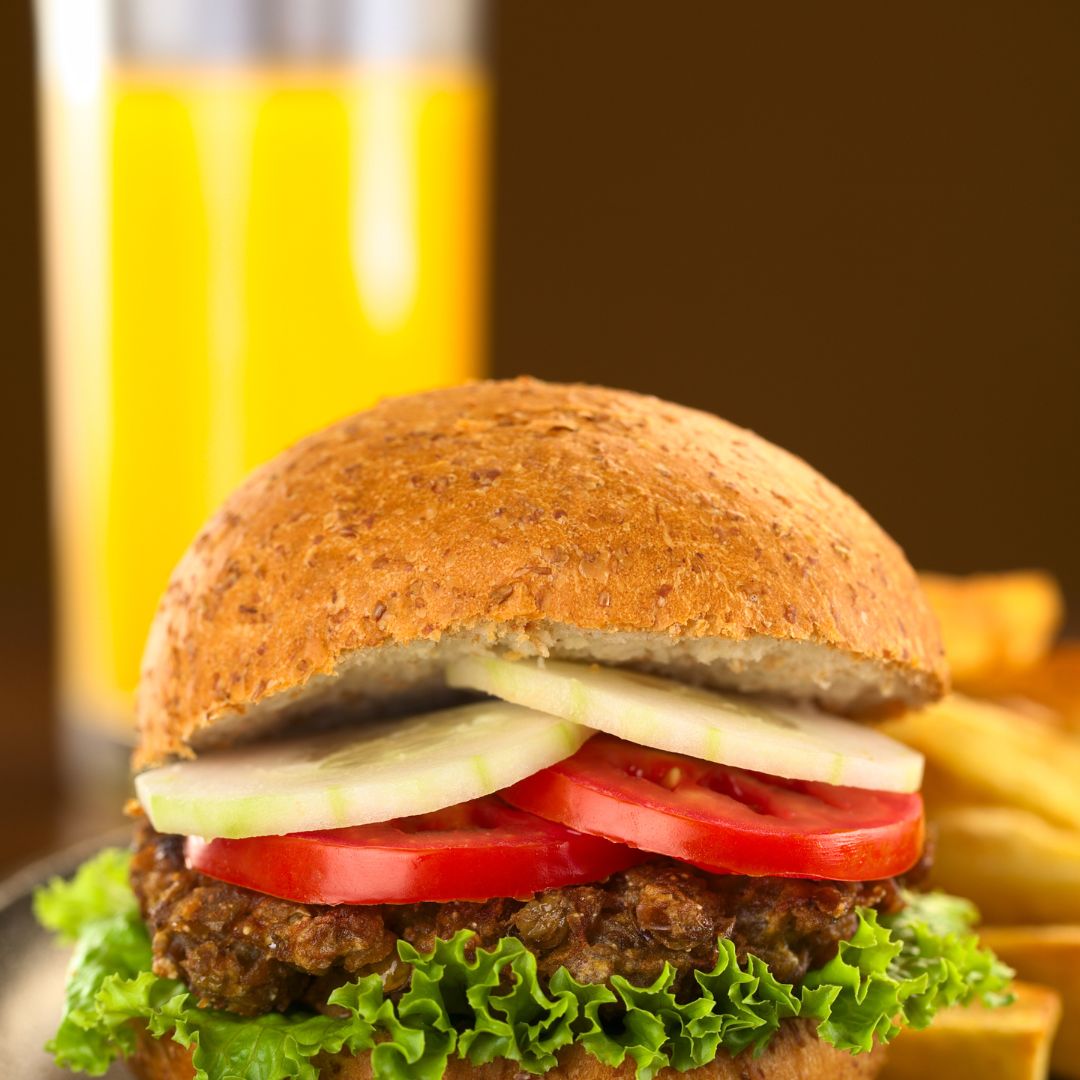
The Ultimate Healthy Lentil Bread Are you on a quest for the perfect gluten-free bread? Look no further! Our gluten-free