


A recipe is a set of instructions for preparing a particular dish, including a list of the ingredients required and
A recipe is a set of instructions for preparing a particular dish, including a list of the ingredients required and
A recipe is a set of instructions for preparing a particular dish, including a list of the ingredients required and
A recipe is a set of instructions for preparing a particular dish, including a list of the ingredients required and
A recipe is a set of instructions for preparing a particular dish, including a list of the ingredients required and
A recipe is a set of instructions for preparing a particular dish, including a list of the ingredients required and
A recipe is a set of instructions for preparing a particular dish, including a list of the ingredients required and
A recipe is a set of instructions for preparing a particular dish, including a list of the ingredients required and
A recipe is a set of instructions for preparing a particular dish, including a list of the ingredients required and
Rich in moisture, bursting with flavor, and packed with wholesome goodness. Indulge in the delightful world of wholesome goodness with
Today we’re going to be making walnut bites, a fun and healthy party snack utilizing the benefits of walnuts, honey,
I love the flavors of pizza but kneading homemade pizza dough can be a hassle. I wanted to make something
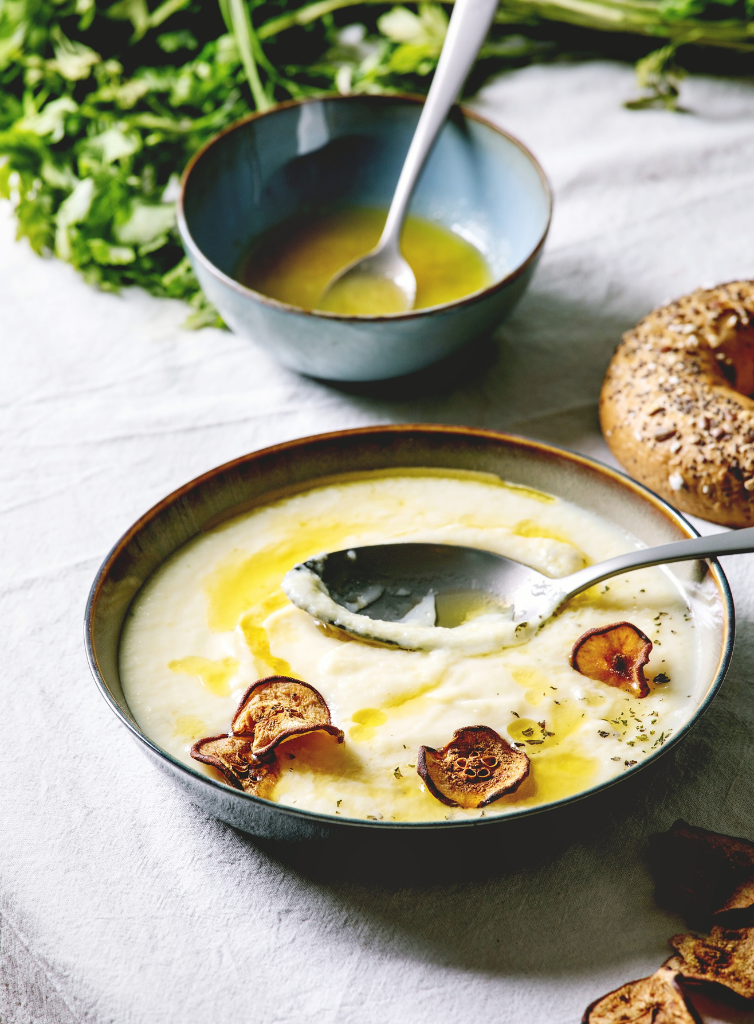
There’s something magical about a bowl of creamy soup on a chilly day . This Parsnip & Celery Root Bisque
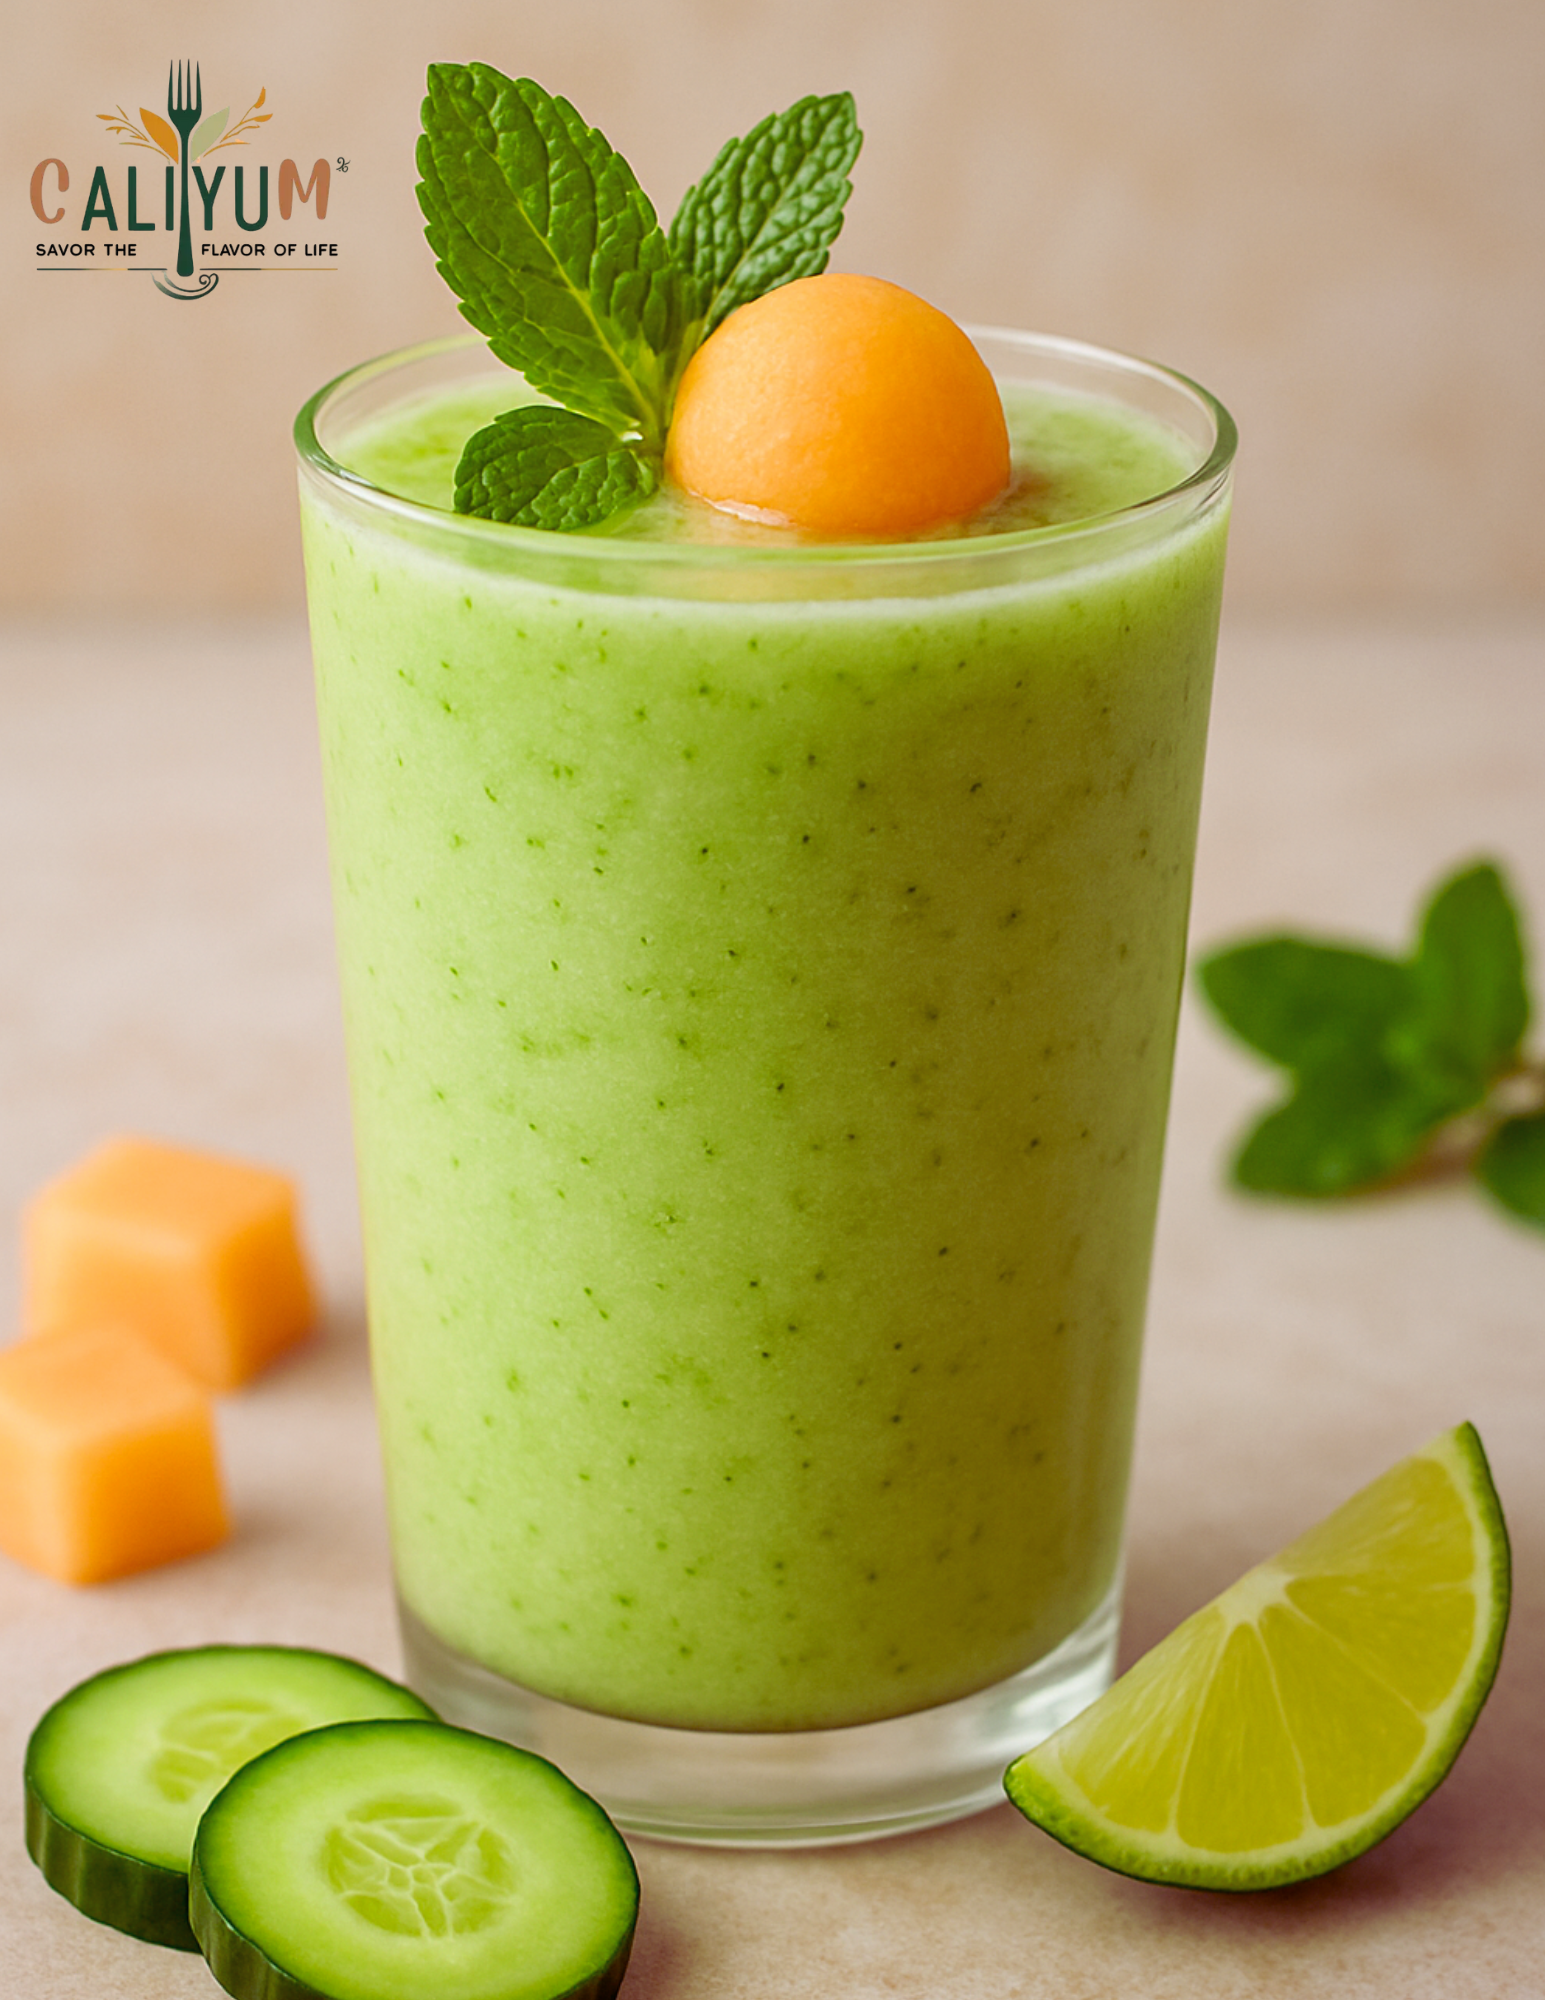
Cool down with this refreshing Cucumber Melon Mint Smoothie — a healthy, hydrating blend that’s light, summery, and naturally gluten-free!
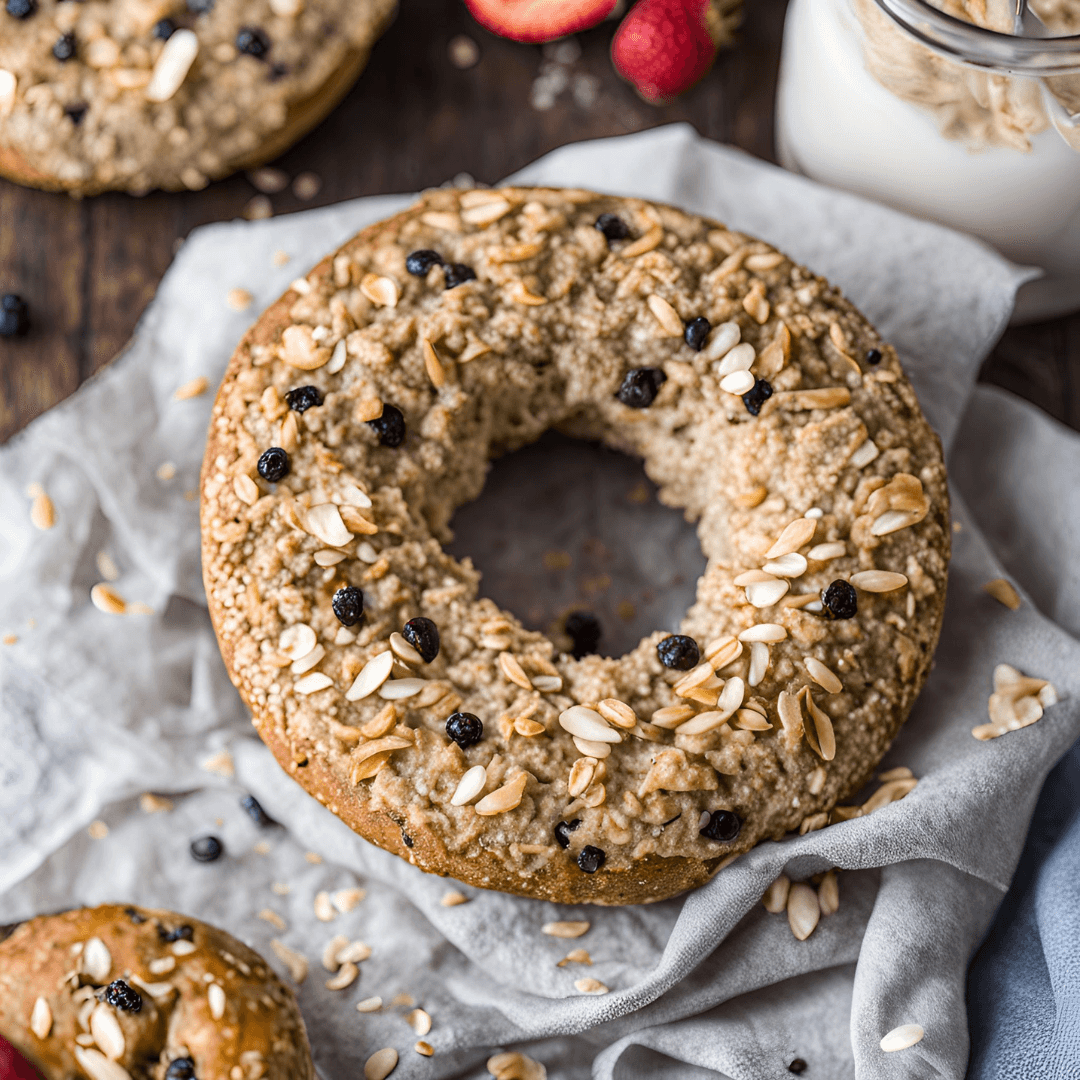
Hey, food lovers! Today, I’m sharing a game-changer recipe: Gluten-Free High-Protein Bagels made with Greek yogurt, eggs, and oats! These
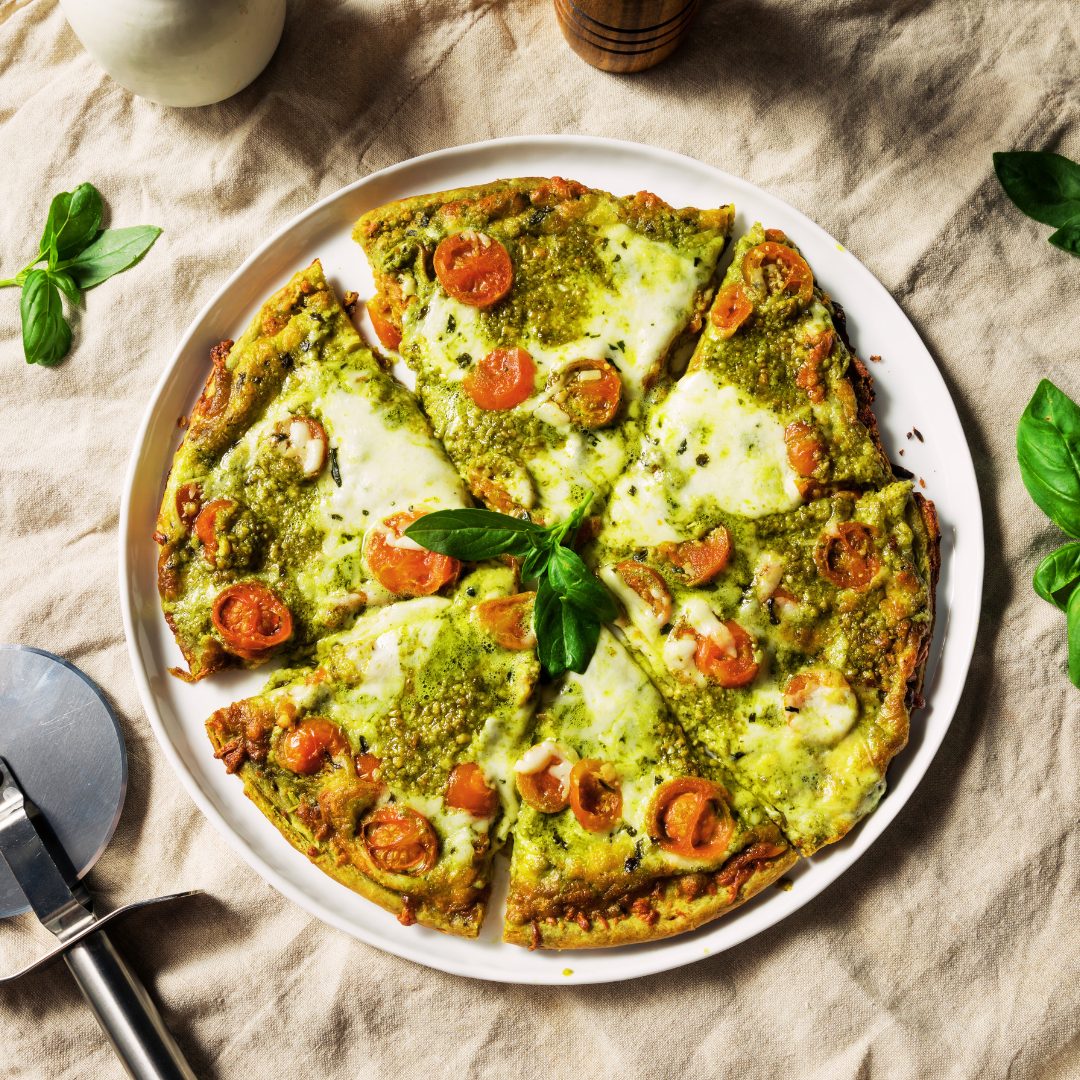
Craving Pizza but Want to Keep It Healthy? Try This Low-Carb Cauliflower Pizza Crust! If you’re looking for a way
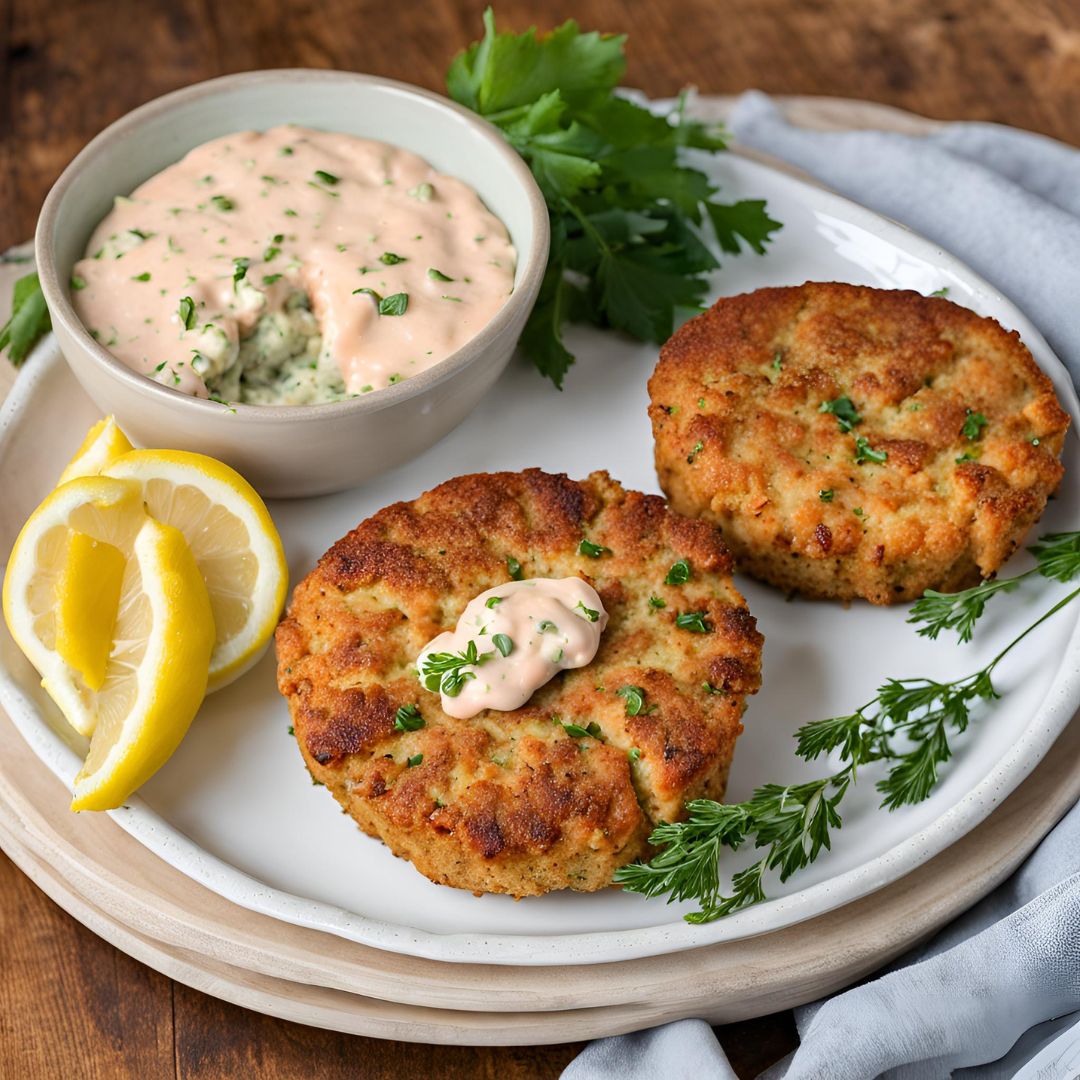
Craving something delicious and easy to make? These crispy, flavorful salmon cakes are the perfect way to elevate your meal!

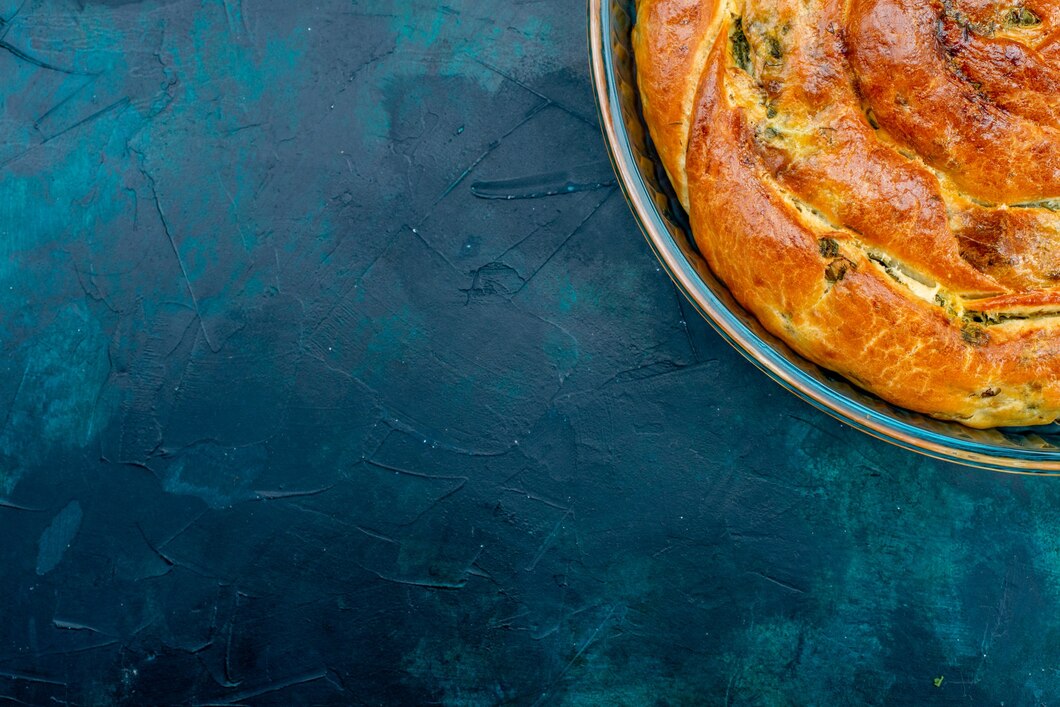
The Ultimate Healthy Lentil Bread Are you on a quest for the perfect gluten-free bread? Look no further! Our gluten-free