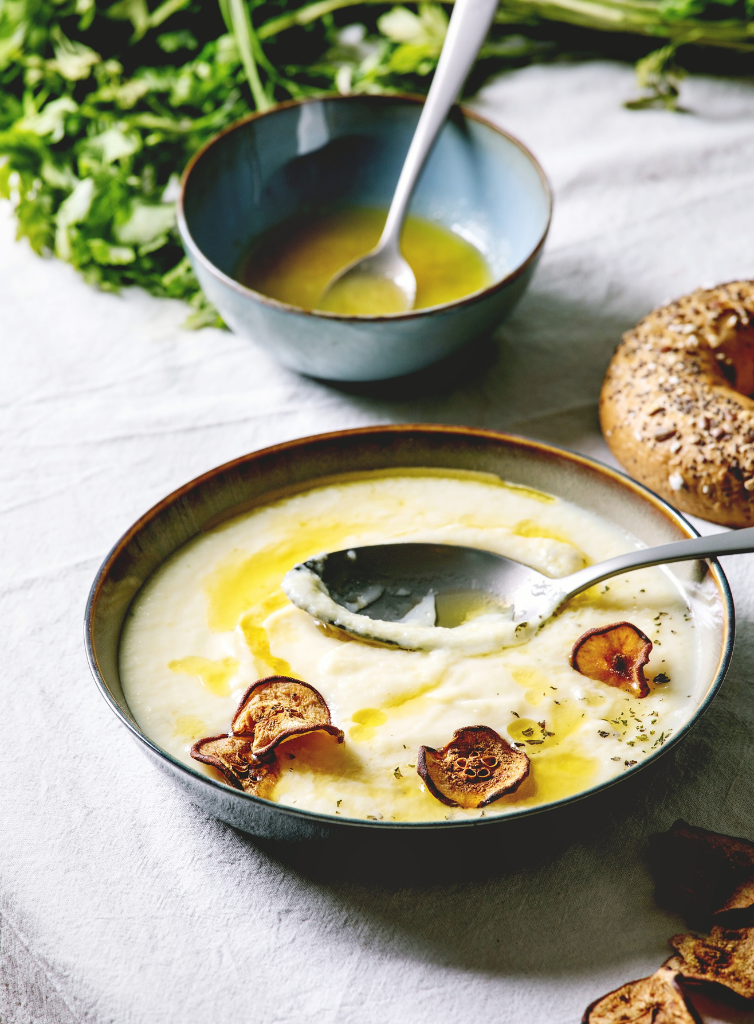

There’s something magical about a bowl of creamy soup on a chilly day . This Parsnip & Celery Root Bisque
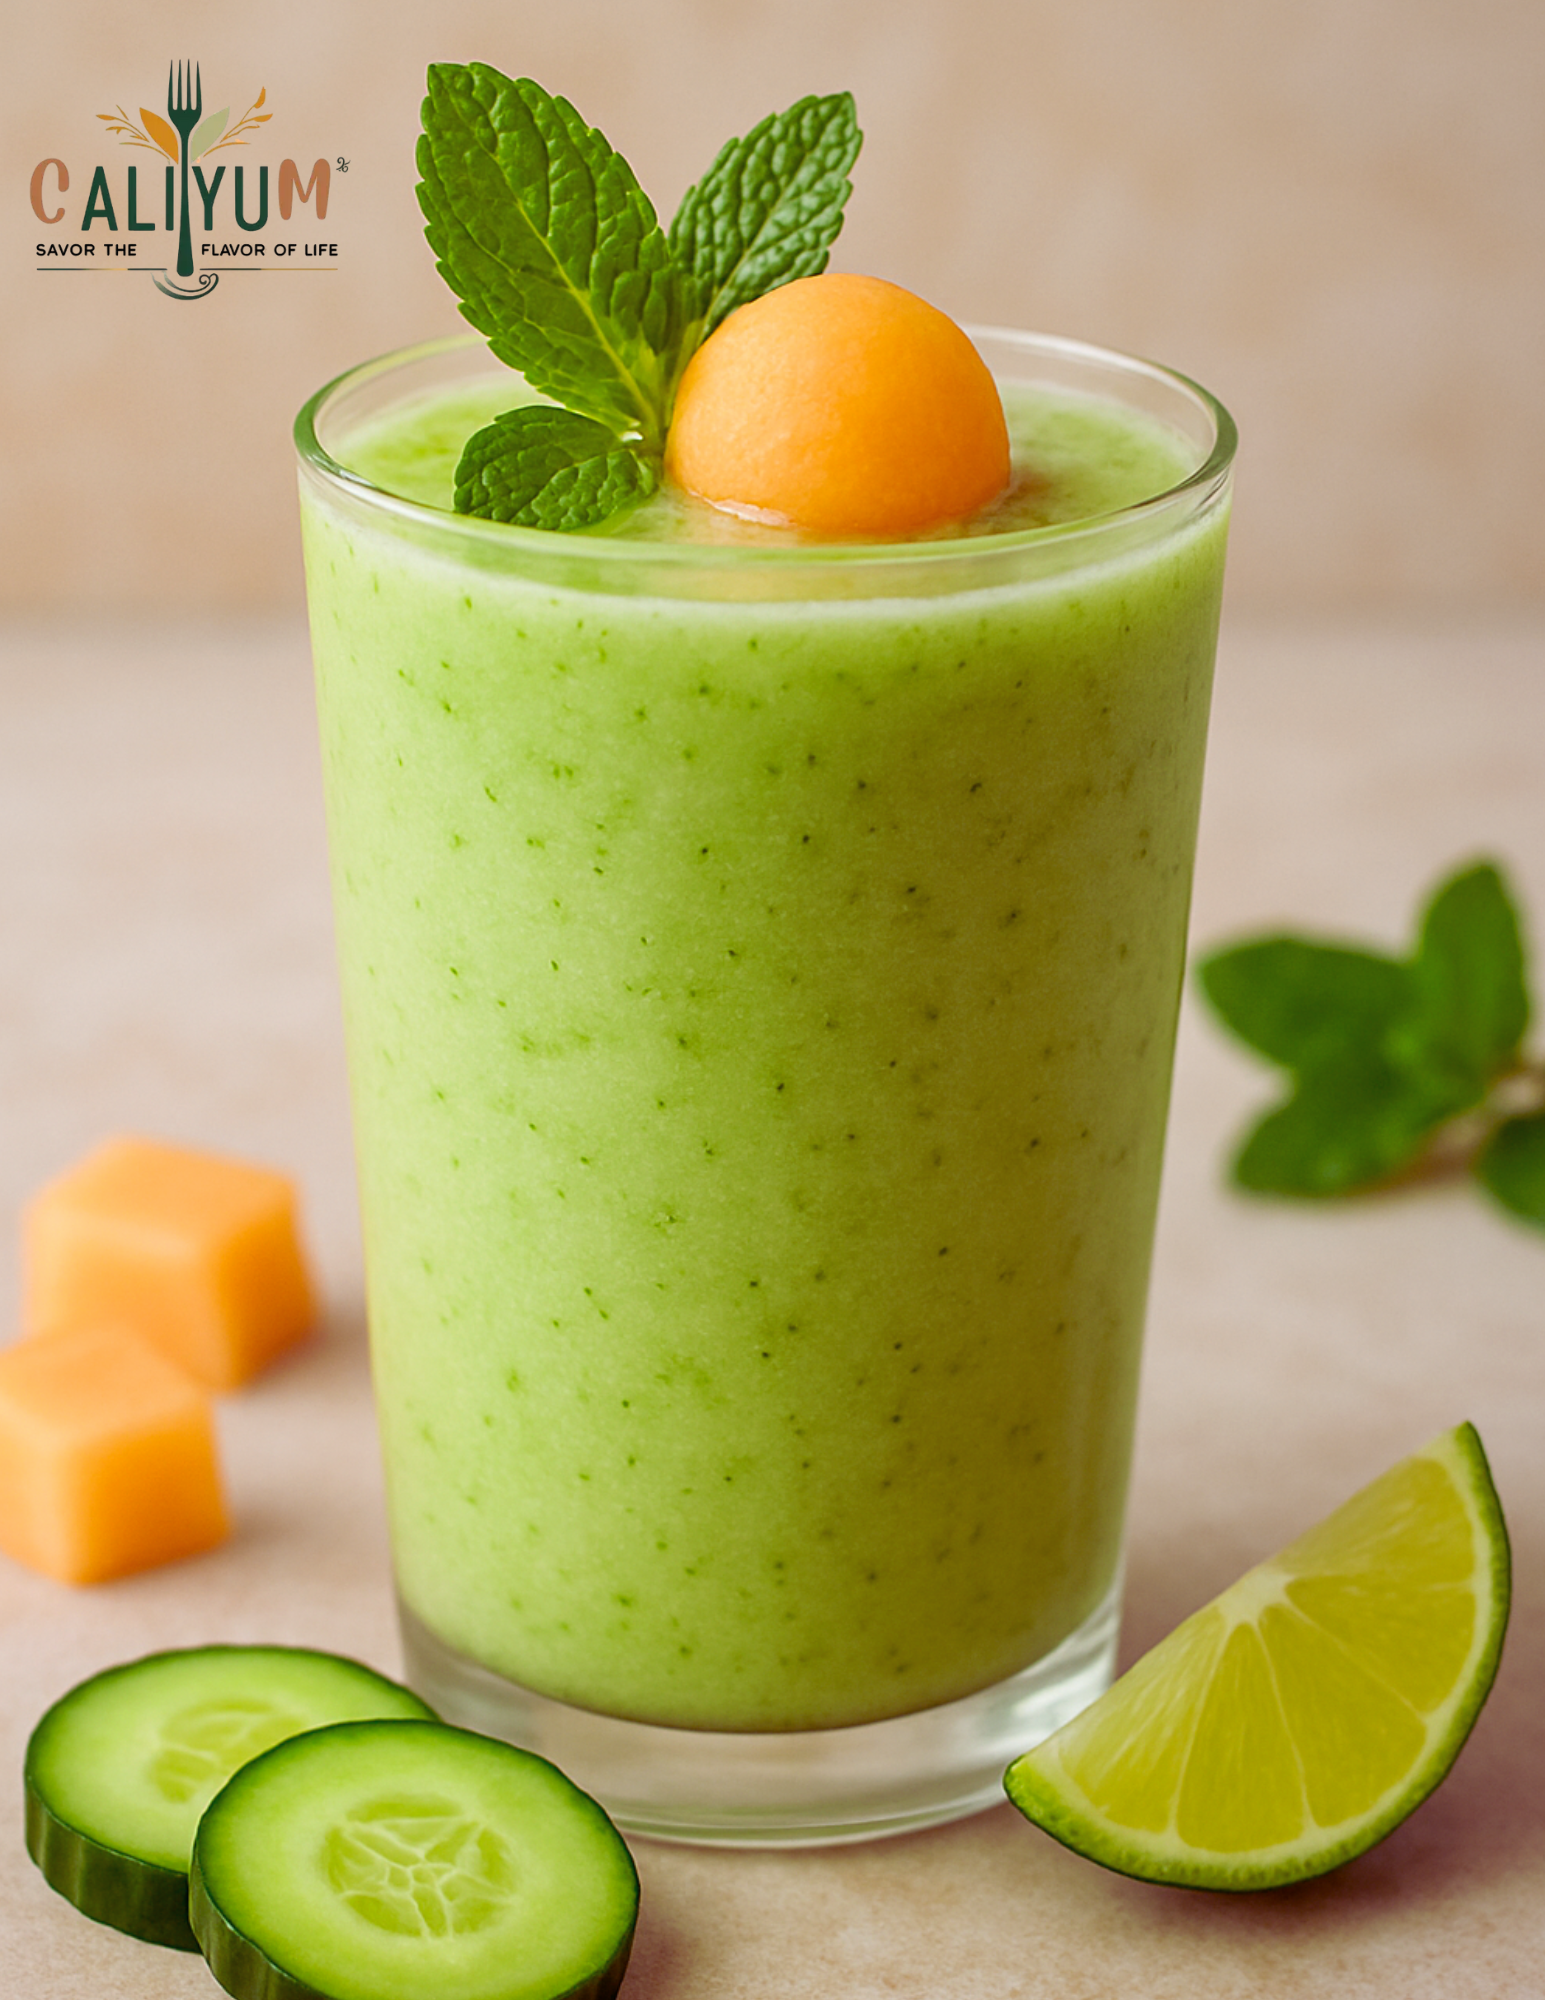
Cool down with this refreshing Cucumber Melon Mint Smoothie — a healthy, hydrating blend that’s light, summery, and naturally gluten-free!
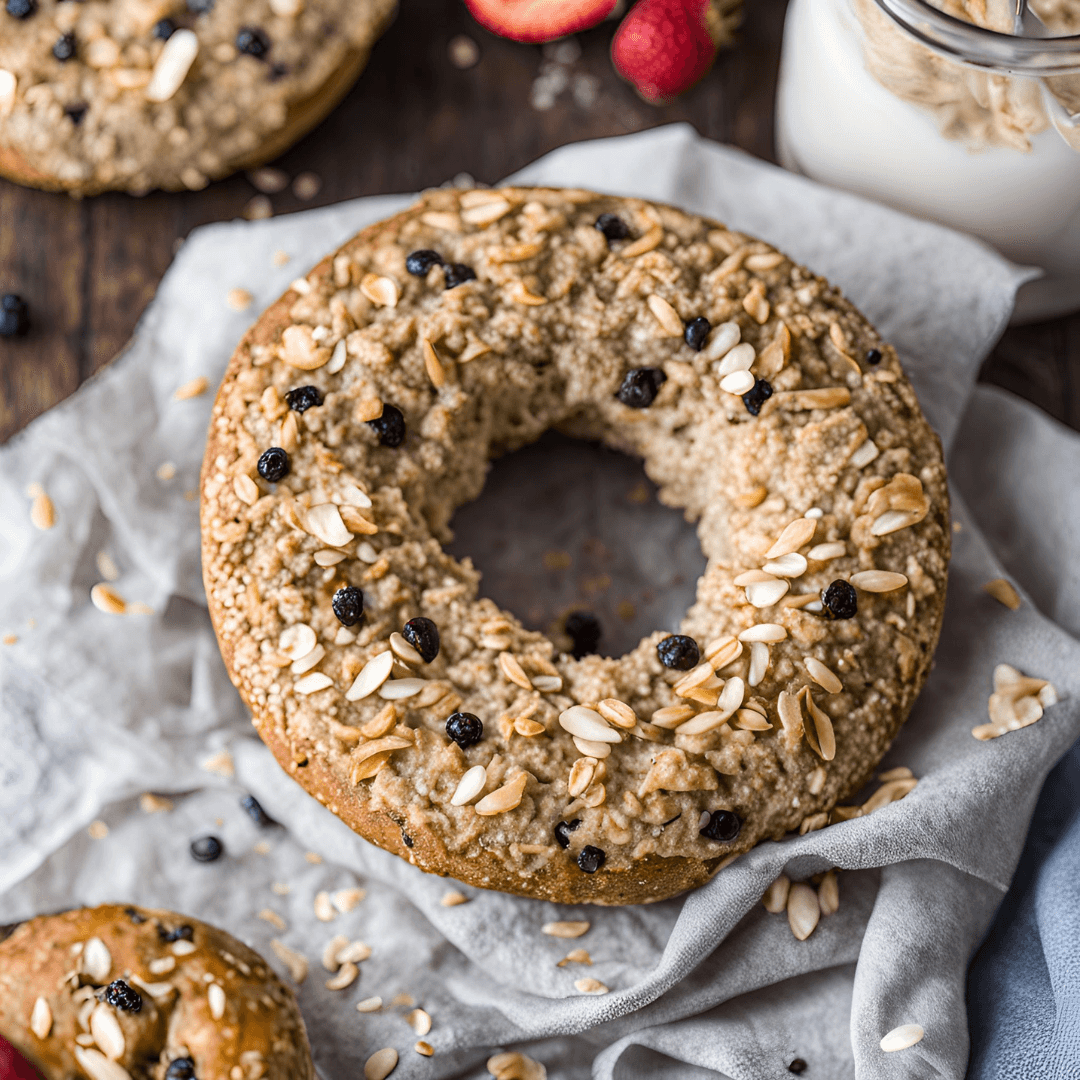
Hey, food lovers! Today, I’m sharing a game-changer recipe: Gluten-Free High-Protein Bagels made with Greek yogurt, eggs, and oats! These
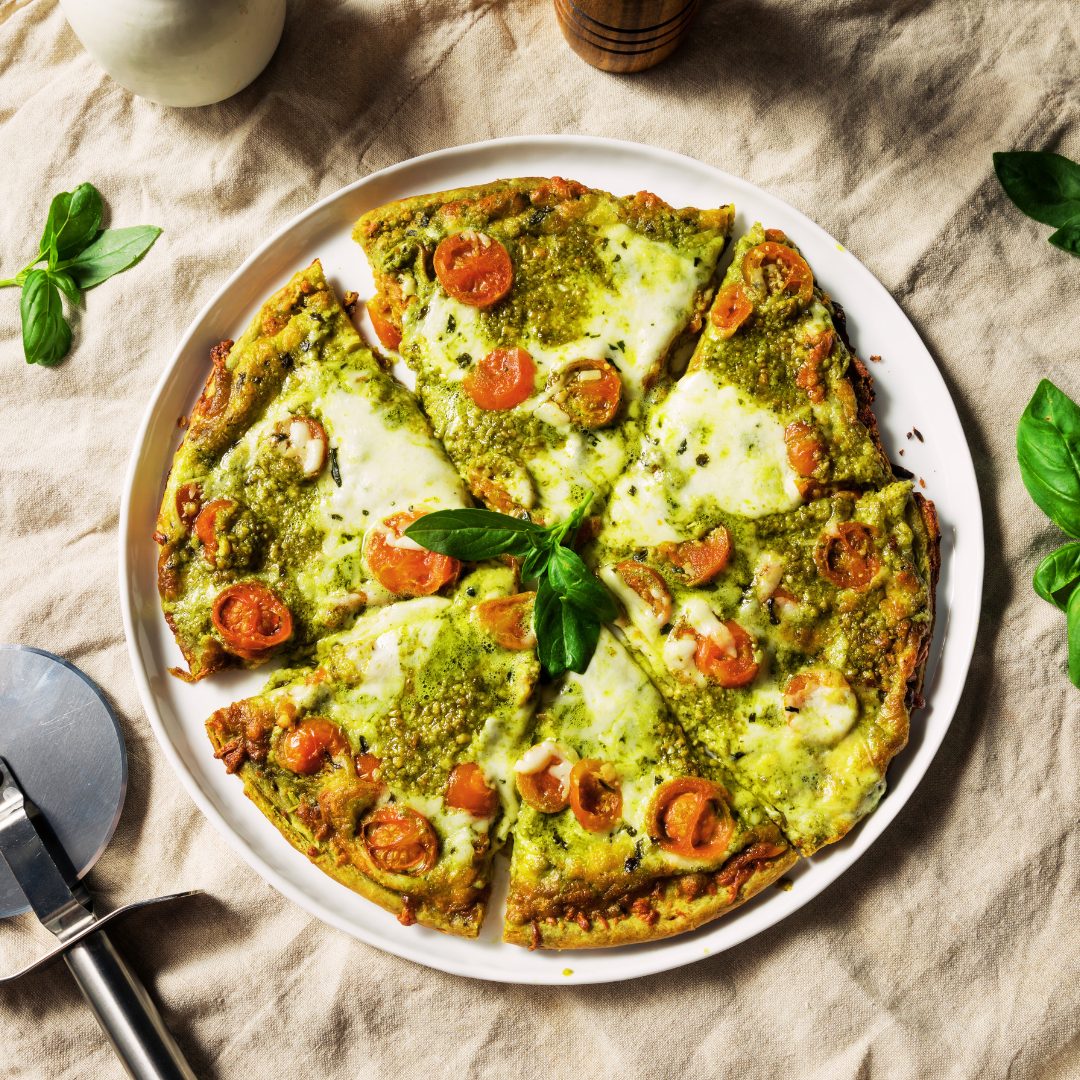
Craving Pizza but Want to Keep It Healthy? Try This Low-Carb Cauliflower Pizza Crust! If you’re looking for a way
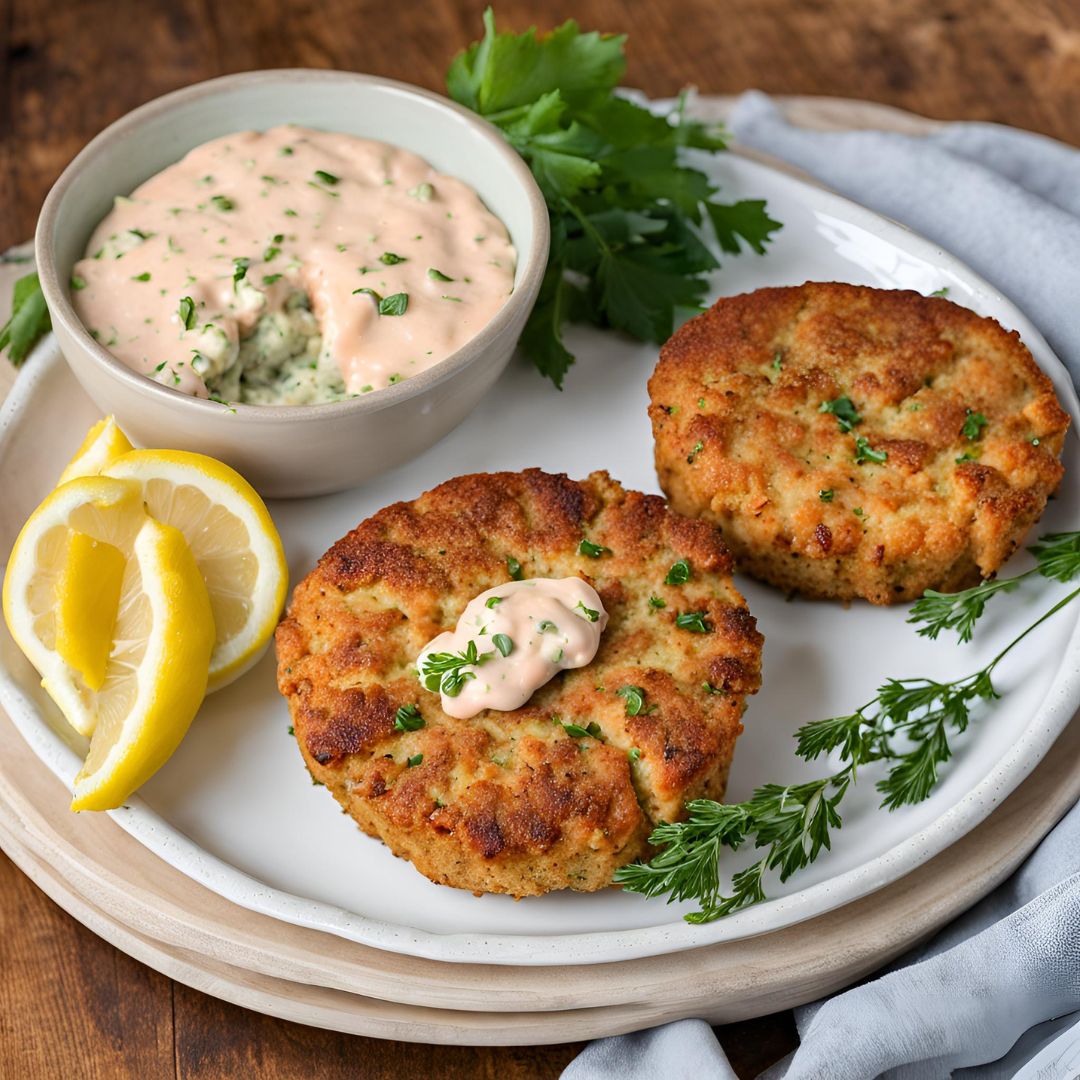
Craving something delicious and easy to make? These crispy, flavorful salmon cakes are the perfect way to elevate your meal!
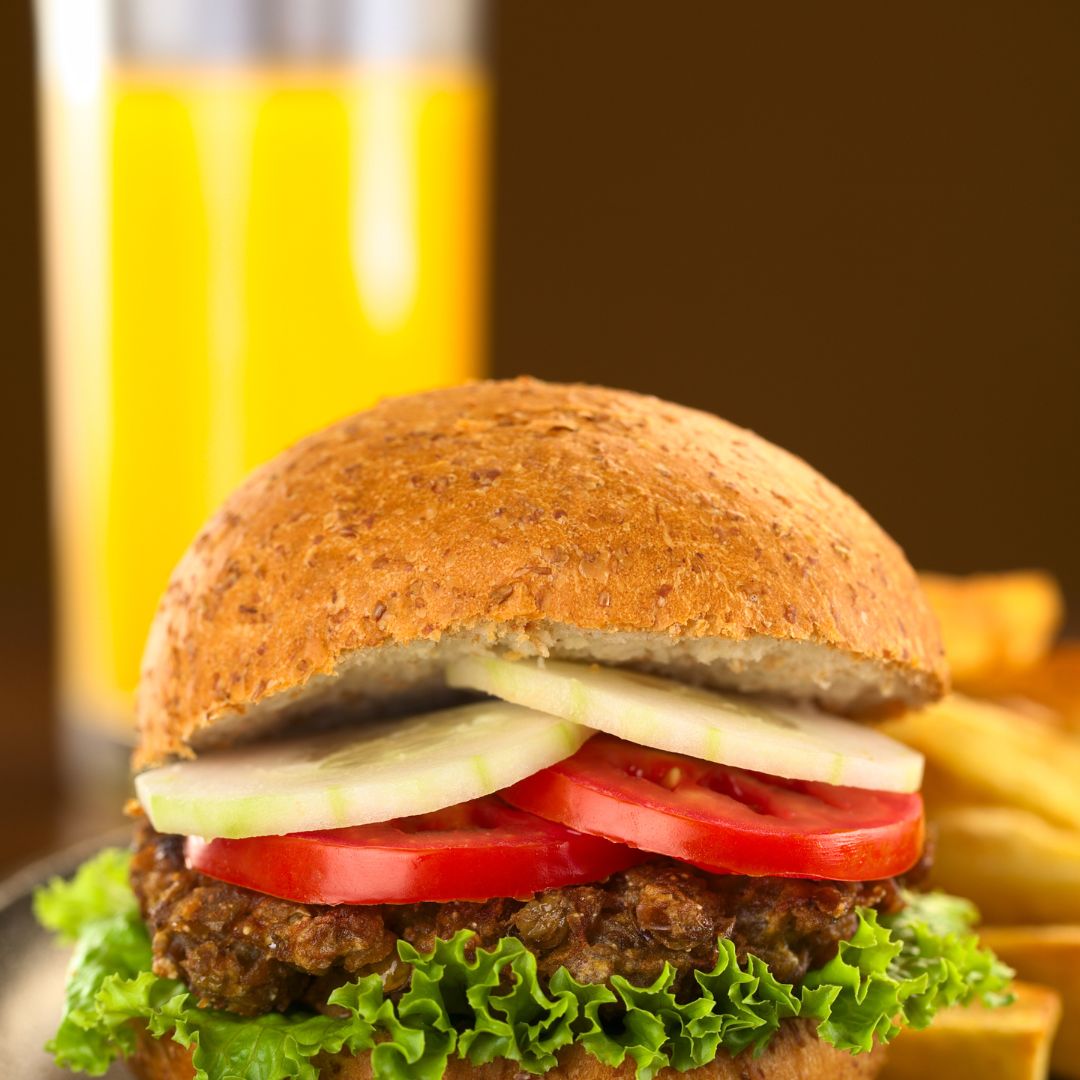
The Ultimate Healthy Lentil Bread Are you on a quest for the perfect gluten-free bread? Look no further! Our gluten-free
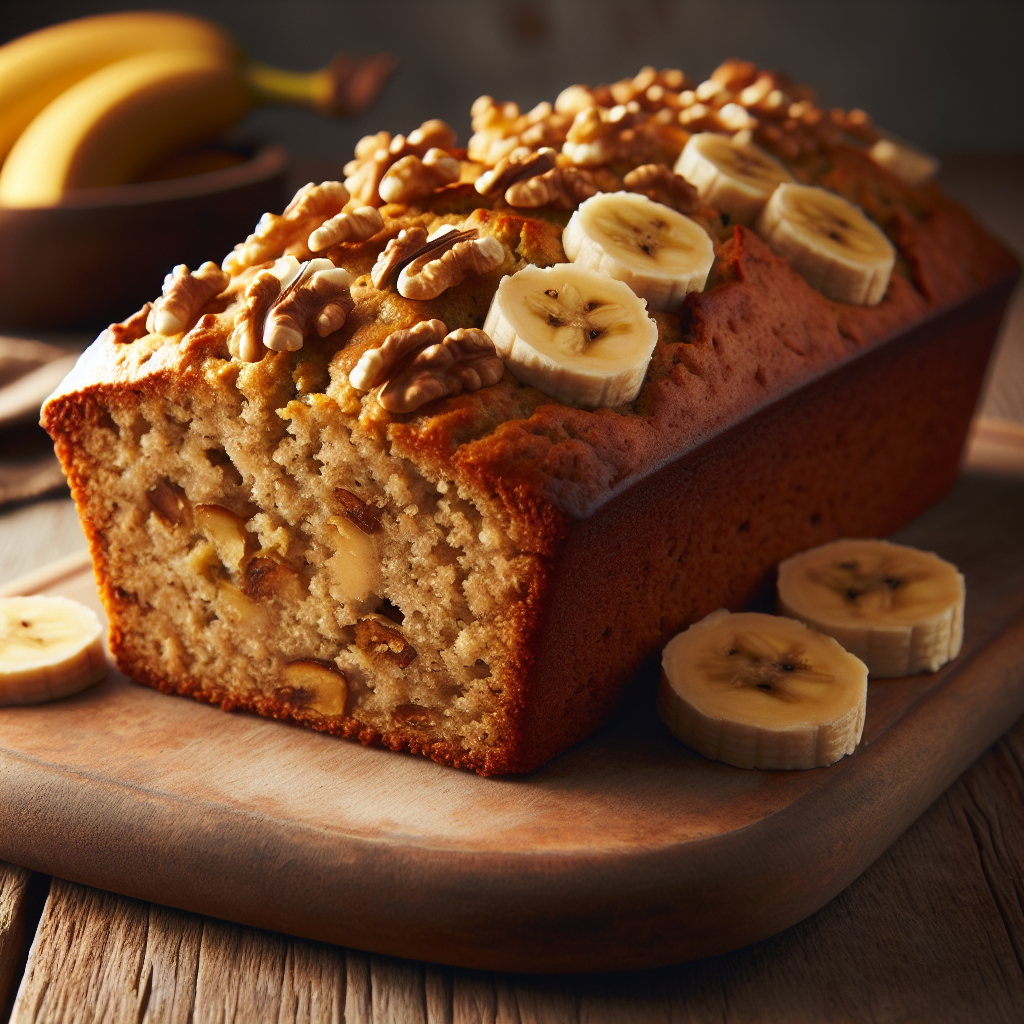
Craving a treat? This gluten-free banana bread is unbelievably delicious! Moist, flavorful, and so easy to make, it’s the perfect
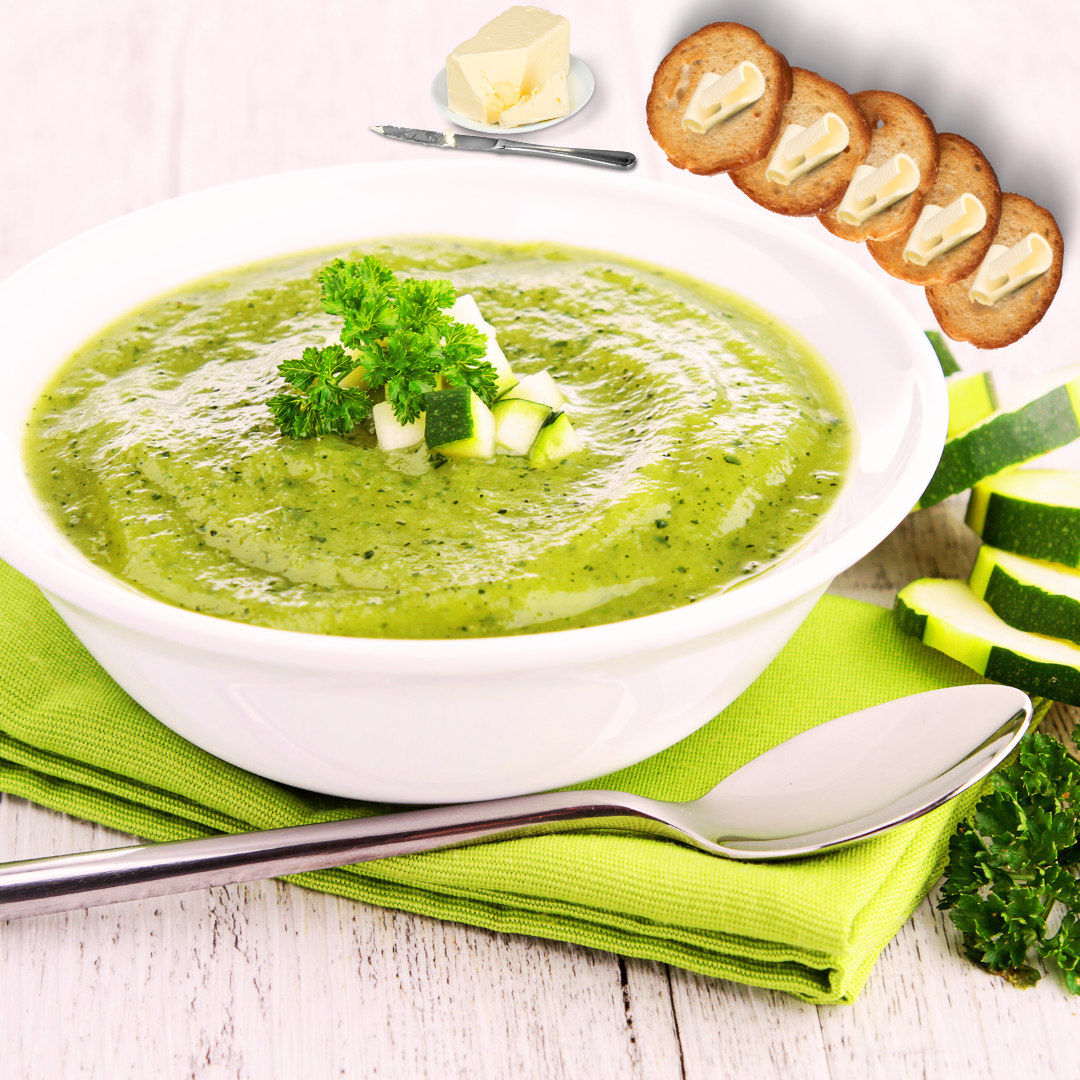
A Hearty Hug in a Bowl- Welcome back Palette Pioneers! Imagine coming home from a long day, your stomach growling,
Hey Palate Pioneers! Welcome back to my kitchen. Today, I’m going to share a recipe that’s very close to my
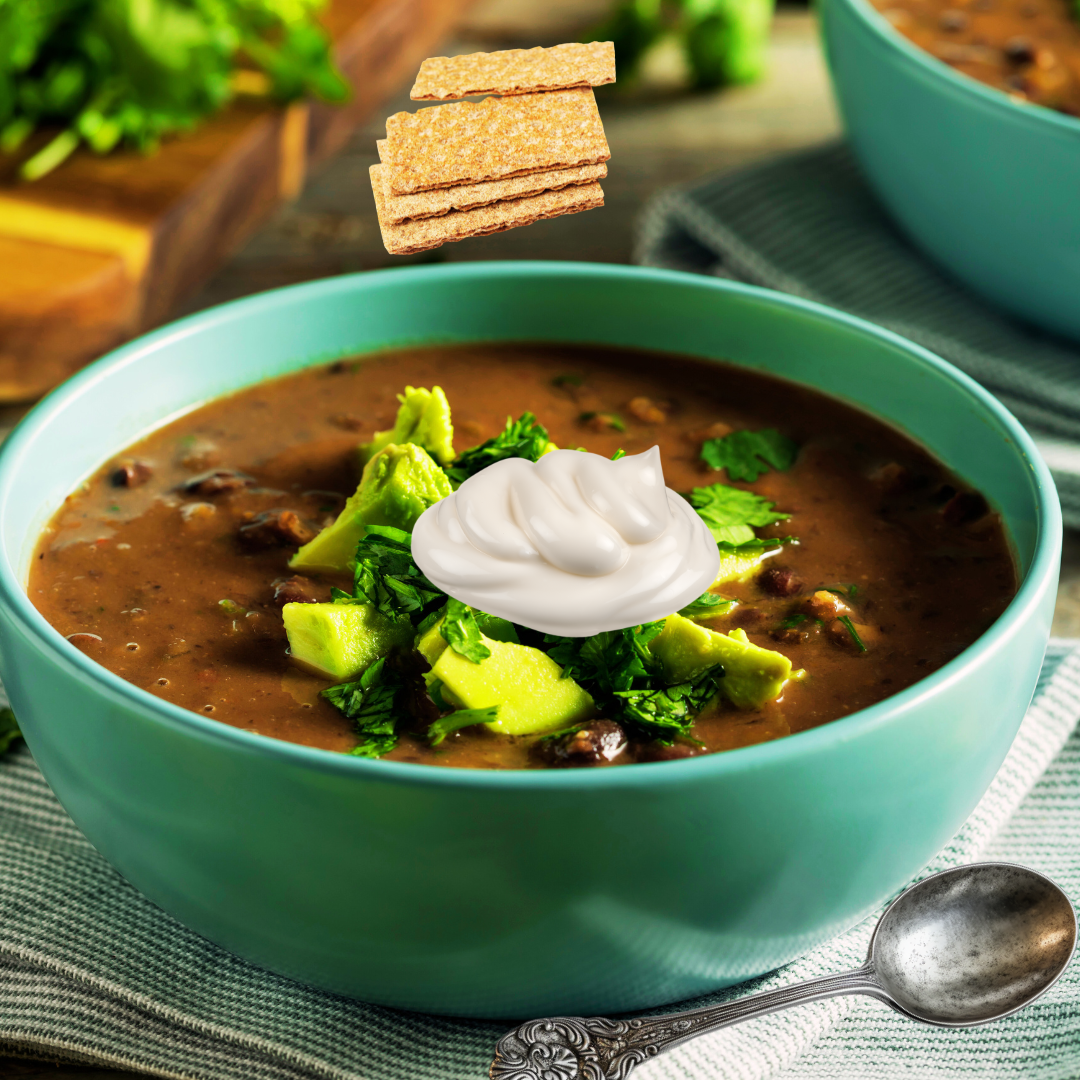
A Hearty Vegetarian Delight Discover the ultimate vegetarian black bean soup recipe! This hearty, flavorful soup is easy to make
This hearty vegetarian black bean soup is rich, comforting, and beautifully simple. Ready in just 45 minutes, it’s perfect
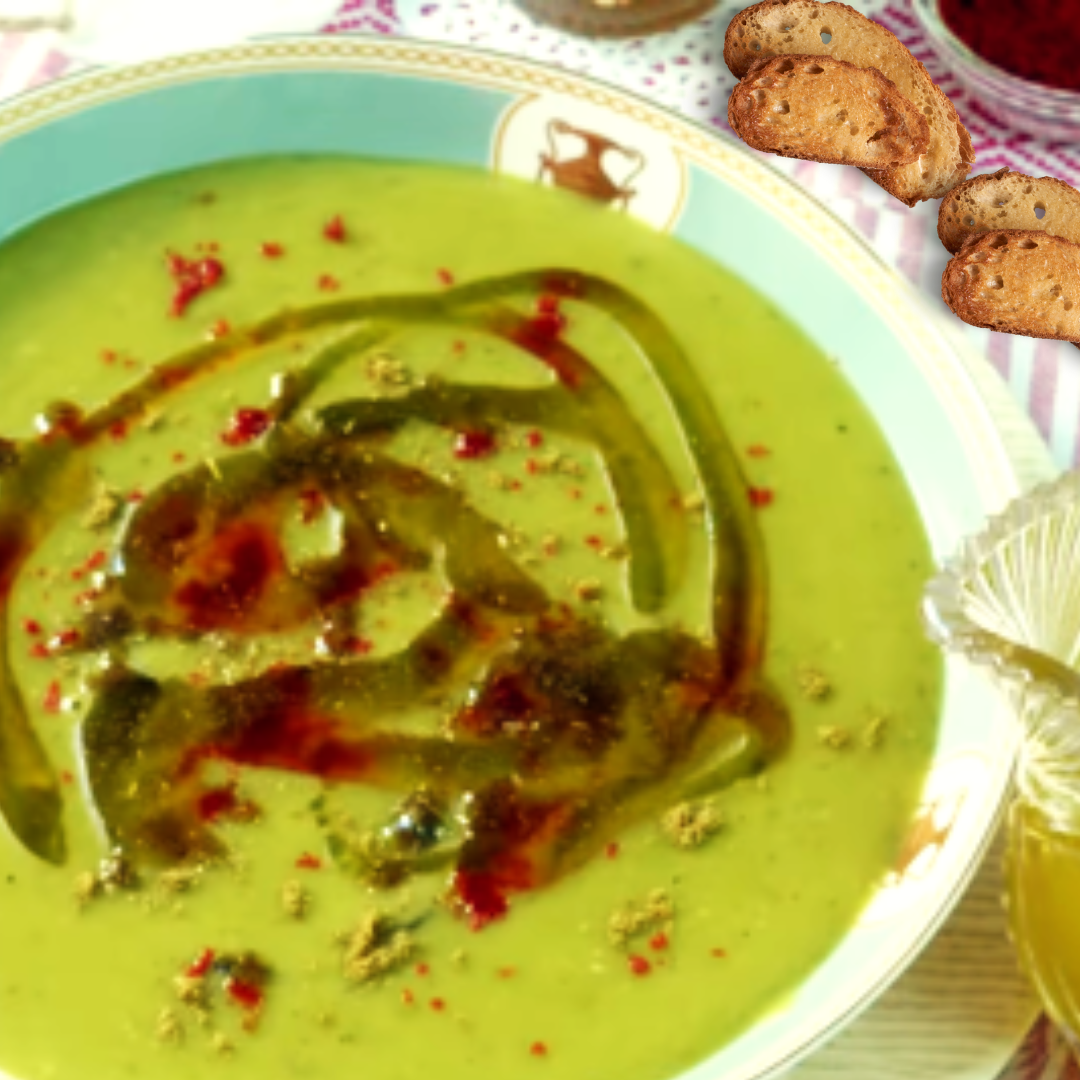
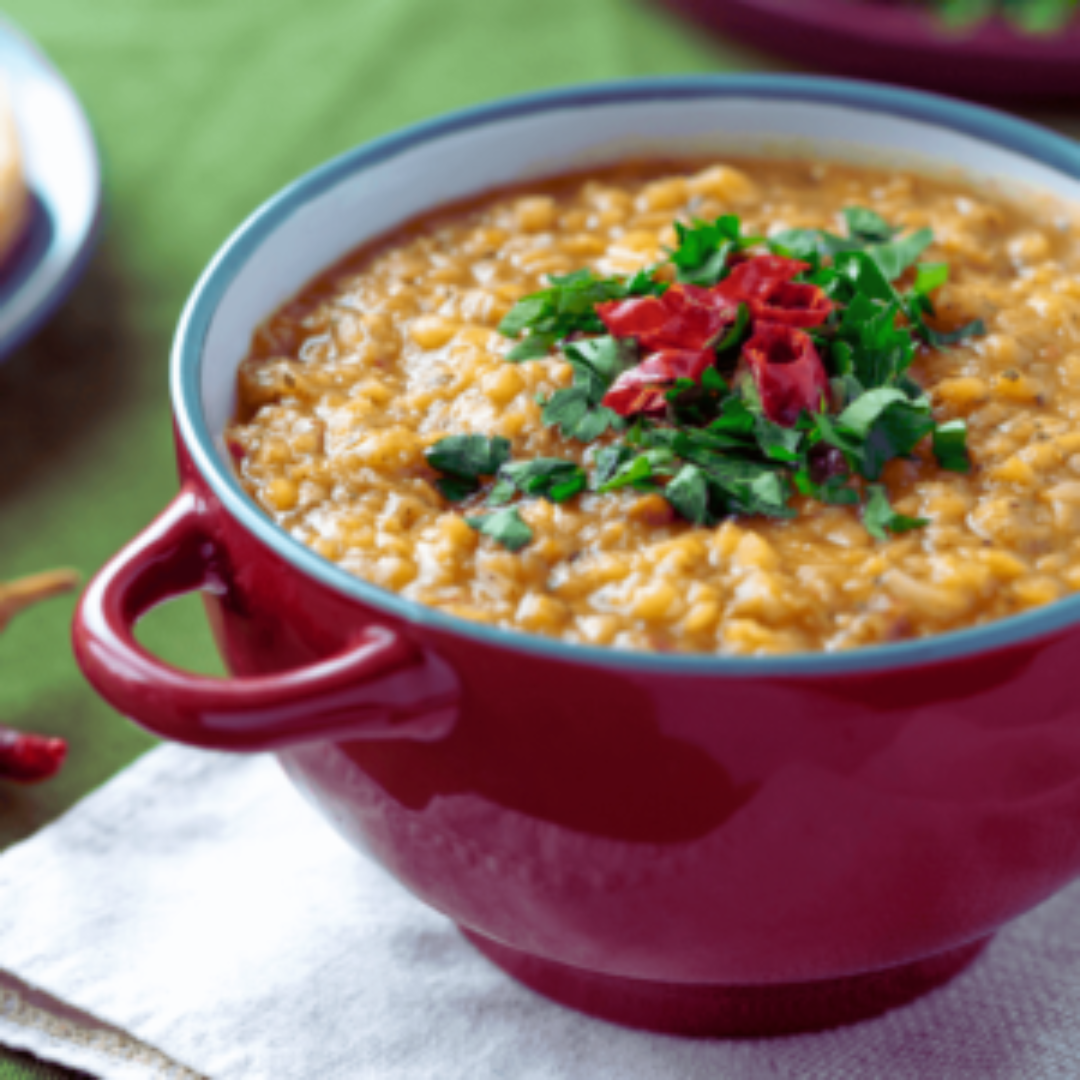
“Indulge in the ultimate comfort with our irresistibly delicious lentil soup! Packed with hearty flavors and wholesome ingredients, this nourishing
There’s something magical about a bowl of creamy soup on a chilly day . This Parsnip & Celery Root Bisque
Cool down with this refreshing Cucumber Melon Mint Smoothie — a healthy, hydrating blend that’s light, summery, and naturally gluten-free!
Hey, food lovers! Today, I’m sharing a game-changer recipe: Gluten-Free High-Protein Bagels made with Greek yogurt, eggs, and oats! These
Craving Pizza but Want to Keep It Healthy? Try This Low-Carb Cauliflower Pizza Crust! If you’re looking for a way
Craving something delicious and easy to make? These crispy, flavorful salmon cakes are the perfect way to elevate your meal!
The Ultimate Healthy Lentil Bread Are you on a quest for the perfect gluten-free bread? Look no further! Our gluten-free